-
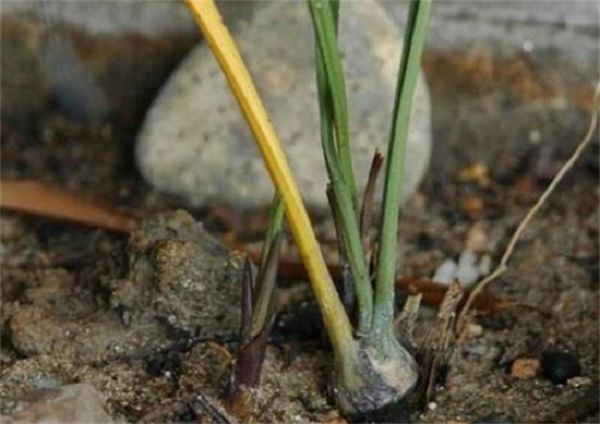
Orchid "covering old pseudobulbs" propagation method: wrap in water moss and insert into a sand pot, then plant at will
The orchid "covering old pseudobulbs" propagation method: you can wrap them in water moss and insert them into a sand pot to plant at will
-

The pull-and-insert method for easily transplanting hydroponic vegetables in greenhouses
Greenhouse hydroponic vegetables: pull-and-insert for easy transplanting
-

Can Phalaenopsis orchids be grown hydroponically? The hydroponic method is as simple as one cut and one insertion
As an excellent choice for indoor cultivation, Phalaenopsis orchids have a long flowering period, beautiful flower shapes, and vivid colors, making them deeply loved by a wide range of flower enthusiasts. However, while potted Phalaenopsis orchids are nice, hydroponic ones are undoubtedly even more beautiful. So, can Phalaenopsis orchids be grown hydroponically? The good news is that Phalaenopsis orchids can indeed be grown hydroponically, and they can even bloom
-
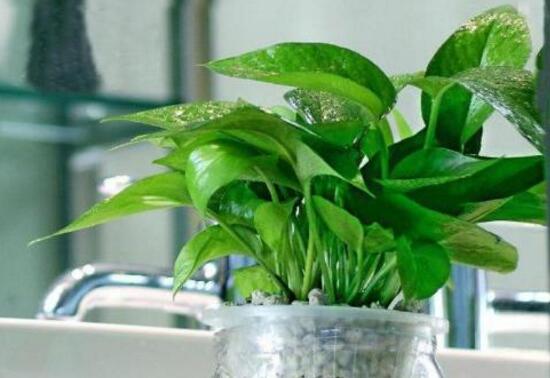
Can pothos and spider plant be grown in water? The one-cut, one-bottle, one-insert water-growing method
Everyone is surely familiar with pothos and spider plant. Not only can they absorb formaldehyde, but more importantly, they look beautiful, with evergreen leaves that hang down softly, looking absolutely lovely. Compared with soil culture, hydroponic plants look even more beautiful. So can pothos and spider plant be grown in water? Below is the water-growing method for pothos and spider plant.
-
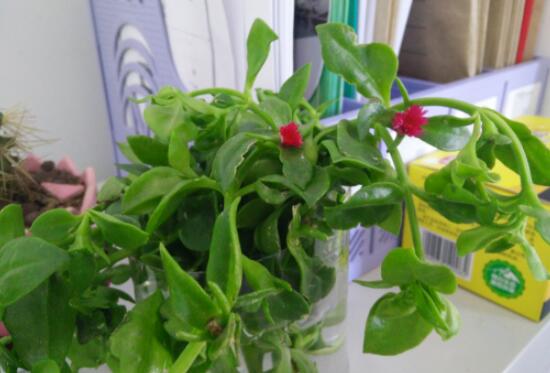
Aptenia cordifolia hydroponic method: cut branches, let them dry, then insert into water
As a highly capable hanging plant, Aptenia cordifolia not only has attractive leaves and a strong ability to absorb formaldehyde, but can also produce beautiful flowers. Compared with soil cultivation, many plant lovers prefer water cultivation, so can Aptenia cordifolia be grown hydroponically? If so, how is Aptenia cordifolia grown hydroponically? Below is the hydroponic method for Aptenia cordifolia.
-
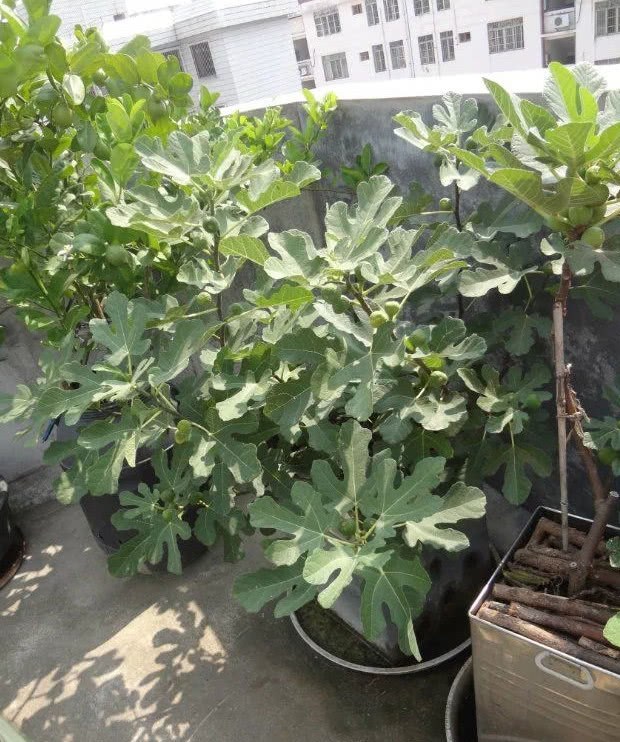
Insert a single fig branch into the soil, and a balcony potted plant will bear large and abundant fruit
For potted fruit plants, the fig is a good-to-grow, easy-to-care-for fruit that does not need much attention and bears abundantly and sweetly. Some people grow figs directly on their balconies, using only a not-too-large flower pot, placed on the rooftop to bask in the sun...
-
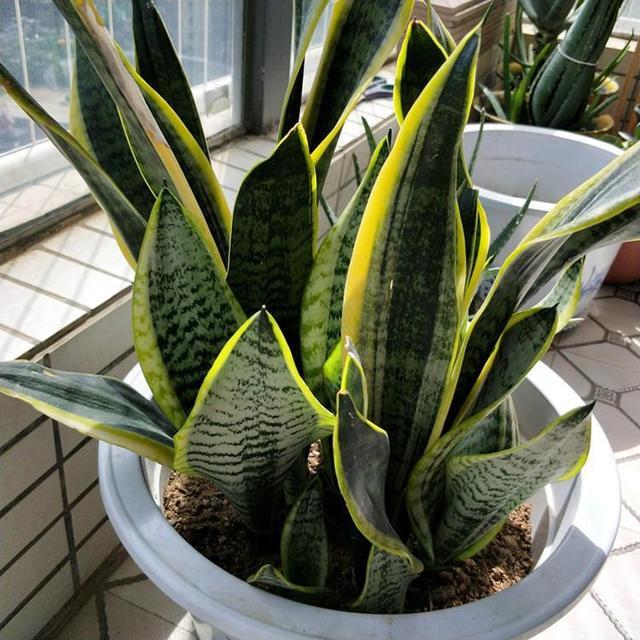
This green plant has distinctive leaf color and takes root as soon as it is inserted
Snake plant (Sansevieria) has leaves that are thick at the bottom and pointed at the top, standing upright like swords, which is quite unusual. The leaf color is also "distinctive," with alternating white and green horizontal stripes, like the markings of marble. This green plant is easy to care for, and it is grown both for its foliage and for its flowers...
-
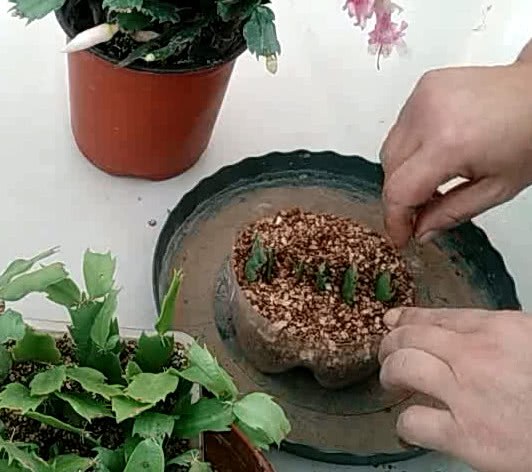
Insert one leaf of a Christmas cactus (Schlumbergera) into the soil, and dozens of brightly flowering plants will grow
For propagating Christmas cactus by cuttings, as long as the temperature is around 20 degrees, it can actually root successfully; spring and autumn are best, when the temperature is suitable and it is the peak growing season for Christmas cactus, and after the cuttings take root they also grow relatively fast. Propagating Christmas cactus...
-

Can lotus bamboo be grown in water? One stem, one vase, one insertion - three steps and you're done
Lotus bamboo, just like its name suggests, has leaves like a lotus and stems like bamboo, with an overall graceful plant shape that makes it highly ornamental in the home. However, when growing it indoors, many plant lovers prefer water culture over soil culture. So can lotus bamboo be grown in water? If so, how do you grow lotus bamboo in water?
-
Key Technical Points and Operation Methods of Vegetable Grafting Explained
Abstract Top-insertion grafting method: Pull the bamboo skewer inserted in the rootstock out, then insert the trimmed scion into the hole, with the scion cotyledons and rootstock cotyledons forming a "cross" shape. Approach grafting method: Insert the scion cut into the rootstock stem cut, the two cuts need to fit tightly together, then use a grafting clip ⟦4 <p class="cintro"><span>Abstract</span>Top-insertion grafting method: Pull the bamboo skewer inserted in the rootstock out, then insert the trimmed scion into the hole, with the scion cotyledons and rootstock cotyledons forming a "cross" shape. Approach grafting method: Insert the scion cut into the rootstock stem cut, the two cuts need to fit tightly together, then use a grafting clip to secure the joint. Cleft grafting method: Insert the trimmed scion into the cleft, keeping the rootstock and scion surfaces level, then use a grafting clip for securing.</p> <p></p> <p><strong>I. Vegetable Grafting Techniques</strong></p><p>1. Top-insertion grafting method</p><p>(1) Removing the rootstock growing point: A blade or bamboo skewer can be used to cut off the true leaves and growing point of the rootstock.</p><p>(2) Cutting the rootstock: A bamboo skewer with the same thickness as the scion hypocotyl and a wedge-shaped tip can be used, then insert it at a downward slant from the main vein of one cotyledon of the rootstock toward the other cotyledon to a depth of 1cm; generally, it is best if the outer epidermis is not pierced and the bamboo skewer is faintly visible.</p><p>(3) Cutting the scion: At 1-1.5cm below the cotyledon node, use a blade to cut it into a wedge-shaped face with a bevel length of 1cm.</p><p>(4) Grafting: Pull the bamboo skewer inserted in the rootstock out, then insert the trimmed scion into the hole, with the scion cotyledons and rootstock cotyledons forming a “cross” shape.</p><p></p><p>2. Approach grafting method</p><p>(1) Removing the rootstock growing point: A blade or bamboo skewer can be used to cut off the true leaves and growing point of the rootstock.</p><p>(2) Cutting the rootstock: At 0.5-1cm below the cotyledons, use a blade to make a downward slanting cut, with the depth needing to reach 1/2 of the stem thickness.</p><p>(3) Cutting the scion: Make an upward slanting cut at the corresponding part of the scion, generally with the depth reaching 1/2 of the stem thickness, and the cut length the same as the rootstock cut.</p><p>(4) Grafting: Insert the scion cut into the rootstock stem cut, the two cuts need to fit tightly together, then use a grafting clip to secure the joint.</p><p>(5) Root cutting: After grafting, plant the rootstock and scion together into a nutrient pot, about 1cm apart, with the joint about 3cm from the soil surface; wait 7 days for the joint to heal, then cut off the scion root; generally after 10-15 days, the grafting clip can be removed.</p><p></p><p>3. Cleft grafting method</p><p>(1) Removing the rootstock growing point: A blade or bamboo skewer can be used to cut off the true leaves and growing point of the rootstock.</p><p>(2) Cutting the rootstock: From between the 2 cotyledons, split the young stem downward, with a length of 1-1.5cm.</p><p>(3) Cutting the scion: Cut the scion young stem into a wedge shape, with a cut surface length of 1-1.5cm.</p><p>(4) Grafting: Insert the trimmed scion into the cleft, keeping the rootstock and scion surfaces level, then use a grafting clip for securing.</p><p></p><p><strong>II. Suitable Grafting Time for Vegetables</strong></p><p>1. Cucurbits: When the cotyledons are fully expanded and when the true leaves appear, this is the suitable grafting period.</p><p>2. Eggplant: When the rootstock has grown 3-4 true leaves and the scion has grown 2-3 true leaves, grafting requires retaining 1 true leaf.</p><p>3. Tomato: When the rootstock has grown 4-5 true leaves and the scion has grown 2-3 true leaves, grafting requires retaining 1 true leaf.</p>
条件筛选