A detailed guide to bottle gourd seedling cultivation techniques: master the key points and easily grow strong seedlings
Bottle gourd is an annual vining herb in the Cucurbitaceae family, genus Lagenaria. In some areas of Hebei, the term "hugua" specifically refers to zucchini. In ancient China, its mature, dried fruit shells were used as containers and also for medicinal purposes. So do you know how to grow bottle gourd seedlings? Follow the editor to learn more about it.
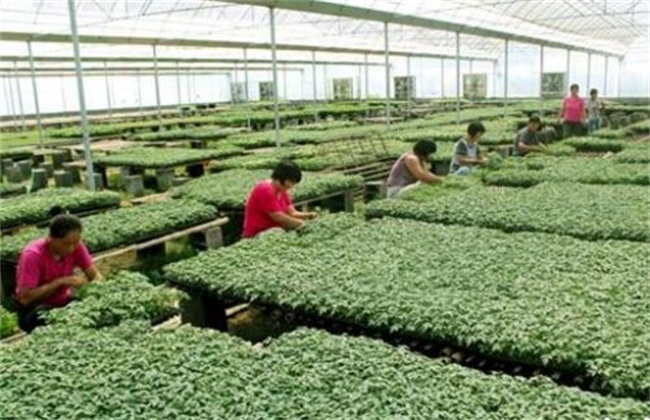
1. Preparing nutrient soil
Before sowing, first prepare 1 part decomposed dry livestock and poultry manure, 2 parts plant ash, and 7 parts of sterile, fertile garden soil that has never been used to grow Cucurbitaceae vegetables. Mix them thoroughly, then add 0.5 kg of ternary compound fertilizer or 1 kg of superphosphate per cubic decimeter. In addition, to prevent the threat of pests and diseases, you can also add 100 grams of thiophanate-methyl or carbendazim powder, which can provide excellent prevention against pests and diseases.
2. Seed treatment
Before sowing, choose a sunny day to sun-dry the seeds for 1-2 days. On the one hand, this is to break seed dormancy and help improve the germination rate and germination vigor of the seeds; on the other hand, it is to kill pathogens carried on the seed surface. Because bottle gourd seeds have a relatively thick seed coat and do not absorb water easily, the seeds should be soaked and pre-germinated before sowing. First soak the seeds in 55°C hot water for 10-15 minutes while stirring constantly, until the water temperature drops to 30-35°C, then soak for another 3-4 hours. After the seeds have absorbed enough water, rub and wash them repeatedly by hand, then rinse them clean with fresh water. After removing them, wrap them well in a wet cloth and place them in a greenhouse environment for pre-germination. Rinse once a day to avoid heat buildup causing seed rot. When most of the seeds have sprouted white, they are ready for sowing.
3. Sowing
Before sowing, first water the seedbed thoroughly. After the water seeps down, level the bed soil, then use nutrient pots with a diameter of 10 cm for seedling cultivation. First fill the nutrient pots with nutrient soil to two-thirds full, arrange them neatly on the seedbed, spray them thoroughly with water, and begin sowing after the water seeps down. When sowing, sow one seed per nutrient pot with the sprout opening facing down. After sowing, cover with a layer of fine soil 1.5-2 cm thick. It is best to set up a small arched frame over the seedbed and cover it with a layer of plastic film.
4. Seedling stage management
Bottle gourd is a warm-loving vegetable. Temperature is the key to cultivating strong seedlings. If the temperature is too high, the seedlings are very prone to becoming leggy; if the temperature is too low, stiff seedlings will form. Therefore, before emergence, generally do not ventilate, and keep the temperature between 25-30°C. After emergence, keep the temperature at 20-25°C, and the nighttime temperature must not be lower than 15°C. When the outside air temperature reaches above 20°C, the film should be uncovered in time for ventilation. When the temperature drops, straw curtains should be added for insulation. During the seedling stage, watering is generally not needed; when the soil is found to be dry, spray water in time.
The above is an introduction to bottle gourd seedling cultivation techniques. We hope it can help you. To learn more related knowledge, please stay tuned to us.