How to Propagate Artemisia selengensis? Detailed Explanation of Common Propagation Methods
Artemisia selengensis is a perennial herbaceous plant and also a fairly common vegetable for us. Its plants carry a rather mild, fresh fragrance, and its planting area in our country is currently quite large. When growing Artemisia selengensis, the most important thing is to pay attention to doing its propagation work well, so as to ensure its planting benefits. So how should Artemisia selengensis be propagated? Below, the editor brings you the propagation methods for Artemisia selengensis. Let's take a look together!
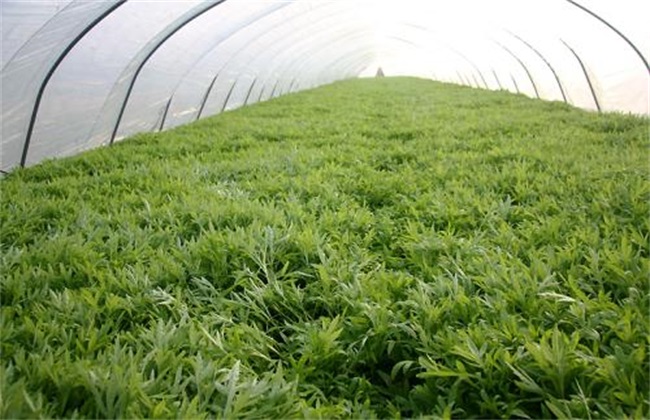
1. Division Propagation
Division propagation is a commonly used propagation method for Artemisia selengensis, and its division time is usually around May each year. When dividing, first take the Artemisia selengensis plants out of the seed reservation field intact, and be careful not to damage their roots. Then remove the tender tips at the upper end of the plants and dig the bed surface well. Keep the plant spacing and row spacing at about 40*45cm, and plant about two plants in each planting hole. After planting, firm the soil, then pour in sufficient water, and after about a week they will survive and establish.
2. Layering Propagation
Layering propagation is also one of the propagation methods used relatively often for Artemisia selengensis. The time for layering propagation is generally around July each year, when the stems of Artemisia selengensis gradually become semi-lignified. We can cut them down directly, then remove the tender tips at the top. On the bed surface, keep the row spacing at about 38cm and dig a planting furrow about 6cm deep. Then directly plant the stems of Artemisia selengensis into the furrow, keeping them connected head to tail. Then cover with soil and water, keep the soil moist, and improve their rooting and sprouting rate.
3. Cutting Propagation
The time for cutting propagation of Artemisia selengensis is similar to that of layering propagation, usually also in July. We should first select some Artemisia selengensis stems that grow vigorously and are free of pests and diseases, then remove the tender tips at the top of the stems. Then cut the stems into small sections about 20cm long. Then, on the prepared bed surface, dig the cutting holes while controlling the plant spacing and row spacing well. Insert about 5 small sections diagonally into each cutting hole, and keep the cutting depth at 2/3 of the stem. After cutting, firm the soil and pour in sufficient water. Generally, after about 10 days, the cuttings can take root and sprout.
4. Stem Planting Propagation
In fact, the propagation method relatively suitable for Artemisia selengensis is mainly stem planting propagation. Stem planting propagation is not limited by time or weather. It can be carried out in all four seasons of the year. First dig out the underground stems of Artemisia selengensis, then remove some overly old stem roots, and cut them into small sections, keeping each section at about 3 nodes. Dig shallow furrows on the bed surface, and keep the distance between the shallow furrows at about 10cm. Then place the small sections flat in the furrows, cover with a layer of fine soil, and water thoroughly.
The above is a brief introduction to the propagation methods of Artemisia selengensis. That is all for today's introduction. This article is for reference only, and I hope it can help everyone!