A Detailed Guide to Chickpea Cultivation Techniques: From Sowing to Field Management Essentials
The chickpea is an annual herbaceous climbing plant belonging to the Fabaceae family, and it is widely distributed in China. The chickpea is extremely rich in nutritional value, containing protein, carbohydrates and various other nutrients. Chickpeas can be mixed with wheat flour and used as a staple food, and the tender leaves of the beans can also be used as a vegetable. So how should chickpeas be cultivated? Below, the editor brings you the chickpea cultivation techniques. Let's take a look!
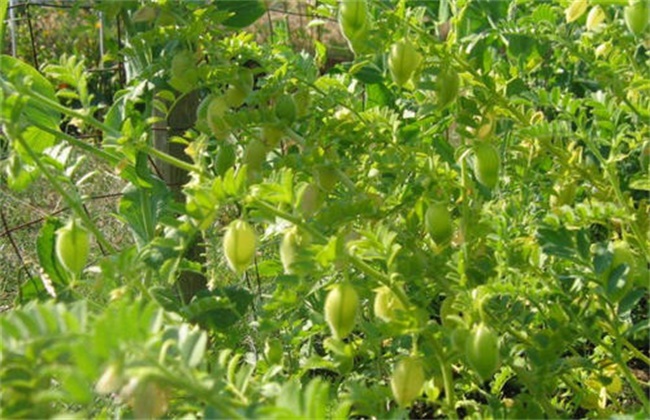
1. Land preparation and fertilization
When planting chickpeas, we must first select suitable planting soil. The soil should mainly consist of plots with sufficient fertility, normal irrigation and no saline-alkali damage. Sandy loam soil is preferred. Neither saline-alkali land nor continuous cropping land can be used to grow chickpeas. Deeply plow the soil to about 30cm, and do a good job of moisture conservation and land preparation in spring. Then apply an appropriate amount of organic fertilizer as base fertilizer; when sowing in autumn, spread it directly into the field. Seed fertilizer should be applied in furrows at sowing time, with the depth kept at about 10cm. This improves soil fertility and provides sufficient nutrients for the growth of chickpeas.
2. Propagation methods
The propagation method of chickpeas is mainly seed propagation. When selecting seeds, choose varieties with high yield, good quality and high commercial value as the main seeds according to market demand. Then choose the sowing period according to the climate environment, ground temperature and soil moisture conditions of the planting area. If sowing in spring, it is around April to May; summer sowing is around June; autumn sowing should be in October to November. When sowing, pay attention to controlling the plant and row spacing, keeping it at about 45cm. Sowing should not be too deep; it is best to keep it at 5cm.
3. Harvesting and storage
The flowering and pod-setting period of chickpeas is relatively long, and the pod-setting positions on the plant are also very scattered, so the maturity periods of the upper and lower parts are generally different. Therefore, when more than 70% of the pods on the plant are yellow-white and the seeds begin to separate from the pods, harvest promptly. The harvest time should not be too early; if too early, there will be few mature seeds and the yield will be affected. But it should also not be too late; if too late, it will lead to a relatively serious phenomenon of pod drop, which will also affect the yield. When harvesting, the plants can be pulled up by the roots, or cut with a knife.
After harvesting, dry them in the sun, do a good job of threshing, and carry out manual cleaning. If conditions permit, mechanical cleaning can be used, which can effectively save a large amount of labor. After cleaning, the chickpea seeds should be spread out to dry in the sun. Reduce their moisture content to below 12%, then fumigate and place them in a warehouse for storage. Because during storage, insect pests are very likely to occur, so fumigation is very important. In addition, we must also pay attention to doing a good job of ventilation to reduce temperature and humidity.
The above is a brief introduction to chickpea cultivation techniques. That's all for today's introduction. This article is for reference only, and I hope it can help everyone!