What are the key points of the cultivation techniques for pan cai?
Pan cai, whose scientific name is turnip (Brassica rapa subsp. rapa), is a rare vegetable variety among root vegetables. The edible part is a flat, round, large fleshy root. The flesh is fine, dense, white and tender, and rich in nutrients. It can be eaten raw, boiled, used in soup, and so on, and can also be processed into various pickled products, crisp and excellent in taste. So how should pan cai be cultivated? Let's learn about it together.
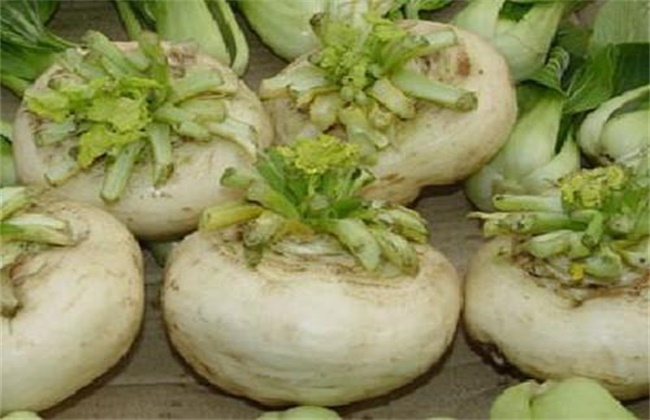
1. Land selection and fertilization
It is best to choose sandy loam soil with deep soil layers, convenient drainage and irrigation, and loose, fertile soil, which is beneficial to the growth and development of the pan cai root tuber and helps growers obtain better yield and quality. Spread 1000-1500 kg of decomposed farmyard manure, 50 kg of superphosphate, 5 kg of magnesium sulfate, and 1.5 kg of borax per mu, mix them into the soil during plowing and harrowing, and make high beds. Open 4 small ditches on the bed surface, then open holes at 15cm×15cm, apply an appropriate amount of decomposed farmyard manure at the bottom of the holes as base fertilizer, and wait for transplanting.
2. Sowing and raising seedlings
Choose early September for sowing. The seedbed should be well-drained sandy soil or mountain red soil. Avoid using old vegetable plots for seedling raising. Apply a small amount of organic fertilizer, rake it into the soil, and level the bed surface. Generally, the seeding rate is about 10 grams per mu. Use the broadcast sowing method to evenly sow the seeds on the bed surface. Then cover the seeds with burned soil, with a covering thickness such that the seeds are not visible. After covering with soil, cover the bed surface with a layer of rice straw, then water thoroughly to keep warm and moist, so as to promote emergence. Within three days after sowing, water once in the morning and once in the evening every day. When the seeds germinate, remove the rice straw, leaving a sparse amount of rice straw, keep the soil moist, and water with a dilute method once every three days to promote seedling growth.
3. Reasonable close planting
When the seedlings grow 5-6 true leaves and the fleshy root grows to a round ball with a diameter of 1-2 cm, transplant and set them out. Transplant on the originally prepared bed surface, with one plant per hole. When setting out, straighten the seedling roots and do not let them bend, and the fleshy root ball should be exposed above the ground. Plant 4500-5000 plants per mu. After setting out, water once with root-setting water, and at the same time cover the ground with thin rice straw to avoid strong sunlight exposure.
4. Fertilizer and water management
Three days after setting out, water once in the morning and once in the evening every day to help the seedlings take root and survive. Gently push aside the rice straw to expose the leaves, and still use grass to cover around the fleshy root ball. At the same time, after rain and before fertilizing, it is necessary to cultivate and weed and earth up. Water mainly to keep the seedlings moist, and apply a dilute method once every 3 days. Throughout the growth period, mainly use decomposed farmyard manure, and apply less chemical fertilizer, so as to benefit plant growth and the expansion of the fleshy root. The decomposed manure can only be poured near the fleshy root, not directly onto the fleshy root, as this may cause fertilizer damage, rot, and dead seedlings.
The above is an introduction to the cultivation techniques for pan cai. I hope it can help you. To learn more related knowledge, please follow us.