Detailed Explanation of Chili Pepper Planting Techniques and Management Methods
Chili peppers are grown on a very large area in China, and they are very popular in many provinces, such as Hunan and Sichuan. The annual sales volume of chili peppers is relatively large, and their economic value is quite considerable. So now the planting area is also constantly expanding, so how exactly should chili peppers be planted? And how should they be managed? Below, the editor will give everyone a brief introduction. Let's take a look together!
1. Preparation Before Sowing
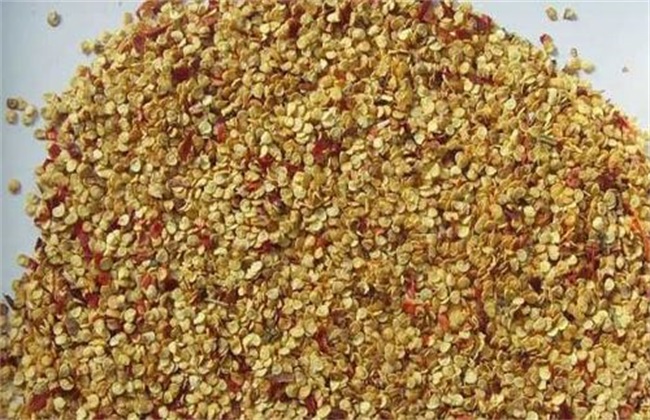
First, we need to control the sowing rate well. The amount of seed used per mu is about 50 grams. Then soak the seeds in clean water for about 3 hours. Then use agents such as agricultural streptomycin for disinfection work. After disinfection, wash the seeds clean and they can be sown. Then we also need to pay attention to preparing the seedling nutrient soil well, mixing garden soil with farmyard manure, and appropriately adding agents such as carbendazim. After preparation, water thoroughly, then cover with a layer of fine soil, and then sow appropriately. After sowing, another layer of fine soil should be covered over the seeds to improve the soil's moisture retention capacity.
2. Timely Field Planting
The field planting of chili pepper seedlings needs to be determined according to soil temperature, and is generally carried out when the soil temperature is above 15°C. Do not plant too early. If planted too early, the soil temperature has not yet risen, which will inhibit the growth of chili pepper seedlings and cause undesirable phenomena such as flower and fruit drop. When planting, we should control the planting density well and adjust it appropriately according to the variety. For example, for early-maturing varieties, the row spacing for planting should be controlled at about 45 cm, and the plant spacing should be maintained at about 30 cm. For late-maturing varieties, the plant and row spacing should each be increased by about 25 cm. Finally, the planting time should be chosen on a sunny day, preferably in the afternoon, to make it easier to pull the seedlings.
3. Water and Fertilizer Management
After field planting, we should appropriately apply a seedling-promoting fertilizer. Do not apply too much, otherwise the chili pepper seedlings are prone to excessive vegetative growth, delaying the flowering and fruiting period. After the plant has set fruit on the first and second layers, the amount of topdressing should be appropriately increased to provide nutrients for the expansion of the chili pepper fruits. After entering the harvest period, it is even more necessary to ensure sufficient fertilizer and water. When watering, we should adjust the irrigation time and irrigation amount according to factors such as weather and soil. If the rainy season is encountered, then drainage should be carried out in time, otherwise leaf drop and plant death are very likely to occur.
4. Cultivation and Weeding
After the chili pepper seedlings are planted and have survived, we should pay attention to doing a good job in cultivation and weeding management. After planting, carry out one appropriate shallow cultivation to improve soil permeability and break up compaction. Then after the plants begin to grow, increase the intensity of cultivation to promote the growth of the plant roots. Before the rows close, carry out the last cultivation. Cultivation can not only improve the soil structure and promote the growth of chili peppers, but also achieve the purpose of weeding, avoiding weeds affecting the growth of chili pepper seedlings and reducing yield.
The above is a brief introduction to chili pepper planting techniques and management. The planting techniques for chili peppers are actually relatively simple. When planting, the main thing is to do a good job in management to ensure the normal growth of chili peppers. That is all for today's introduction. This article is for reference only, and I hope it can help everyone!