Detailed Explanation of Taro Cultivation Techniques: Planting Methods and Management Key Points
Taro is different from konjac; its shape is oval. The skin is likewise rough, and it gets its name because the interior has betel-nut-like patterns. It has high nutritional value, is a health food, and can also be processed into taro flour for sale. So many people now cultivate it as well. The cultivation techniques for growing taro and the planting methods also differ to some extent. Generally, cultivation must take into account management and pest and disease control, as well as site selection and points to note when planting. So next, the cultivation aspects will be explained in detail.
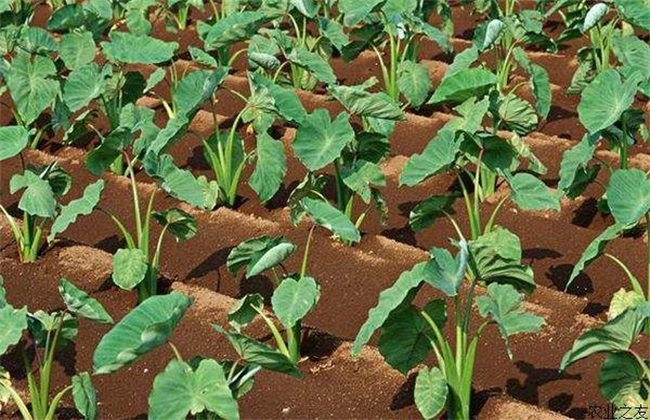
1. Site Selection and Planting
Soil directly affects the growth of taro, so it is best to choose soil with high organic matter content that drains and breathes well and retains both fertilizer and water, on sunny land at a somewhat higher elevation. Growing taro is mainly for harvesting the underground stem, so it should be planted in deep, moist, water-retaining soil. Rotation between paddy and dryland can reduce pests and diseases. Take special care to cut the leaves once every two weeks, removing diseased leaves and the like.
2. Controlling Fertilizer and Water
Before planting, apply sufficient base fertilizer; using multiple fertilizers in combination is best. Afterward, apply fertilizer in three stages: early, middle, and late. Topdressing is very important. Basically, the base fertilizer should be about 1200 jin of cow dung plus straw composted fertilizer per mu, combined with 300 jin of compound fertilizer per mu. In addition, potassium fertilizer needs to be added; generally, potassium fertilizer is the fertilizer most needed by the underground part. Taro has a fairly large overall fertilizer requirement, and it needs the most fertilizer during the bulking stage. Taro likes moisture and fears drought. To prevent drought, begin furrow irrigation after May, with the water layer not exceeding the ridge surface. A shallow water layer is fine. Before the rainy season, drain the water away.
3. Earthing Up, Intertillage, and Weeding
In spring, many grass seeds sprout, so weeds need to be pulled at any time. In summer, when the soil becomes compacted after rain, intertillage is needed twice, each time to a depth of about 15 cm, without damaging the roots and stems. After each intertillage, earth up the base of each stem to protect the roots and stems, raise the temperature, and speed up growth. Earthing up is about 3 to 5 cm thick, and after earthing up, the side buds should be removed. This avoids sprouting that consumes nutrients.
4. Pest and Disease Control
When taro is infected with taro blight, brown spots appear and gradually expand into round lesions with concentric rings, followed by white mold, mainly harming leaves and corms. Spray with 70% phosethyl-Al · mancozeb wettable powder at 500 times dilution or 64% sandofan at 500 times dilution. Once a week, for 3 consecutive times. The main pest is red spider mite; generally use 15% pyridaben emulsifiable concentrate at 2000 times dilution or 1.8% abamectin emulsifiable concentrate at 6000-8000 times dilution for spraying.
The above is the content on high-yield taro cultivation techniques. Doing these tasks well can make taro grow well; mainly, these measures are used to adjust and promote growth. For more content, you can follow the website, and for more agricultural content, you can follow the updates.