Detailed Explanation of Celery Cultivation Techniques and Field Management Methods
Celery is a vegetable of the Apiaceae family (umbellifers) with very high nutritional value, rich in protein, minerals and other nutrients. After being introduced to China, it became popular with many people, so it is now grown on a very large area in China. Although the planting area is large, many people still do not know how to grow it. So today I have brought you the cultivation techniques for celery; let's take a look below!
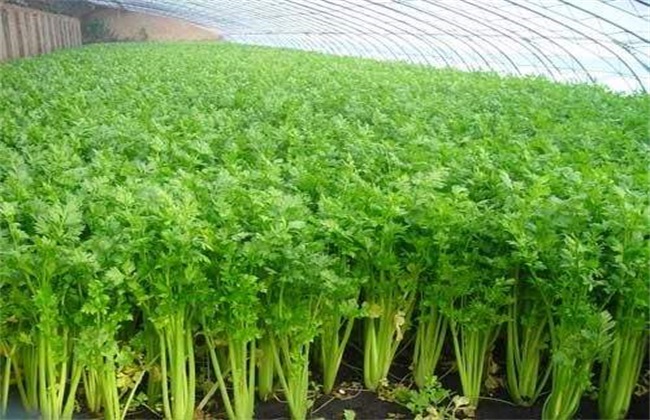
1. Sowing and Raising Seedlings
The sowing time for celery should be adjusted reasonably according to the cultivation method. If growing in a greenhouse, sowing is generally done in February. If growing in a plastic arch shed or a sunny cold frame, it should be appropriately postponed to March; if growing in the open field, sow around Qingming (Tomb-Sweeping Day). Before raising seedlings, we must also do a good job of preparing the seedbed soil and applying fertilizer, applying sufficient decomposed farmyard manure, laying out nutrient soil in a certain proportion, and then watering thoroughly. Before sowing, soak the seeds in warm water at about 40°C for one day to promote germination, then sprinkle them evenly on the seedbed, cover with fine soil, and keep the temperature at about 18°C; they will sprout in about half a month.
2. Seedling Stage Management
After the celery seeds germinate and emerge, pay attention to keeping the soil moist to improve the survival rate of the seedlings. Then, when the seedlings have grown about 3 leaves, carry out thinning; throughout the entire seedling stage of celery, thin about 3 times. Also apply light water and fertilizer about 5 times, mainly nitrogen fertilizer in the early stage, and increase the proportion of phosphorus and potassium fertilizer in the later stage. When the seedlings grow to about 6 cm, uncover the plastic film and carry out hardening-off of the seedlings. Finally, when the seedlings are two months old, 12 cm tall and have 5 leaves, they can be transplanted at the appropriate time.
3. Timely Transplanting
Before transplanting, likewise do a good job of preparing the soil and applying fertilizer in the field where they will be planted. Select strong seedlings and start planting from the outside toward the inside. Keep the planting depth so that the root crown is just not visible, keep the spacing between plants and rows at about 25 cm, and control the planting density well. After transplanting, pay attention to controlling the temperature: keep the daytime temperature at about 18°C and the day-night temperature difference at 10°C. When the seedlings grow to about 15 cm tall, begin water and fertilizer management, topdressing once every 2-3 weeks, and they can be harvested in about two months.
4. Field Management
After the celery is transplanted, we must do a good job with water and fertilizer to ensure the soil has suitable moisture content. After about 2-3 weeks, just keep the soil alternately dry and moist, then do a good job of cultivating and weeding. One month after transplanting, celery enters its vigorous growth period, so at this time it needs plenty of water and fertilizer. During cultivation, we should also focus on doing a good job of weeding. Because if there are too many weeds, they will rob the nutrients and water needed for celery growth, leading to reduced celery yield and seriously affecting planting benefits.
The above is a brief introduction to celery cultivation techniques. Celery cultivation techniques are actually relatively simple, but we should not relax management; strengthening management is the key to ensuring yield. That is all for today's introduction. This article is for reference only, and I hope it can be helpful to everyone.