Detailed Guide to Shallot Cultivation Techniques: Planting Methods and Management Essentials
Shallot, also known as small red garlic, has oval-shaped bulbs that are purplish-red, making it a rather unique seasoning vegetable. It is not commonly seen for sale in the market nowadays, but it is an allium plant with excellent flavor and high nutritional value, and it is also a good remedy for coughing up blood. If you invest in growing it, the returns should be quite good. Some people will surely ask how to grow these shallots, so I will introduce it to everyone next.
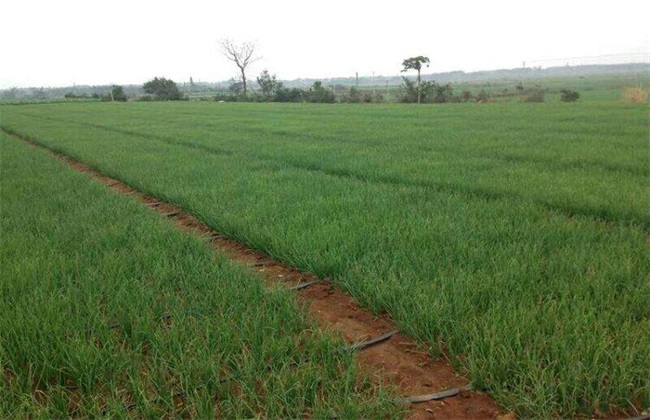
1. Land Selection and Preparation
Choose fertile, deep, well-drained, water- and fertilizer-retentive, sunny and flat land, with no similar crops grown nearby, and the field should be land that has never been planted with shallots before or land that has not had common diseases. For land preparation and ridge formation, first plow the soil; a plowing depth of 15 cm is sufficient, as shallot bulbs are not large and the root system is not long. Break up all the soil finely, then sun-expose the land for one week. After spraying, sowing can be done three days later. The ridge surface width should not exceed 1.3 m, and the length should not exceed 8 m.
2. Planting
Sow in autumn, with the best time being from August to September, and you can use bulbs saved from that summer for planting. Choose healthy, plump bulbs for planting; generally plant one bulb every 5 cm, and do not plant too densely. The plant and row spacing for planting should both be about 3 to 5 cm. When planting, you can directly dig holes 4 cm deep and 5 cm wide on the ridge surface, place the bulbs in directly, and cover with soil.
3. Water and Fertilizer Management
On clear sunny days, water in the early morning and evening when there is no sun to keep the soil moist. Then, the soil should always be kept in a state of alternating dry and wet; it must not be drought-stricken. In the rainy season, dig drainage channels to divert and drain water. Because the cultivation period is long, the base fertilizer must be sufficient, and then multiple topdressings are also needed. The base fertilizer should be a nitrogen-phosphorus-potassium compound fertilizer, applying 300 jin of compound chemical fertilizer per mu as base fertilizer. In the early stage of plant growth, apply 40 jin of nitrogen fertilizer per mu as a topdressing once. During the bulb expansion stage, apply 300 jin of farmyard manure as a topdressing once, with two topdressings in total, and also supplement 2 kg to 3 kg of magnesium sulfate per mu, plus plant ash.
4. Weeding
Weeds often grow between the rows of allium crops, so pay attention to applying herbicide before planting. After planting, as soon as weed seedlings appear, pull them out promptly to avoid competing for the shallot's nutrients. Then, after rain, loosen the soil. Generally, the spacing between rows is relatively dense, so do not use tools such as hoes; use a small wooden stick to loosen the soil to a depth of about 5 cm, and do not damage the roots.
5. Seed Saving
After planting through the winter until March of the following year, begin selecting and cultivating bulbs for seed saving. Choose robust bulbs free of pests and diseases and harvest them in May. Remove the aboveground stems and leaves, clean the bulbs thoroughly, dry them slightly, and then hang them in a dry, ventilated place.
The above are the cultivation and planting techniques for shallots. I hope they will be helpful to you after reading. After learning and understanding this, you can grow them according to your own past experience with similar crops and in combination with actual environmental and climatic conditions. The content here can provide some reference.