Detailed Explanation of Button Mushroom Cultivation Techniques and Planting Management Key Points
The button mushroom, also known as the white mushroom, is the edible fungus with the highest production and the largest consumption in the world. In China, it is mainly cultivated for export, and with the growth of domestic consumption, its market prospects are good. In addition, the button mushroom has high nutritional value and health benefits, and market demand is large, while investment is low and results come quickly. Now let's learn together how the button mushroom is cultivated.
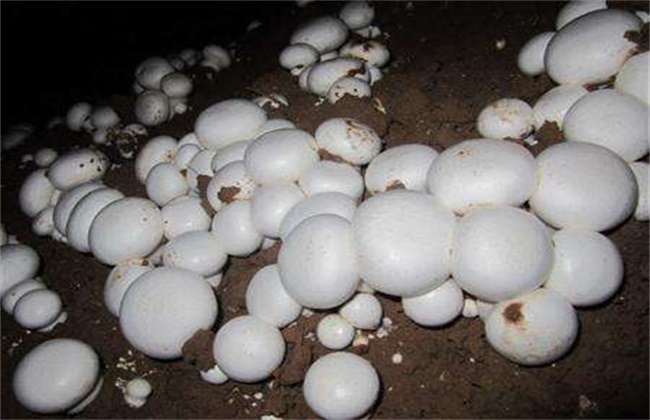
1. Mushroom Shed Management
The mushroom shed is best built on flat terrain with abundant water sources, and far from warehouses, chemical plants and other such places. It should face south with its back to the north, which helps raise temperatures in winter. If the temperature in the mushroom shed is too high or too low, or if there is too much water content or seepage and other such factors, no mushrooms will be produced. Therefore, ventilation holes must be set up properly in the mushroom shed, and all doors and holes must have door panels, so that they can be opened for ventilation and closed to be sealed, in order to control temperature and humidity. At the same time, screens should be installed on the doors and holes to prevent mosquitoes and flies from entering. Cover the top of the shed with a layer of black film, then spread a layer of 30 cm of rice straw, and cover it with another layer of film, which helps with insulation.
2. Raw Material Formula
The main raw materials for button mushroom cultivation are rice straw and cow dung, with dry cow dung being preferable. Taking one square meter as an example, generally use a formula of 1300 kg of dry rice straw, 500 kg of dry cow dung, 350 kg of dry chicken manure, 17.5 kg of urea, 75 kg of cake fertilizer, 25 kg of phosphate fertilizer, 17.5 kg of lime, and 17.5 kg of gypsum. At this point, the pH value of the compost is around 7.5-8. Alternatively, use a formula of 500 kg of dry rice straw, 1250 kg of dry cow dung and dry chicken manure, 40 kg of phosphate fertilizer, 40 kg of calcium carbonate, and 50 kg of lime, with the pH value also around 7.5-8.
3. Heap Fermentation
First, soak the rice straw in water in batches, stirring while soaking so that it absorbs water fully, then stack it layer by layer. After pre-stacking, water will flow out. On the 3rd day after pre-wetting, spread a layer of the pre-wetted rice straw, sprinkle a layer of lime powder on the surface, spray water once, then sprinkle urea and lime powder, then spread another layer of rice straw, and so on until the pre-stacking is complete. Before building the heap, crush the cow dung, chicken manure and fertilizers and mix them evenly, then pre-wet them with a low-concentration lime solution and knead them into balls. Then crush the phosphate fertilizer, gypsum and lime, mix them evenly, sprinkle them on the surface of the cow and chicken manure, mix well, and cover with plastic film. Fermentation is carried out on the 5th day of pre-stacking the rice straw. Spread the rice straw on the ground, then sprinkle a layer of the mixed cow dung and chicken manure material on the surface, and so on until the heap is built. Finally, spray water and turn the heap, measure the pH, and make suitable compost. In the end, the compost should have a water content of about 64%, a pH value of 7.5-8, no sour or foul smell, and a special fragrance.
4. Spawning
When spawning, the spawn container, the inoculation tool, and the operator's hands must all be disinfected with alcohol. First, evenly sprinkle half of the spawn on the surface of the compost, then insert your fingers into the compost and press lightly, so that the spawn falls evenly into the compost at a depth of 3-5 of the compost surface, then evenly sprinkle the remaining half of the spawn on the surface of the compost. After spawning, maintain a temperature of 22-25 degrees and a relative air humidity of 75%. Within one week after spawning, close the ventilation holes promptly so that the spawn can germinate, feed and colonize as quickly as possible. After one week, when the mycelium grows normally, normal ventilation and air exchange can be carried out.
The above is an introduction to button mushroom cultivation techniques. We hope it helps you. To learn more related knowledge, please stay tuned to us.