A Detailed Guide to Okra Harvesting Methods and Storage Techniques
As a vegetable that has risen in popularity in recent years, okra enjoys a very high level of popularity in our country. Growing okra has also become a major project for many people to escape poverty and become wealthy. With increasing market demand, okra yields and planting areas will also need to rise. When growing okra, harvesting and storage are very important. Today, the editor brings you the harvesting and storage methods for okra, so let's take a look below!
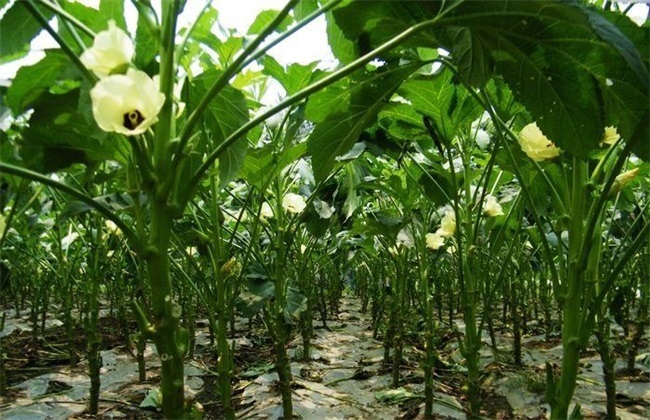
1. Harvesting standards
When harvesting okra, pay attention to observing whether the okra has reached the harvesting standard. First, make sure the pods are firm, bright in color, plump and not overly mature. The harvesting standard for okra varies with temperature changes; at high temperatures, the pods are about 10 cm long, while at lower temperatures they are only about 8 cm long. The standard should also be controlled according to the intended use, but no matter what the use is, the pod length should be kept within 10 cm. If harvested too late, the pods become over-mature and their commercial value declines.
2. Harvesting methods
After the first batch of pods is harvested, okra is generally harvested once every 3 days. The harvesting frequency should be appropriately shortened according to temperature changes; usually around August each year is the hottest time of the year and also the peak fruiting period for okra. At this time, it is generally harvested once a day, and then as temperatures drop, it gradually returns to once every 3 days. When harvesting, workers should take protective measures to prevent the plants from scratching their skin. When harvesting, use scissors to cut the pods from the stem, and do not tear them off by hand, to prevent injury to the plant. Then cut off all mature pods cleanly; if not done cleanly, it will not only reduce the quality of the individual fruit but also affect the growth of subsequent new tender pods.
3. Post-harvest storage
Okra pods have a strong respiration capacity, so if storage work is not done well after harvesting, the pods are very likely to turn yellow and become over-mature. Therefore, if the pods cannot be marketed or eaten in time after harvesting, put them in a bag, then place the bag in running water at about 5 degrees; when the pod temperature drops to about 10 degrees, then place them in an environment of about 8 degrees. Control humidity above 90%. If long-distance transport is needed, cut off the stems before transport, place the pods in a fresh-keeping bag, and transport them in a cold storage at 2 degrees. If pods that have turned yellow and wilted are found, pick them out promptly and do not store them any longer.
4. Pay attention to seed saving
When harvesting, we also need to pay attention to doing a good job of seed saving. When okra enters the growth period, vegetative and reproductive growth occur together; in order to suppress okra growth and prevent excessive nutrient consumption that leads to reduced yield, the pods set on the lower part of the okra plant in the early stage should not be used for seed saving. The pods at the top are of relatively poor quality, so they are also not suitable for seed saving. Therefore, strong, plump, mature pods from the middle should be used for seed saving. Harvest when the pod surface is yellow-brown and cracked, dry them in the sun and take out the seeds, then after doing a good job of seed selection, store them in a bag.
The above is a brief introduction to okra harvesting methods and storage. The harvesting methods for okra are relatively simple, but special attention must be paid to doing a good job of freshness preservation, otherwise it will have a great impact on the quality of okra and reduce planting benefits. That is all for today's introduction. This article is for reference only, and I hope it can help everyone!