Detailed Explanation of Chive Seedling Raising Techniques and Precautions
Chives are a common sight in our markets and are one of the important seasoning vegetables in our country. They are rich in nutrients, and long-term consumption has the effect of nourishing yin and tonifying the kidneys. They are widely cultivated and have strong regenerative ability. In many regions they are often planted in spring, and raising seedlings before planting is the key to a high chive yield. So how should chives be raised from seed? Let's find out together.
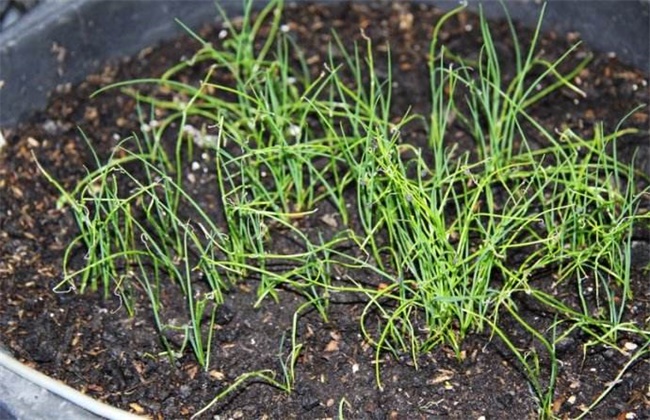
1. Seedbed preparation
Chive seeds have poor soil-breaking ability, so before sowing, make sure the seedbed soil is fertile and loose, and not too hard, lest the seeds fail to break through the soil in time and die. Generally, a sandy loam soil should be chosen for the chive seedbed, so as to allow for excess during the seedling stage and also to ensure less root damage when lifting seedlings for transplanting.
2. Seed preparation
For chives, try to choose new seeds of excellent varieties with strong adaptability. The sowing method can be dry seed sowing or seed soaking to promote germination, but note that in hot weather, soaking to promote germination requires soaking for 8-10 hours with the water temperature kept at 30-40 degrees. After soaking, the seeds also need to be rinsed with water once a day to prevent the seeds from heating up and spoiling, which would affect germination. Generally, they can be sown when the radicle shows after 2-3 days.
3. Sowing
To prevent disease at sowing time, you can first carry out coating or seed dressing treatment. After mixing the treated seeds evenly with fine soil, spread them evenly on the seedbed, then cover with a layer of fine soil, press lightly with your hand, and water thoroughly once. To keep warm and moist, you can cover with straw or stalks, which helps with emergence.
4. Building arched sheds
To ensure the safety of chive seedlings, especially in spring when temperatures are extremely unstable and there are many rainy days, which can easily harm chive seedlings. So arched sheds can be built. When building the arched sheds, it should be based on the planting area of the chives, and note that a walkway should be left between the sheds for management.
5. Seedling stage management
After the seedlings emerge uniformly, management such as watering, fertilizing, and pest and disease control should be strengthened. Generally, watering can be done 7-10 days after uniform emergence, and pesticide application for pest and disease control can be done 10-15 days after emergence. At the same time, also watch out for frost, root rot, and lodging.
The above is an introduction to chive seedling raising techniques. We hope it helps you. For more related knowledge, please stay tuned to us.