Correct methods and precautions for apple tree branch twisting
In the process of apple cultivation, branch twisting techniques are often used. So-called branch twisting is a technique of turning a certain part of a one-year-old or perennial branch by a certain angle, to change the branch's growth orientation and bud direction, and to artificially create wounds. Its main functions are to block nutrient exchange, increase nutrient accumulation, and regulate light, etc. It is suitable for vigorous branches, and when combined with pinching, the effect is very obvious. So how should branch twisting be done on apples? Let's take a look together.
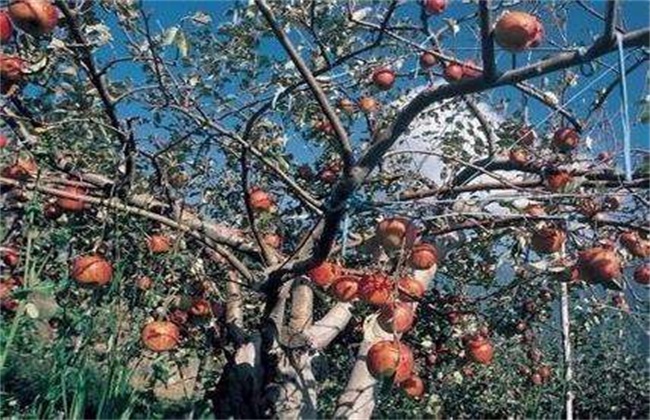
I. Branch twisting methods
1. Twisting large branches
If it is a current-year branch, it is relatively easy. You only need to grip the base firmly with one hand, and with the other hand first push inward and upward, then twist, so that after the branch turns 180 degrees, it is pulled to a 90-degree angle, making the upper side become the lower side and the lower side become the upper side, then tie it with rope to secure it. If it is a perennial, scar-free and thick branch, then two people are needed to work together.
2. Twisting branches on the upper side
Before bud break, weak branches are not moved, while vigorous branches can be lightly twisted in stages. According to the feel and force, lightly twist 180 degrees, and at the same time combine with suppressing the tip to promote budding. For branches below 15 cm, twist once in the middle; for longer ones, twist several more times, then let them grow freely. Generally, no change of direction is needed.
3. Twisting perennial large branches
Perennial branches are very hard, and the technique is difficult to control. Either they cannot be twisted, or they break during twisting. Many fruit growers simply thin them out, causing waste. The trick for twisting this type of branch is that while pushing inward and bending, the inner hand must cooperate by gripping tightly and twisting inward with force, that is, the inside and outside cooperate to twist together so it can turn. At the beginning of twisting, do not rush when you hear sounds and cracks. Wait until horizontal and diagonal cracks appear, then immediately stop twisting, tie the rope around the injured area, and continue twisting. After the base moves, shift outward. The inner hand grips tightly at the junction of the moved and unmoved parts, so that the part already turned cannot move again, while the outer hand continues bending and twisting. Continue in this way, shifting outward until the required drooping angle is reached, then stop and secure it.
II. Precautions
For twisting one-year-old branches, twist once every 5-6 buds; for twisting 2-year-old branches, twist at the junction of strong and weak parts, that is, at the very front of the weak branch section and immediately behind the strong branch section; for perennial branches, twist at the base. Before twisting, first see where the force point is. During twisting, if there is a large split wound that cannot close tightly, it is best to wrap it tightly with clean plastic film. For new shoots on the upper side that are relatively vigorous and numerous, twist them in time, turning the lower side to the upper side and the upper side to the lower side, to ease the vigor on the upper side.
The above is an introduction to apple branch twisting methods and precautions. I hope it can help you. If you want to learn more related knowledge, please follow us.