Detailed Explanation of the Three Main Pitaya Propagation Techniques
Pitaya has a good taste, is sweet and juicy, and is rich in nutrients. It is full of plant protein, anthocyanins, vitamins and water-soluble dietary fiber, and it helps with beauty care and delaying aging. So if you want to grow pitaya, how should you propagate it? Below, follow along with the editor to learn about the three main pitaya propagation techniques.
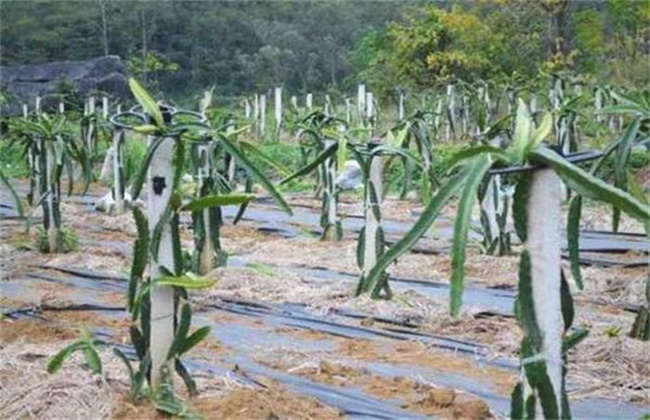
1. Cutting propagation
First, prepare a cutting bed. You can use a wooden box filled with 15-20 cm of clean river sand, or use cinder soil plus 30% charcoal powder as the growing medium. After the cutting bed is ready, cut about 30 cm of pitaya branches and leaves as cuttings. After cutting, place them in a shaded area to air-dry naturally. After about 7-10 days, once the wounds have healed naturally, choose a suitable time for cutting. This can reduce wound infection and rot, and the rooting rate reaches more than 95%. Do not water immediately after cutting; water once 10 days after planting.
2. Grafting propagation
If pitaya is propagated by cuttings, its growth and development may be somewhat poorer. To achieve high and abundant yields, grafting propagation is needed. Generally, outside the winter low-temperature period, choose 1-2 year old plants, cut them off from the mother plant at the stem node, and insert them into loose sandy soil. After building a shade shed, they can be used as rootstock. After about half a month, once the cuttings have survived, grafting can be carried out. The scion should preferably be a well-growing branch of the current year.
3. Tissue culture propagation
Tissue culture propagation involves rinsing the tender stems of pitaya clean with a little soapy water, then under sterile conditions cutting them into 3-4 cm small sections, disinfecting with alcohol for 30 seconds, then disinfecting with 0.1% mercuric chloride solution for 10 minutes, and then blotting the surface moisture dry. Then, under sterile conditions, cut the stem nodes containing areoles into 2 cm x 2 cm pieces, inoculate them onto shoot-inducing medium, and after small shoots grow, large numbers of tissue seedlings can be cultivated. Tissue culture propagation has complicated procedures, poor rooting and slow growth, so it is rarely used in production.
The above is an introduction to the three main pitaya propagation techniques. We hope it helps you. To learn more related knowledge, please stay tuned to us.