Don't Throw Away Used Plastic Buckets - Turn Them into an Aerated Compost Bin for Home Gardening
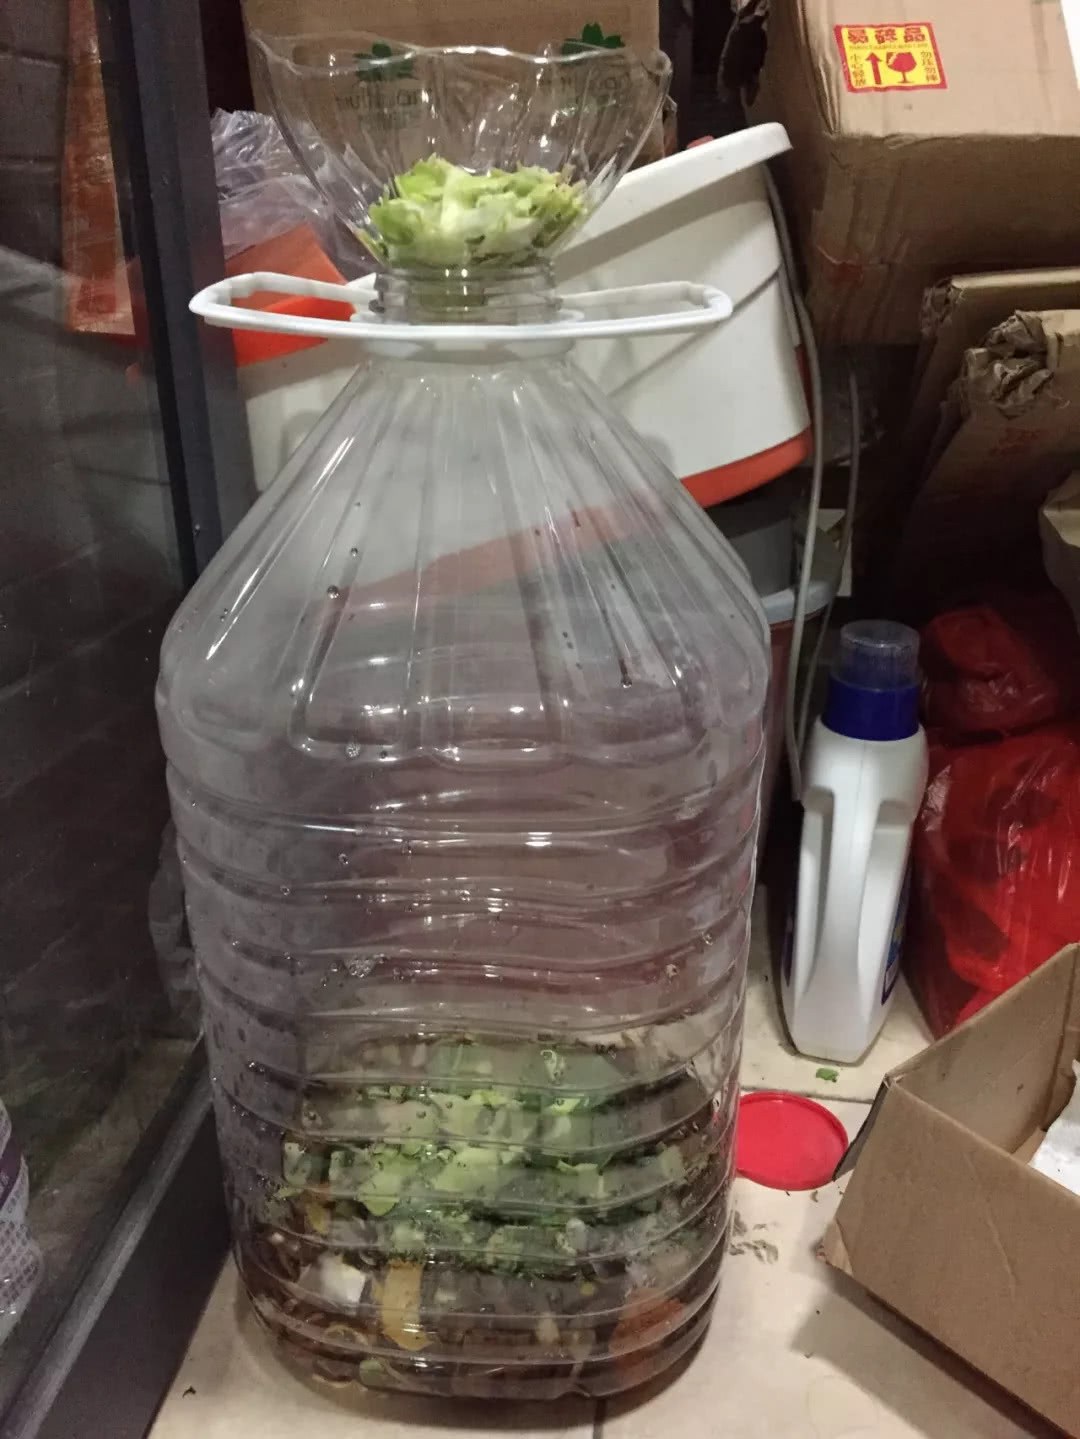
Some gardening friends may find it troublesome to move the drained kitchen scraps into the compost bin and spread them flat; or find it even more troublesome to move the half-finished compost soil into a wooden box to wait for it to fully mature; or dislike the liquid fertilizer produced by sealed compost bins, and dislike the odor it produces even more...
Oh, these are all problems that ordinary people encounter when making kitchen scrap compost, but don't let these factors become obstacles for gardening friends making kitchen scrap compost!
If you want the homemade fertilizer from kitchen scraps to not smell bad, dry aerobic fermentation is more likely to achieve this.
We can use a large plastic bucket, drill holes in it, and give it breathable properties, turning it into a two-in-one, super useful breathable plastic compost bin.
Yeah yeah, that's right. In this article, we'll talk about how to make a breathable compost bin from a used plastic bucket, using drilled holes to achieve breathability.
Plastic Compost Bin Materials and Tools
·Plastic bucket with lid (size 20~30 liters is suitable).
·Electric drill
Plastic Compost Bin Method and Steps
Step One: Drill Holes in the Bottom
Drill holes in the bottom of the plastic bucket, with about 2.5 cm between each hole, drilling the bottom full of holes in a scattered and even manner.
An electric drill bit of 0.2~0.7 mm will do.
Step Two: Drill Holes in the Bucket Body
Drill holes in the bucket body in straight lines, with about 2.5 cm between each hole, and 5~10 cm between lines, evenly distributed.
Step Three: Completion
When the bucket body is completely covered with drilled holes, it is done.
Editor's Tips:
The benefit of drilling holes in a kitchen scrap compost bin lies in odor release. The drilled holes are like the pores of the bucket, so the denser the holes, the better the effect.
Please note that the holes should not be too large. If too large, it is easy for insects to get in and out, which will bring counterproductive effects.
Oh, after finishing the plastic compost bin, will gardening friends want to try using it right away? Hehe, don't forget that if you want compost fermentation to be fast and thorough, the steps and methods for adding kitchen scraps require careful attention... hahaha!
Don't miss the exciting content next time. We will continue to talk about how we should efficiently use the plastic compost bin after making it.
Grow on the Balcony
Alright, that's all for today. If gardening friends still have any questions they hope the editor will answer, leave a message in the comment section below.
I don't know whether the editor explained clearly and in detail. For gardening friends who didn't understand, the editor has specially written an acrostic poem for you. It may not be well written, but it can help you find the editor.
More wonderful articles are all in one acrostic poem:
A gentle breeze lightly brushes, flowers remain ever present
Strolling freely, wandering in spirit to the sunny south mountain
Seeking wonders and searching for clever finds at Bronze Sparrow Terrace
Planting red and cultivating green, rising above the blue clouds
--Come challenge: A four-line acrostic-and-tail poem. Connect the first characters + connect the last characters, and you can get an eight-character motto to summon the editor's true self! When you come, remember to say: "Editor, your secret has been cracked by me"!
Growing on the balcony, learning knows no end.