A Detailed Explanation of Chrysanthemum Planting Methods and Key Technical Points
Chrysanthemum, also known as autumn chrysanthemum, yellow flower, September chrysanthemum, ju, belongs to the Asteraceae family, genus Chrysanthemum. The chrysanthemum originated in China and is now widely cultivated throughout the north and south. It is a short-day, light-loving plant that prefers a cool climate and is cold-hardy; its underground perennial roots can withstand low temperatures of -30°C and can overwinter in the open ground in northern regions, but the above-ground parts suffer cold damage at -1°C, so in northern gardens it is mainly grown as a potted ornamental and has not fulfilled its role as a perennial herbaceous flower.
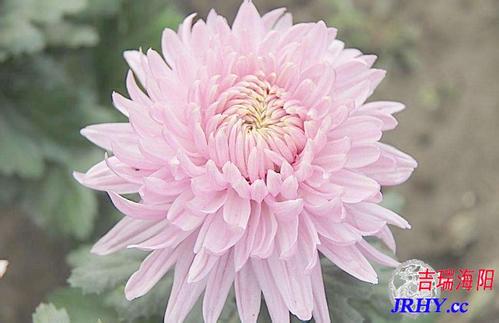
Planting techniques for potted chrysanthemums:
Selection and disinfection of potted containers: Choose clay pots or plastic pots with dimensions of 21 cm x 18 cm. Before use, soak them in a 1.25‰ aqueous solution of 75% chlorothalonil for disinfection, with the soaking time controlled at 10-15 minutes.
Preparation of potting substrate: Use fully decomposed cottonseed hulls or a mixed substrate of peat and perlite at a volume ratio of 3 to 1. Prepare a 2% aqueous solution of formalin, i.e. 40% formaldehyde, and spray the substrate evenly to moisten it, using 20-40 liters per square meter; after spraying, cover with plastic film for more than 24 hours. About two weeks before use, remove the film and let the substrate air-dry.
Potting and planting: Select seedlings free of pests and diseases, with healthy roots and excellent growth, for potting and planting. Place the seedling in the center of the pot and add potting substrate up to 1/2 of the pot. Water promptly after potting and place in a ventilated spot with ample sunlight.
When the seedling's growing tip reaches the rim of the pot, add substrate up to 3/4 of the pot and water promptly after adding. In early September, add substrate again until it is 2 cm below the pot rim, and water promptly after adding.
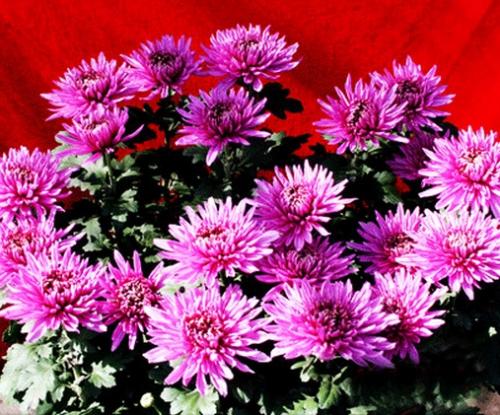
Later care and management: The temperature should preferably be controlled at 18°C-22°C; the maximum temperature should not exceed 32°C, and the minimum temperature should not be lower than 15°C. Water promptly after potting. In June-July, appropriately restrict water to toughen the seedlings; after August, increase watering to keep the potting soil moist.
Once the plant enters normal growth, begin applying nitrogen fertilizer, applying a 1‰ urea aqueous solution once every 5-7 days. In September, apply a compound fertilizer solution with an N-P-K ratio of 15 to 15 to 15 once a week; at the same time, a 1‰ monopotassium phosphate aqueous solution can be used for foliar spraying until the outer ring of petals of the flower opens, at which point fertilization should stop.
5-7 days after planting, the plant begins normal growth; spray a 5‰ aqueous solution of 50% daminozide (B9) on the plant's growing points, spraying once every 5-7 days for 4-5 sprays. Spray in the early morning or evening.
Use imidacloprid diluted 1500 times to control aphids, and chlorothalonil diluted 1000-1250 times to control powdery mildew.
Bud removal and disbudding: In early August, the plant enters a period of vigorous growth, and side buds should be removed promptly.
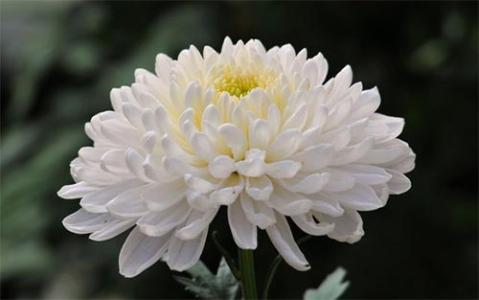
In mid-to-late September, at the early stage of flower bud formation, when side buds reach 2 mm in diameter, keep the main bud and 1-2 backup buds and remove all the remaining side buds. During this period, disbudding must be done several times; once it is confirmed that the main bud is growing well and is free of pests and diseases, remove the backup buds.
Support: Begin staking when the plant height reaches more than 20 cm. Use sturdy reed stems or thin bamboo as support material, with a thickness not exceeding that of the plant stem. The support material should be 70-80 cm long, selected separately according to the height, thickness and thinness of different cultivars.
This work should be done in the afternoon; during the operation, insert the support material vertically down to the bottom of the pot from the side of the plant facing away from the sun, at a spot where there is a gap between the leaves, and about 1 cm from the base of the stem. Use green tying string to fasten the plant stem and the support material together from bottom to top, with appropriate tightness. Once the flower head has developed fully, cut off the part of the support material extending above the flower head.