Detailed Explanation of Asparagus Planting Methods and Technical Key Points
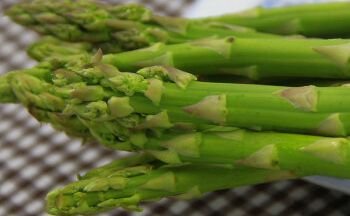
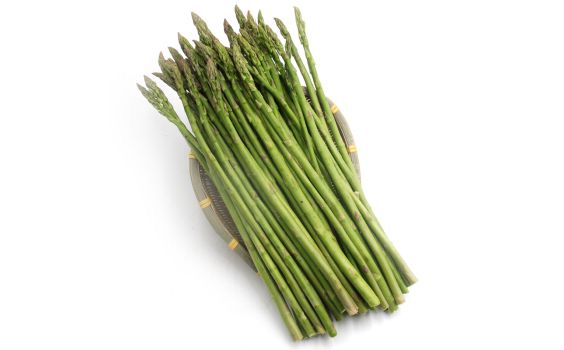
The spears that have not emerged from the soil are white and are called white asparagus; after emerging they turn green and are called green asparagus. Even if the production regions differ, no matter which asparagus variety it is, as long as it is exposed to sunlight it will turn into green asparagus; if buried in soil or shielded from sunlight, the asparagus will tend to be white in color.
Planting methods
1. Cultivating strong seedlings
To achieve high asparagus yields, in addition to selecting excellent varieties, the first step is to establish a nursery plot for raising seedlings. The most suitable time to establish the nursery is June, and the seedling-raising period is about 3 months. Make raised beds and sow in spots, with a plant and row spacing of 16.5 cm x 16.5 cm.
2. Land preparation and transplanting
Asparagus likes to grow in moist sandy loam. Before transplanting, the soil must be plowed and loosened many times and impurities in the soil removed completely. After fully sun-bleaching (1-2 months), apply decomposed farmyard manure or superphosphate plus 30 kg of potassium chloride per mu. After the manure is broadcast, plow again. For cake fertilizer, add water and ferment it for 8-10 days, then mix it with superphosphate and potassium chloride, apply it into furrows (30-40 cm deep), cover with soil, and then plant the seedlings.
3. Reasonable close planting
The most suitable planting period for seedlings is autumn planting, which has a short harvest time and a high survival rate. The plant and row spacing for planting seedlings is 25 cm x 160 cm. When planting, straighten the roots and divide them into two halves, fix them in the planting furrow holes, with the scale buds facing the center line of the bed, then cover with 5-6 cm of soil, firm it, and water thoroughly to settle the roots.
4. Fertilizer and water during the seedling stage
After planting the seedlings, if furrow irrigation is used for watering. The first fertilization can be applied 20 days after planting. From 40-60 days after planting, fertilize once every 25-30 days, applying 25-50 kg of compound fertilizer per mu or 10-20 kg of urea plus 6-12.5 kg of potassium chloride. From 4 months after planting until before harvesting spears, fertilize about once every 25 days.
5. Fertilizer and water during the harvest period
During the harvest period, fertilize once every 15-20 days, applying 20 kg of urea and 12.5 kg of potassium chloride per mu each time. At the same time, pay attention to opening furrows on all four sides and furrows in the field, draining water on rainy days, and irrigating on sunny days.
6. Selecting mother stems
About 5-6 months after planting, the seedlings put out their last batch of stems. When the stems reach 0.8-1 cm in diameter, mother stems can be selected. Generally, it is enough to keep 2-3 old, mature, pest-free and disease-free robust mother stems per clump, and pull out the rest.
7. Pest and disease control
Common asparagus diseases include stem blight and anthracnose. To control stem blight, spray with 70% thiophanate-methyl 600-fold solution or 40% carbendazim 500-fold solution. During the seedling and mature seedling stages, spray once every 10-15 days; during the mother stem selection period, spray once every 5-7 days. To control anthracnose, spray with 70% mancozeb 500-fold solution, or 75% chlorothalonil wettable powder 600-fold solution, or 80% anthracnose thiram wettable powder 800-fold solution for control.
8. Replacing seedlings
After 3-4 months of harvesting spears, the original seedlings begin to age. At this time, all the seedlings should be pulled out, leaving only the root tubers, and then the ridges should be opened and fertilizer applied to promote the tubers to send out seedlings. Generally, seedlings are replaced twice a year.