Spring wheat is planted in places where winters are very cold. Because the winter is too cold for sowing, it is sown only after the beginning of spring, and is therefore called spring wheat.
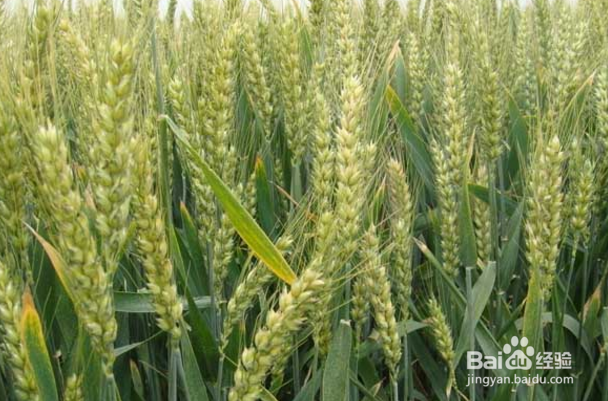
Key planting points
1. Sow early. Around the Spring Festival, when a period of higher temperatures occurs and the surface soil has thawed to a depth of about 6 cm, sow at once. Under the subsequent alternating cold and warm conditions, the wheat seeds germinate and pass through vernalization, and generally can mature in time.
2. Before sowing, treat the germinating seeds at a low temperature of 0-5°C for 10-25 days, then sow. During cold treatment, make sure the seeds have ventilation and air permeability, and do not wrap them too tightly with plastic sheeting or other airtight materials, because the respiration rate of the seeds increases after germination.
Understand the growth characteristics of spring wheat
1. The growth period is short. Spring wheat takes about 90-plus days from sowing to harvest.
2. The vegetative growth period is short. In spring wheat sown in spring, the temperature rises from low to high, and
daylight increases from short to long. It passes through the vernalization stage and quickly enters the photoperiod stage, taking about 20 days from emergence to the single-ridge stage.
3. The tillering period is short. The time from emergence to jointing is very short, there are few tillers, and the rate of tillers forming spikes is very low.
4. The root system is shallow and weak, and in the later stage it is prone to premature senescence due to fertilizer deficiency and lack of water.
5. Spike differentiation is early. Generally at the 4-leaf stage it enters the double-ridge stage, and at the 5-leaf stage the florets differentiate.
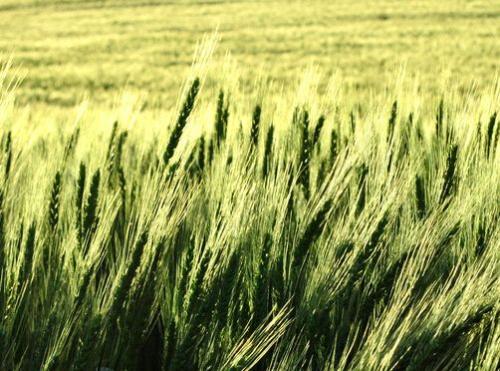
Cultivation techniques
1. Band fertilizer application, with fertilizer supporting the seed. Before sowing, apply fertilizer in bands at a depth of 9 cm underground, then sow the seeds at a depth of 3-4 cm. When the wheat seedlings reach the three-leaf stage and the nutrients in the wheat grains are exhausted, the fertilizer supply happens to be in place.
2. Apply sufficient base fertilizer. If preparing before winter, apply 2000 kg of organic fertilizer, 15 kg of ammonium phosphate, and 15 kg of urea per mu, spread them evenly in the field, and immediately plow, so as to achieve "fertility in the seed" with a plowing depth of 20-25 cm. If preparing at the end of winter,
apply 30-50 kg of standard nitrogen fertilizer per mu (increase or decrease appropriately according to differences in soil fertility), 30-50 kg of standard phosphate fertilizer, and an appropriate amount of potassium fertilizer and micronutrient fertilizer.
3. Sow early at the right time and reduce row spacing. The earlier spring wheat is sown, the better. During the vernalization stage, wheat has relatively good cold resistance, and freezing damage generally does not occur. Spring wheat has few tillers and smaller individual plants, so dense planting can achieve higher yields. Generally a row spacing of about 17 cm is suitable, or wide and narrow rows, with wide rows at 20 cm and narrow rows at 13-15 cm. The sowing rate depends on the thousand-grain weight, germination rate, and number of spikes per mu. Generally about 350,000 spikes per mu is suitable, and thus a sowing rate of about 20 kg is suitable. If soil fertility is poor or soil moisture is poor, the sowing rate can be appropriately increased.
4. Manage early. At the 3-
leaf stage, spring wheat has used up the endosperm nutrients, and this is also the spike differentiation and tillering stage, requiring large amounts of nutrients. There is little rain in spring, the wheat seedlings cannot cover the ground, and with large areas of bare ground, soil moisture escapes quickly. Therefore, spring wheat management requires early topdressing and early irrigation to promote early tillering. Irrigate the first water at the two-leaf-one-heart stage. For poor soil fertility, apply 35-40 kg of ammonium bicarbonate or 15 kg of urea together with watering; for good soil fertility, postpone fertilization until the standing-jointing stage. In principle, the second water should closely follow the first water, with an interval of 10-15 days. After the second water, the
third water should be delayed, generally irrigating the third water after the second internode has set and ineffective tillers have died.
5. Irrigate the grain-filling water well. During the grain-filling period, do not water on rainy or windy days to prevent
wheat lodging. After wheat flowering, irrigate at intervals of about 15 days.
6. Pay attention to pest and disease control. Because the stems and leaves of spring wheat are more tender than those of winter wheat, it is more susceptible to pest and disease attack. Therefore, spring wheat requires stronger pest and disease control than winter wheat.
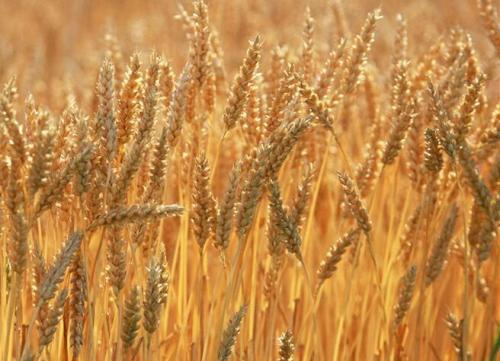
Field management
1. Irrigate at the right time. Spring wheat begins irrigation with the first water at the two-leaf-one-heart stage, and the second water is applied 10 days later, with an irrigation amount of 50-60 cubic meters per mu. Irrigation should be even, and water should not accumulate. After the second water for spring wheat, the third water should be irrigated slowly, generally at the booting stage after jointing, when 1-2 internodes have set and ineffective tillers have died. This can effectively control ineffective tillering, promote the growth of the main stem and effective tillers, and help nutrients and water concentrate toward spike differentiation, so as to promote larger spikes and more grains. The third water and the second water are generally 15-20 days apart, and the jointing-booting water should be irrigated well and thoroughly. The water amount is 70-80 cubic meters per mu.
2. Reasonable topdressing. Topdressing of spring wheat should be determined according to soil conditions and the growth of the wheat seedlings. Generally, for medium-fertility plots that did not receive seed fertilizer at sowing, broadcast 5-8 kg of urea per mu together with the first irrigation; plots with seed fertilizer may not need fertilization at the first water. For
wheat fields growing normally at the jointing-booting stage, broadcast 10-12 kg of urea per mu together with irrigation. For excessively vigorous fields, apply appropriately less, 5-10 kg of urea per mu. For weak seedlings, apply appropriately more, 10-15 kg of urea per mu. This not only provides sufficient nutrition for the robust growth of spring wheat but also prevents excessive growth.
3. Chemical weed control. Chemical weed control in wheat should be carried out as early as possible after wheat emergence, and spraying should be done before cotton emergence to ensure safe use of the chemicals. Herbicides with low drift should be selected, such as MCPA and broadleaf herbicides. The sprayer must be dedicated. Once cotton in adjacent plots has emerged, wheat field herbicides must no longer be used, to avoid herbicide damage to cotton.
4. Chemical regulation. For wheat fields with good water and fertilizer conditions and excessive growth, use 100-120 g of chlormequat per mu for chemical regulation around the
wheat jointing stage to prevent excessive elongation of wheat seedlings and lodging in the later stage.