A Detailed Guide to Snow Pea Cultivation Methods and Key Technical Points
The snow pea is a plant of the genus Pisum in the Fabaceae (papilionaceous) family, an annual twining herb reaching 90-180 cm in height. The earliest region where snow peas were cultivated was along the Thailand-Myanmar border area roughly 12,000 years ago . The snow pea did not originate in the Netherlands; it is called the "Dutch pea" because the Dutch brought it from its place of origin to China.
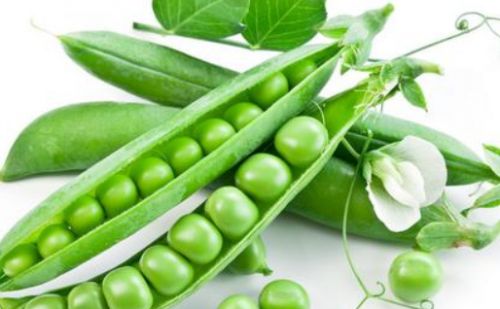
The round-bodied snow pea is also called the honey pea or honey bean (Sugar snap peas), while the flat-bodied one is called green pea or snow pea (Snow pea); it also has many other names such as small cold bean, Huai bean, hemp bean, green small bean, retained bean, golden bean, Hui-Hui bean, wheat pea, wheat bean, Bi bean, hemp lei, national bean, soft-podded pea, podded pea, sweet pea, He-Ren bean, green striped, vegetable pea and more. It can be used as food. It is grown mainly for its tender pods; it originates from the Mediterranean coast and western Asia, and the tender pods of the snow pea are crisp and delicately fragrant with very high nutritional value.

Spring Festival planting
2.1 Preparation before sowing
Choose fresh land that has never been planted with snow peas; in late autumn to early winter, plow and make beds, applying 4000 kg of farmyard manure, 50 kg of compound fertilizer and 150 kg of plant ash per mu; after mixing the manure and soil evenly, water with winter water. If winter water was not applied, be sure to water before sowing at the end of February the following year. Sun the seeds for 3 days before sowing, then select seeds and remove diseased grains, insect-bitten grains, foreign grains, shriveled grains and so on. For large-scale planting, use 30% salt water to select seeds.
2.2 Sowing
The time is early March, that is, sowing on frozen soil as soon as the soil begins to thaw; the method is dibbling dry seeds, with a row spacing of 40 cm, a hole spacing of 15 cm, 2-3 seeds per hole, and a depth of 3-4 cm; cover with fine soil after sowing, with a sowing rate of 10 kg per mu.
2.3 Management after sowing
After emergence, cultivate in time to promote root growth; in the early stage keep the ground alternately dry and moist; before flowering, water once; do not water during flowering; once small pods have formed, begin watering and keep the ground in a moist state. The first topdressing is when the seedlings are about 6 cm tall, applying 10 kg of urea per mu, followed by one cultivation and earthing up after watering and fertilizing; the second topdressing is at the peak of flowering and podding, applying another 20 kg of compound fertilizer per mu.
When the vines begin to trail, insert a herringbone trellis made of thin bamboo poles to prevent the snow pea stems and vines from falling over; 2.5 Harvesting: more than 14 days after flowering, when the pods are dark green and the beans begin to plump up, harvest for market.
Autumn planting is very different from spring planting and must undergo special treatment to complete the vernalization stage of the seeds and the safe overwintering of the young seedlings in the early stage.
3.1 Seed treatment
Soak the seeds for 20 hours before sowing; after draining, place them in a 0-5°C environment for vernalization treatment, turning them once every 2 hours; after 10 days, the seeds can pass through the vernalization stage.
3.2 Shading management in the early stage
The autumn sowing time is early August, when daytime temperatures are very high, so after sowing use a shade net for floating row cover to block strong light, lower temperature and increase humidity, so as to favor emergence. After the seedlings appear, cover with the shade net on sunny days and remove it on cloudy and overcast days, and drain promptly after rain. When the daily maximum temperature reaches about 25°C, remove the shade net; other management is the same as above.

In winter, snow peas are mainly grown in simple solar greenhouses, with seedlings raised in early October, transplanting in early November, and harvesting from late December to early to mid-February the following year.
4.1 Raising seedlings
After seed selection, sow dry seeds, dibbling 2-4 seeds per hole, with a hole spacing of 10 cm, and a calendar seedling age of about 30 days. When the seedlings have 4-6 true leaves, select strong seedlings with thick stems, short internodes and no lodging for transplanting.
4.2 Temperature management
When daytime temperatures exceed 25°C, ventilate promptly to remove moisture, and keep nighttime temperatures no lower than 10°C. During the podding stage the temperature can be somewhat lower, 15-18°C during the day and 12-16°C at night.
4.3 Hormone treatment
During the flowering stage, spray the leaves with 30×10-6 anti-drop agent to prevent flower and pod drop.