Detailed Explanation of Key Planting Techniques and Management Methods for Daylily
Planting Time
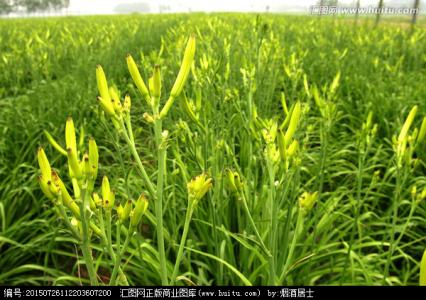
Daylily is still a seasonal vegetable on the market, and daylily is only produced in certain seasons. The production period of daylily is generally from June to August. Daylily can generally be planted in two seasons, so spring and autumn are the normal planting times for daylily. Its growth period is divided into seven stages: sprouting stage, leaf-unfolding stage, bolting stage, flowering stage, leaf-withering stage, leaf-unfolding stage the following year, and dormancy stage. This also shows that planting daylily can continue to be harvested for several years, making it very cost-effective.
Planting Methods
1. Site selection and land preparation
Daylily is not very strict about soil requirements. Its ability to resist poor soil and drought is extremely strong, and its lifespan is relatively long. It can generally grow for five to eight years, so it is quite suitable for being planted alone on hillsides, mountain areas, and similar places. However, if it can be planted in places with looser and more fertile soil, it will grow better, the yield will be higher, and its service life can also be extended. During land preparation, try to plow deeply, as this can avoid the threat of some pests and diseases as much as possible, and can also prevent lodging.
2. Planting method
There are two planting methods for daylily. The first is raising seedlings by sowing, placing daylily seeds into a seedbed for seedling cultivation, and transplanting after the seedlings grow. However, this method has two disadvantages: the yield is not high and the quality is not good; second, after planting, it only blooms in the third year, and normal yield is only reached in the fourth year, so the first method is generally not recommended. The second method is propagation by division. After harvesting daylily in autumn or after dormancy, separate the young roots newly grown from the old seedlings and plant them. After planting this way, they can bloom and be harvested the following year, making the efficiency much higher. If there are no old seedlings, you can also buy them from others.
3. Field management
Daylily should be planted at a reasonable density, generally with a spacing of thirty-five to forty cm per plant. The most suitable temperature for daylily growth is around fifteen to twenty degrees, so temperature regulation is needed during its flowering period. This can promote flowering and improve quality and yield. The most important thing for daylily is fertilizer management. Generally, we apply topdressing three times. The first fertilization is at the time of sprouting, applying a mixed fertilizer of nitrogen fertilizer, phosphate fertilizer, potassium fertilizer, and urea to promote sprouting and shorten the sprouting period. The second fertilization generally uses urea and potassium fertilizer to promote new branch growth. The last fertilization is at the time of flowering, which helps shorten the flowering period for harvesting.
4. Disease prevention
Daylily has relatively few diseases, with only some aphids or leaf spot disease appearing sometimes. Therefore, when few aphids are found, they can be removed manually. When there are many, dimethoate emulsifiable concentrate should be sprayed, and harvesting must not be carried out within half a month after spraying. Next, for leaf spot disease, chlorothalonil is generally sufficient.
5. Harvesting and processing
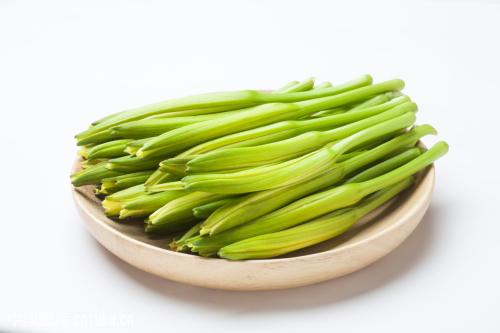
Daylily generally blooms at night, so it is usually harvested every morning. Once noon arrives, it withers. If encountering rainy weather, try to harvest one day in advance, because at that time its growth speed is very fast, and if you still follow the usual time, it will be useless. After harvesting, daylily needs to be processed. Generally, first steam it dry, then sun-dry it, and finally pack it well.
Ornamental Value