A Detailed Guide to Lavender Planting Methods and Key Techniques
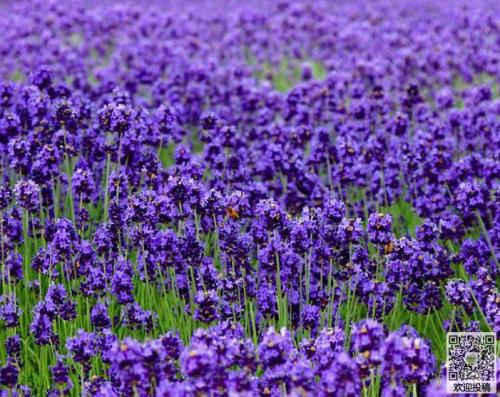
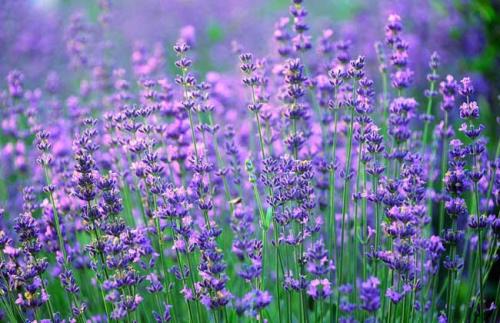
Lavender (Latin scientific name: Lavandula angustifolia Mill.), also known as perfume plant, lingxiangcao, vanilla, huangxiangcao, and lavandula, is a small shrub of the genus Lavandula in the family Lamiaceae under the class Dicotyledoneae. The stems are erect, covered with stellate hairs; the old branches are grayish brown with a bark that peels off in strips. The leaves are linear or lanceolate-linear, covered with sparse or dense gray stellate hairs, grayish white or olive green when dry, with entire margins that curl outward. The verticillasters gather at the tips of the branches into interrupted or nearly continuous spikes; the bracts are rhombic-ovate, and the bracteoles are inconspicuous; the calyx is ovate-tubular or nearly tubular; the corolla is about twice as long as the calyx, with a straight tube that is glandular-hairy inside at the throat. The nutlets are elliptic and smooth.
I. Methods of Propagating Lavender by Seed
1. Prepare the pot and soil: First, prepare a suitable flower pot, preferably short and wide. The soil medium should be loose, breathable, and well-draining. You can buy a soil medium specially made for growing lavender at a flower shop, or mix peat with a small amount of perlite.
2. Treat the seeds: Select seeds that are uniform in size, plump, and glossy on the surface. Soak the lavender seeds at a temperature of 40°C; after the water cools, continue soaking for 24 hours. If conditions permit, you can also soak them in sulfuric acid for five minutes, then rinse and dry them before sowing.
3. Sow properly: If sowing in a home potted plant, only 2 to 3 seeds need to be dibbled into each pot. After sowing, cover the seeds with a thin layer of soil, preferably 2 to 3 times the diameter of the seeds. Then water gently with a fine spray bottle to avoid washing the seeds away; you can also use the bottom-watering method to let water soak the potting soil from below upward.
4. Care until sprouting: After sowing, lavender seeds will emerge in about a week. To prevent pest and disease problems, you can spray the seedlings once every half month with an 800-fold dilution of carbendazim to prevent disease. There should also be a certain amount of light at ordinary times; otherwise, the leaf buds will grow leggy and the stems will be slender. Once 4 to 6 leaves have grown, normal care can begin.
II. Methods of Propagating Lavender by Cuttings
1. Choose the branch: First, select a robustly growing branch from the mother lavender plant. It should be one that has not sent up a flower spike, has short and thick internodes, and has grown for about a year and become semi-lignified. Such a branch is most suitable as a cutting. Then cut this branch down to about 8 to 10 cm. The lower cut of the cutting should preferably be about 1 cm near a stem node, and remove 2/3 of the leaves from the lower part of the branch.
2. Prepare the pot and soil: Prepare a flower pot and soil medium with the same requirements as for the seeding method. The soil can be a mix of peat and perlite, and the potting soil needs to be sterilized once before cutting. If the temperature is not suitable, you can also prepare plastic film for covering to keep warm and retain moisture.
3. Insert into the soil: Then insert the lavender cutting into the potting soil to a depth of about 5 to 8 cm. After cutting, water thoroughly at once. Covering with plastic film can increase humidity and soil temperature, promote rooting of the cutting, and improve the survival rate.
4. Care until rooting: Generally, about 10 days after cutting, the lavender cuttings will root. Just after rooting, they are rather sensitive to soil, so do not water for now; it is best if the potting soil is slightly dry. Once the root system has developed soundly, normal care can begin. The above is the whole process of lavender planting methods. After planting well, do not forget proper care.
III. Lavender Care Techniques
1. Water moderately: The principle for watering lavender is not to water when the soil is not dry, and to water thoroughly when you do. In spring and autumn, you can keep to watering once a week; in summer, when temperatures are high, keep to watering once every 2 to 3 days; and in winter, watering once every half month is no problem. When watering, avoid splashing water on the leaf surface to prevent pests and diseases.
2. Plenty of light: Lavender needs plenty of light for growth. On ordinary days, it can be placed in a sunny spot. Apart from the strong light of midsummer, which needs shading, it can grow normally in other conditions. If the temperature is too high or the air is too dry, you can spray water mist around the plant to maintain humidity. If there is insufficient light, lavender will fail to bloom.
3. Control the temperature: The most suitable temperature for lavender growth is between 15 and 30°C. If the temperature is above 35°C, lavender needs to be placed in a cool, ventilated place for care; otherwise, it will be scorched and wither. Lavender is relatively tolerant of low temperatures and only begins to go dormant below zero degrees; mature lavender can withstand low temperatures of minus 20°C.
4. Fertilize reasonably: Lavender generally does not need additional fertilizing. The fertilizing periods are generally before and after flowering, and no fertilizer is applied during the flowering period. The fertilizer should mainly be nitrogen, phosphorus, and potassium fertilizer. Apply once before flowering to provide the nutrients needed for blooming. Apply once after flowering to replenish the nutrients consumed by flowering and help it bloom better next time.
5. Pruning: Lavender flowers have the richest essential oil content. When using it, the flowers or inflorescences are mainly used. To make harvesting easier, in the early stage of cultivation some small inflorescences may as well be leveled off entirely with large scissors; the newly grown inflorescences will then be uniform in height, which is helpful for harvesting all at once. Some varieties can reach 90 cm in height; this method is also used to keep the plant low and encourage more branching and flowering, increasing the harvest. After flowering ends, pruning must be carried out. The plant can be pruned to 2/3 of its original size; the plant shape will be more compact and this is beneficial for growth. Pruning should be done in cool seasons such as spring and autumn. Generally, prune in spring; pruning in autumn will affect cold hardiness. When pruning, be careful not to cut into the lignified parts, so as to avoid weakening or death of the plant.