Pencil Tree Planting Methods and Key Technical Points
The pencil tree, scientifically known as Euphorbia tirucalli, is also called the green coral. It originated in arid regions, and to reduce water evaporation its leaves gradually degenerated and even disappeared. Because of its peculiar tree shape, with no thorns and no leaves, people call it the "pencil tree."
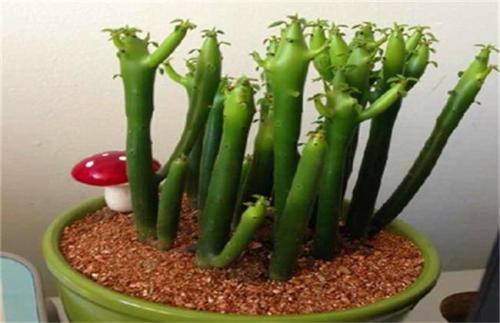
Growth Habits
The pencil tree prefers a warm environment and tolerates drought and dry conditions, but it suits well-drained soil. It originated on the African continent, where the climate is arid and hot with no rain all year round. In such an environment, to adapt and avoid dying of drought from water evaporating through its leaves, the pencil tree evolved over a long period of growth so that its leaves became fewer and fewer until they disappeared, which is how it came to look as it does today.
Cultivation Techniques
The pencil tree is drought-tolerant and dry-tolerant. If grown in a warm climate, it grows extremely fast. It can be planted outdoors in warm southern regions, while in the north it needs to be moved into a greenhouse in winter. During cultivation, we mainly manage it in terms of light, watering, fertilizing, pruning and pest and disease control.
1. Light: The pencil tree has a relatively high demand for light. Its branches contain a large amount of chlorophyll, which replaces the leaves in photosynthesis. Lack of light will lead to poor growth and may even cause death.
2. Watering: The pencil tree is very drought-tolerant, and it is usually not advisable to water it too much. Too much water easily rots the root system. Water only when the soil is dry and let it dry out before watering again. In summer the weather is hot and temperatures are high, so be careful to avoid heavy rain soaking it right after exposure to the sun during the day, which can cause leaf drop. When the temperature reaches above 30 degrees, the plant enters a semi-dormant state, and watering should then be controlled.
3. Fertilizing: The pencil tree has a low demand for nutrients. During its growing period, applying 1 round of rotted, thin liquid fertilizer containing nitrogen, phosphorus and potassium is enough. Never make it too concentrated. Never fertilize when the temperature is too low, as this easily causes root rot.
4. Changing soil: When growing in pots, repot once a year and replace the soil with new, loose sandy soil. At the same time, as it grows, it needs to be moved to a larger pot, generally once every two to three years.
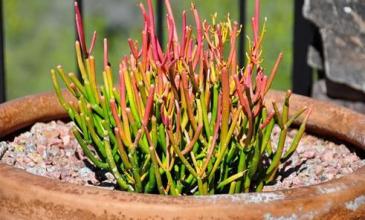
5. Diseases: The main diseases are anthracnose and leaf spot. They can be sprayed with a 1000-fold solution of thiophanate-methyl wettable powder. In poorly ventilated indoor conditions, the stems and leaves are prone to scale insect damage, which can be killed by spraying a 1000-fold solution of omethoate emulsifiable concentrate. Too much watering easily leads to root rot, so pay attention to drainage and ventilation.
6. Pruning: You can start by pruning the root system, cutting away some necrotic, rotten and weak roots. If the root system is relatively dense, you can trim and tidy it yourself. Next are the stems and branches: cut away some diseased, weak and damaged branches, and then prune for overall appearance. You can also cut off some branches and replant them.
During pruning, be sure to prevent the sap from contacting the skin, especially the face and eyes. Take protective measures when pruning, and you can wear a face veil and gloves.