How to propagate witch hazel by layering? Detailed explanation of the key techniques
Witch hazel mostly grows on hillsides, in stream valleys and other such places. It is a high-mountain tree species and a warm-climate tree species, but witch hazel has relatively strong cold tolerance and can still grow in the open at temperatures of minus 15°C. Witch hazel is mainly propagated by seed, and can also be propagated by layering and grafting. Below is an introduction to the layering propagation technique for witch hazel:
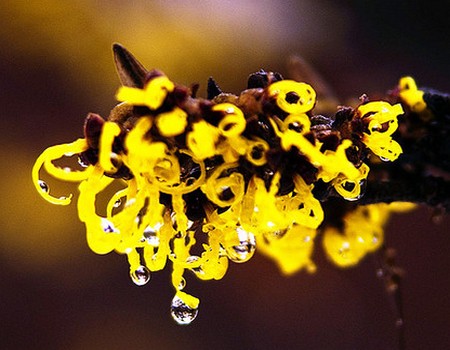
Layering propagation of witch hazel can be carried out in both spring and autumn. Cut and wound the branch below a node, and bury it in a trench that has already been dug, with a trench depth of 6-8 cm. With the tip pointing upward, fix the branch in place with bamboo skewers, then cover with soil, and keep the soil constantly moist. In the following spring it can be cut from the mother plant and planted separately. Transplanting: witch hazel tolerates transplanting relatively well. It is generally carried out in October-November. Transplanting too late will affect flowering in early spring. Small and medium-sized seedlings should be transplanted with the original soil around the roots, while large seedlings need to be transplanted with a soil ball.
If the grower only needs a small number of seedlings, the air-layering method can be used for effective propagation. The time is after the new buds sprout in spring. When layering, select a robust branch with a tree-like form, and on its middle-to-lower part choose a smooth spot to make a ring cut and peel the bark, with the ring opening 2.5~3.0 cm wide. When peeling, the cambium of the ring opening must be completely removed; if a small amount of cambium remains, it should also be scraped off with a knife. It is best to apply a 0.05%~0.1% naphthaleneacetic acid aqueous solution to the ring opening. If this hormone is not available, a 10% sucrose aqueous solution can also be applied. This helps the layering ring opening form callus tissue and take root.
After the medication is applied, wrap the ring opening with plastic film. First tie the lower end tightly, smooth out the film, fill it with rooting culture soil made from moss, mountain soil, dried cow dung, etc., wrap it around the ring opening, water thoroughly, then tie the upper end tightly so that it forms a soil ball.
For subsequent management, the main task is to keep the soil moist. Especially during the period of callus formation and rooting, the soil absolutely must not dry out, otherwise the new roots that have grown will die. When necessary, the string at the upper end can be untied, and after replenishing water, tie it tightly again. Branches treated with the medication take root relatively quickly and can be cut off with the soil ball in autumn. When planting, be careful to remove the plastic film and protect the root system well. After planting, water thoroughly so that it survives.