Illustrated guide to the cleft grafting technique for bonsai, with detailed steps that are easy to understand at a glance
Grafting is the artificial joining of tissues such as a branch or bud from one plant onto a suitable part of another plant, such as a branch, trunk or root, so that they heal and grow together to form a new plant. This branch or bud is called the “scion”, and the plant that receives the scion is called the “rootstock”. Grafting flowers and trees places great emphasis on technique, especially for some rare and precious flowers and trees; only when the grafting is done well can the flowers and trees survive smoothly and achieve the desired effect.
Grafting technique is used in bonsai; it is a leap forward in bonsai craftsmanship, hanging fruit on male tree species that cannot bear fruit, turning large-leaf species with poor ornamental value into attractive small-leaf varieties, and turning incomplete trees that lack branches and foliage into perfect ones, into whole trees…… Grafting technique shortens the time needed for a bonsai to take shape and changes the grade, quality and value of the bonsai.
Below, let us introduce the bonsai grafting technique——an illustrated guide to the cleft grafting technique:
1. Choose the plant variety and rootstock you want to graft
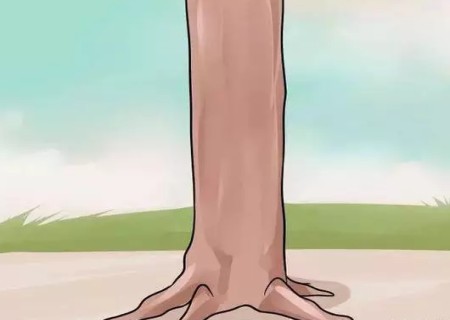
In order to graft successfully, you must cut a scion (a small piece, used for grafting) from a healthy, disease-free plant variety (source tree) and a suitable growing tree (rootstock). The scion should have gone through three dormancy periods, or should not be in the process of sprouting. A branch about 0.3 m long has three to five buds on it. The rootstock should be straight and smooth, and the diameter of the vertical branch should be 2.5-5 cm. Cleft grafting should be carried out in spring before the bark of the rootstock begins to slip (when it can be peeled off easily). This grafting method is usually used on a large number of branches at the top of a mature tree (to change the fruit type).
2. Cut off the rootstock
Choose a point below where the branch is very straight and flawless within 15 cm, then make a clean vertical cut and remove the remaining branch. Be careful not to split the branch or the bark. Be sure to leave a nearby sprouting branch so that nutrients can flow up the tree.
3. Chop the rootstock
Use a grafting knife or axe to cut straight down 15 cm from the center.
4. Prepare the scion
Remove the tip and base of the scion. Starting from the bud below the bottom, make cuts from both sides of the scion straight down to the bottom.
5. Insert the scion into the rootstock
Use a large screwdriver or a small chisel to make the rootstock split, and insert the scions on both sides of the split. Once again, make sure that the green layer of the wood (not the bark) is aligned. The uncut side of the scion should be higher than the top of the rootstock.
6. Seal the graft
Pour grafting wax or asphalt water emulsion over the grafted area to seal all cut surfaces and prevent drying and the entry of bacteria. Check the seal again the next day to make sure there are no holes that would leave the surface exposed.
7. Care for the graft
Remove all buds growing below the graft. Once one scion grows better than the others, prune away the others that are not growing successfully. Two summers after grafting, remove all branches and buds except the strong scions.
Summary:
Grafting technique is an advanced technique for ensuring variety and survival, and from the standpoint of bonsai studies it is a masterful skill. Using grafting in bonsai should be a kind of advanced spiritual creation, an art of applying life, and even more a brilliant touch that brings out the beauty of bonsai!