Detailed Guide to Fig Cuttings: Master the Method to Improve the Survival Rate
Figs have high edible and medicinal value and are also somewhat ornamental. Besides being planted in the ground, they can also be grown in pots, and even made into bonsai for appreciation. To grow figs in pots, the first issue to solve is the source of seedlings. Fig seedlings can be obtained through cuttings, division, and layering.
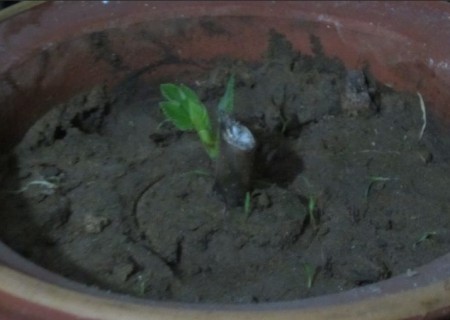
Potted figs are mostly grown from cuttings. This method is simple and quick, and it also preserves the characteristics of the mother plant. So how exactly do you propagate potted figs from cuttings? Today, the editor will explain the fig cutting technique for you.
1. Choosing a flower pot
Since this is propagation by cuttings, it is recommended to choose a flower pot with a diameter of more than 20 cm. It is best to use a clay pot or tile pot with good breathability. This type of pot has a rough body, is low in price, and is convenient to use. More importantly, it has good air and water permeability.
2. Preparing the substrate
For fig cuttings, clean river sand is suitable as the substrate. Of course, adding some humus soil when mixing the soil is even better. However, before use, the two need to be mixed evenly and then placed in the sun to bake before use, so as to achieve the effect of sterilization and disinfection.
3. Cutting time
Fig cuttings can be taken between March and May, before the mother plant unfolds its branches and leaves.
4. Cutting the cuttings
We can cut vigorous-growing branches from the mother tree as cuttings, but when pruning, more than 2 nodes need to be retained, and then cut into sections 20 cm long. Then soak them in tap water that has been exposed to sunlight, and scrub the cuttings clean with a fine-bristle brush.
5. Cutting process
Once the preparatory work is ready, we can begin taking cuttings.
1) Insert the soaked cuttings evenly into the potting soil. For a flower pot with a diameter of 20 cm, 4-5 cuttings can be inserted, with the insertion positions evenly distributed.
2) Keep at least 1 node each on the part inserted into the growing medium and the part exposed above the soil surface. Then, after pressing the surface of the potting soil firm, spread a layer of sand about 1 cm thick and water thoroughly once.
3) Bend wire into an arch and place it on the pot as a support, then lay a layer of clear plastic film over the wire and let it stretch tight, then tie the plastic film tightly at the rim of the pot. Finally, make several small holes of moderate size in the upper part of the plastic film to allow ventilation.
4) After completing the above operations, place the flower pot in a place by a window where it can receive light for care. Usually pay attention to observing the dry and wet state of the soil in the pot, replenish water appropriately, and ensure the potting soil remains moist.
5) When most of the cuttings have grown 4-5 leaves, we need to remove the previously covering plastic film to harden the seedlings. After about 2 weeks, the color of the young leaves of the cuttings will gradually deepen, and then they can be potted and transplanted.