How to Divide a Guzmania: Detailed Division Method
In a previous article, I introduced a tutorial on dividing a Guzmania. To help fellow growers better understand Guzmania division and propagation, today I'd like to share another article on how to divide a Guzmania.
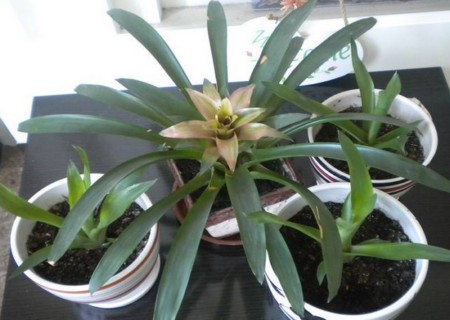
This method differs slightly from the one in the previous article, but it achieves the same division result. Whichever division method you use, the goal is to grow a beautiful potted Guzmania. Let's take a look at the specific steps below.
1. Removing from the pot
Gently tap the outer wall of the pot to loosen the potting soil from the inner wall, then tip the mother plant out of the pot and gently remove the soil clinging to the roots.
2. Washing the roots
Washing the roots of a Guzmania does not mean soaking the roots in water to clean them; you can rinse the roots at the base of the plant with water to make the root hairs easier to identify.
3. Trimming the roots
First, untangle the jumbled, intertwined roots, then inspect and select the healthy, robust roots, making sure a single mother plant has more than 5 healthy roots.
4. Dividing
After untangling the mother plant's roots, decide how best to divide it. Then use a knife to cut from the top of the plant down through the roots, keeping the cut area as small as possible.
5. Trimming the leaves
To reduce water evaporation from the leaves of the new plants, some leaves need to be trimmed off appropriately before potting. It is recommended to remove old leaves and leaves that are poorly distributed.
6. Potting
Pot the prepared new plants separately in different pots. Three days after transplanting, you can spray the plants with a dilute carbendazim solution.
7. Care
After potting is complete, place the pots with the new plants in a ventilated, bright spot for care, and let the plants receive some indirect light at appropriate times, avoiding direct sunlight.