The Best Time and Method for Propagating Azaleas from Cuttings
In landscaping and landscape engineering, azaleas have become increasingly widely used, and in recent years market demand has been growing. Therefore, for the propagation of azalea seedlings, improving methods to increase production efficiency is particularly important. There are quite a few ways to propagate azaleas; you can use sowing, cuttings, layering and grafting methods to raise young plants.
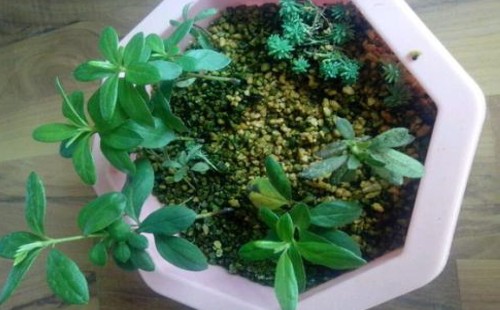
But for home users, potted azaleas also have extremely high ornamental value and are deeply loved by potted plant enthusiasts. Moreover, azalea propagation is relatively simple, usually done by cuttings to achieve the goal of breeding potted young plants. So, when should azaleas be cuttings? How do you take cuttings?
Practice has proven that azalea cuttings can be done during the spring and summer months of May-June; they can also be done during the autumn months of September-October. However, considering the effect of temperature on the sprouting activity of azalea cuttings, it is usually most suitable to take cuttings in May in spring and October in autumn. Let's take a look below at how azaleas are propagated from cuttings!
1. Making the Cuttings
For azalea cuttings, generally choose robust half-year-old or one-year-old branches that have become semi-lignified as the cuttings, with a length preferably kept between 8-10 cm. And when making the cuttings, the cut must be at a slant to increase the area in contact with the soil, which is very effective for improving rooting. At the same time, in order to reduce water evaporation, usually only 2-3 leaves on the cutting need to be kept, and the upper half of the leaves is cut off.
2. Soaking in Rooting Water
Rooting agents or rooting powder are mostly used during cutting propagation to speed up rooting of the cuttings, and the same goes for azalea cuttings; usually the end inserted into the soil needs to be soaked in a rooting agent solution for about 1 day. Of course, we can also skip soaking in rooting agent and directly apply rooting powder, which can likewise achieve the purpose of promoting rooting.
3. Making the Cutting Bed
Azalea is an acid-loving tree species, so the soil we use to make the cutting bed should also maintain a certain acidity, as this is more conducive to the sprouting of the cuttings and the growth of the cutting seedlings. For the soil mix, you can use 4 parts peat soil, 3 parts garden soil and 3 parts coconut coir mixed together, and use it after stirring evenly. And before taking cuttings, the cutting bed needs to be watered thoroughly in advance to ensure the soil has suitable moisture when cutting.
4. The Cutting Process
Poke some holes in the cutting bed, then insert the cuttings into them one by one. After all the cuttings have been inserted into the soil, gently press the loose soil around the cuttings with your hand to make the soil contact the cuttings as fully as possible, and also to achieve a stabilizing effect.
5. Care and Management
After all the cuttings have been inserted into the soil, water them thoroughly, then move the cutting seedlings to a cool environment with normal air circulation for care. To retain moisture, we can also cover the seedling bed with plastic film. If the growing conditions are suitable, usually in less than 1 month, the young plants can adapt to the new growing environment. After that, you can provide them with appropriate light, but avoid direct strong light, and at the same time do a good job of watering and moisturizing the soil.
6. Potting and Transplanting
Usually, 1.5 to 2 months after cutting, the cutting seedlings will show signs of rooting. At this point, the previously covering plastic film should be removed in time to ensure smooth air circulation and exchange. After that, usually keep watering once each morning and evening. After about another 1 month, when the new roots of the cutting seedlings have grown relatively stable, we can pot and transplant the young plants. At this point, the young plants should be transplanted into new pots with a diameter of 10 cm.