Detailed Guide to the Water Propagation Method for Winter Jasmine Cuttings
In the previous article published by the editor, I introduced the timing and methods for taking winter jasmine cuttings, though that was a soil propagation method for growing young plants. Today, the editor will introduce another propagation method——the water propagation method. So, how do you water-propagate winter jasmine? Below, the editor will share the water propagation method for winter jasmine.
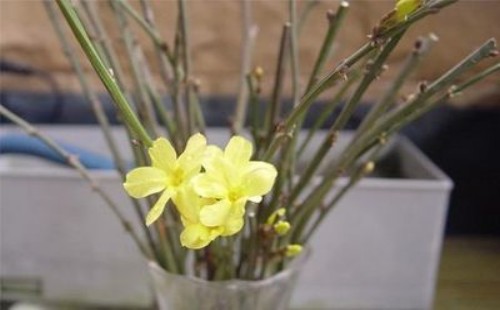
In short, water propagation of winter jasmine means cutting branches from a mature plant and inserting them into a container filled with water. Generally, a glass container is used so that you can see the sprouting and growth of the cuttings inside the bottle. During this period, the main task is to change the water frequently. Once roots and shoots have formed, the cuttings can be transplanted into soil. This method usually results in faster rooting and is quite suitable for propagating young plants.
I. Timing for Water Propagation
As long as the temperature is suitable, water propagation of winter jasmine can be done in all four seasons. However, if done in winter, the vase needs to be placed indoors in a bright, sunny spot. In summer, direct sunlight must be avoided, so shade measures need to be taken promptly. Also, the water temperature during propagation should be kept between 15-20°C, and the indoor temperature should be close to this as well. Under such conditions, the cuttings will usually sprout normally, and the success rate is relatively high.
II. Preparing the Cuttings
The selected cuttings should be robust and vigorous with very plump buds, trimmed to a length of about 8-12 cm, while retaining 2-4 nodes. Generally, cut from a position about 2 mm below the branch, while keeping a few leaves to prevent excessive water evaporation, which also helps promote rooting.
III. Choosing a Container
Usually we choose a transparent glass container, which can be a glass vase. The mouth of the vase should be slightly larger, ideally with a neck below the opening, and the capacity should also be somewhat large. Before use, it should be sterilized and then rinsed clean with water.
IV. Water Propagation Process
Fill the container with clean water, preferably purified water, to a depth of 8-10 cm, then bundle the cuttings together and insert them into the bottle. The portion of the cuttings submerged in water should be about 4-6 cm. Then place the vase in a semi-shaded and well-ventilated spot. During this period, the water quality needs to be kept clean, so change the water frequently, and you can also add a few drops of nutrient solution. Generally, the water can be changed once every 3-5 days. If all goes well, the wound area will gradually heal in about 3 weeks, and roots will form after 1 month.
V. Potting and Planting
When the root system of the cuttings reaches 3-5 cm in length, we need to transplant them promptly. They can be grown either in water or in soil, but usually they are transplanted into potting soil for soil cultivation. However, the process requires care to avoid damaging the roots as much as possible. After planting, place them in a semi-shaded location for management. Usually after about 1 week, once the plant has resumed normal growth, normal management can be resumed.