How to propagate Daphne odora 'Aureomarginata' by cuttings? Teaching you the correct method
Daphne odora 'Aureomarginata' is a plant with very fragrant and showy blooms. Because of its high ornamental value, its certain tolerance to shade, and its preference for a bright, well-ventilated semi-shaded environment, it is very suitable for growing as a potted plant indoors near a windowsill. This way it can be enjoyed for its beauty while filling the room with fragrance, making it very practical.
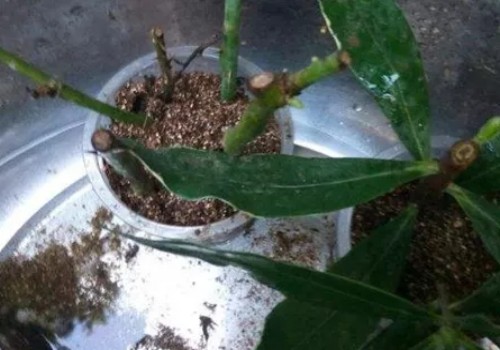
Not only that, Daphne odora 'Aureomarginata' also has fairly strong adaptability to the environment, and features easy propagation and simple care. Especially when it comes to propagation by cuttings, as long as it is done in a relatively suitable temperature environment, it will readily take root and survive. So how do you propagate Daphne odora 'Aureomarginata' by cuttings? Today, the editor will briefly share with you the cutting propagation method for Daphne odora 'Aureomarginata'.
1. Preparing the substrate
Daphne odora 'Aureomarginata' likes fertile, loose, breathable and well-draining slightly acidic sandy loam. Generally, a mixed substrate made from leaf mold, garden soil and sand is used for cutting propagation. You can also use a mixed substrate made from red soil, leaf mold and river sand, or from pond mud, humus soil and river sand. To increase the fertility of the substrate, we can also add a little cake fertilizer to the mixed soil as a base fertilizer, which ensures the cuttings can obtain sufficient nutrients from the soil to sustain growth.
2. Cutting the cuttings
For propagating Daphne odora 'Aureomarginata' by cuttings, it is best to choose semi-lignified or lignified branches as cuttings, with the original length controlled at about 10 cm, which is most suitable. But it is recommended to cut the lower end of the cutting into a smooth slanted surface, or cut the lower end into a wedge shape with two slanted surfaces to increase the contact area with the substrate, thereby better promoting rooting at the base. Leave 2-3 half leaves on the upper part of the branch to facilitate photosynthesis, then set the cutting aside to let the wound dry.
3. The cutting process
After the wound on the Daphne odora 'Aureomarginata' cutting has congealed and dried, apply a little rooting agent to the end used for cutting, or soak it in rooting solution. Then insert the cutting into the cutting substrate, with the insertion depth controlled at about 2-3 cm, which is appropriate. Finally, after watering, place the cutting in a semi-shaded spot with plenty of scattered light for care. During this period, pay attention to maintaining moisture, and it will take root in about 3 weeks.
4. Care and management
After the Daphne odora 'Aureomarginata' has successfully taken root and survived, in addition to managing light and temperature well, you also need to manage watering and fertilizing well. But do not water too frequently; at most you can water once a day, because if the soil remains too wet or waterlogged for a long time, it can easily cause root rot. Fertilizing also needs to be decided according to the growth of the cutting; you can spray a potassium dihydrogen phosphate solution once in the evening to promote root growth.
5. Transplanting and potting
When the root system of the Daphne odora 'Aureomarginata' cutting has grown relatively strong and shoots have already appeared, we then choose a suitable weather environment and time for transplanting and potting. But before planning to transplant and pot, it is recommended to apply fertilizer once more in advance. After potting is completed, the pot still needs to be placed in a cool place to recover, and at most provide it with a little scattered light. After the plant has smoothly adjusted to the pot, resume normal care and management.