A Detailed Guide to Plum Blossom Cutting Propagation and Planting Methods
In the previous article, I talked about how plum blossom cuttings can survive. And as long as they are properly cared for and managed, you can also get fairly high-quality potted seedlings, and at the same time they can inherit the excellent variety characteristics of the mother plant. More importantly, cuttings are also quite convenient and easy to do, and the propagation efficiency is very high, making them suitable both for home growers to root cuttings and for large-scale production.
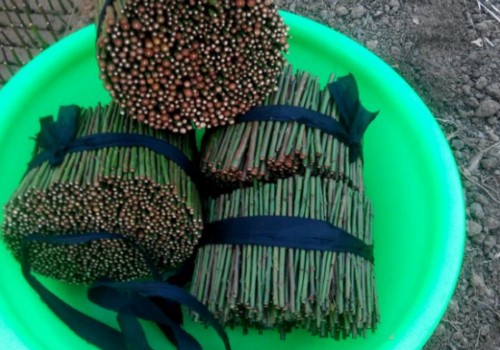
Plum blossom cutting is actually one method or form of the cutting propagation method. As long as the operation is done correctly, we can easily obtain small seedlings suitable for potting. So, specifically, how do you take plum blossom cuttings? Today, I will mainly share with you the planting method for plum blossom cuttings, and I hope it will be helpful to everyone.
1. Cutting Time
For hardwood cuttings of plum blossom, you must choose a suitable time period, as this can improve the survival rate of the cuttings. For plum blossom, softwood cuttings are generally most suitable from April to May in spring, because cuttings taken too early or too late often do not have a very high survival rate. So if we want to use softwood cuttings to propagate plum blossom, this time period is definitely the best.
2. Preparing the Cuttings
Softwood cuttings of plum blossom are taken from the mother plant by cutting healthy, semi-lignified branches of the current year to serve as cuttings. Original cuttings like these have especially high endogenous auxin and very strong cell division ability, so they root and survive easily after cutting. However, after cutting the branches into cuttings 5-7 cm long, it is best to wrap them in a clean wet towel to keep them moist. At the same time, each cutting is required to have more than 2 axillary buds, and the leaves also need to be exposed, as this better promotes rooting and earlier survival.
3. Treating the Cuttings
To promote rooting and survival of the cuttings, we can use some hormone drugs as aids. For example, drugs such as indolebutyric acid and naphthaleneacetic acid, but using the two mixed together will be more effective. After diluting the two, add a small amount of ridomil or bleaching powder, stir well, and use it to soak the lower part of the cuttings. But the soaking time must not be too long, only a short 3 seconds is enough, and the prepared drug solution is best used up the same day to avoid wasting resources.
4. Cutting Substrate
Since we are using softwood cuttings, it is recommended to use coconut coir and medium-sized perlite mixed at a ratio of 3:1. Then soak it in clean water for about 1 week, after which adjust the pH value to between 6-7. Or we can also directly use peat soil as the cutting substrate. Then use dazomet to disinfect the cutting substrate, and afterward put it into plug trays for later use.
5. Cutting Process
Once all the preparation work is ready, insert the cuttings separately into the substrate in the plug trays. The insertion depth should preferably be 2 cm, because inserting too deep or too shallow will both affect the rooting of the cuttings. Be careful to properly control the spacing of the cuttings to avoid inserting them too densely, which would cause the leaves on the cuttings to cross, overlap, or cover each other, thereby affecting photosynthesis.
6. Care and Management
After completing the cuttings, we need to add a misting device for them, or manually mist appropriately according to weather changes and humidity changes to keep them moist. At the same time, a 70% shade net also needs to be set up. Generally, it is better to keep the air humidity at around 90%. As long as everyone cares for them attentively, the cuttings can generally root after 10 days. Later, the misting frequency can be gradually reduced appropriately, and after about 1 month they can be potted and transplanted.