How to repot a maple bonsai? Repotting method illustrated tutorial
April is a good time to repot bonsai. Potted trees grow in limited potting soil; after a certain number of years, the fertility is exhausted, the soil layer becomes compacted, the roots are densely packed and squeeze each other, and new roots struggle to grow. It is best to switch to a larger pot and fill it with fresh soil (changing the soil without changing the pot is also fine) to ensure the normal growth of the potted tree, which experts customarily call “repotting”.
After a tree stump has grown in a pot for 1 to 2 years, the root system will fill the pot, making the potting soil compacted and hard to aerate and drain, and the nutrients in the soil have mostly been absorbed by the plant. Moreover, as the tree stump grows larger and its root system becomes well developed, the original pot is no longer suitable for the tree stump's continued growth and cultivation, so the soil and pot must be changed. Below is a demonstration of the maple bonsai repotting process/method illustrated:
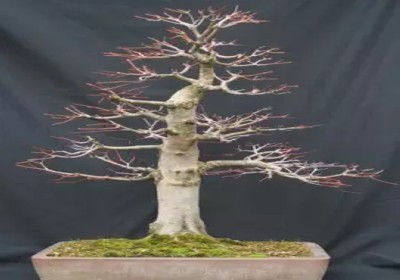
The state of the maple and the pot before repotting.
Scrub the pot that needs repotting to make the repotting operation easier.
Use an iron hook or a small shovel to separate the roots from the pot, making it easier to take the maple out of the pot.
The condition of the maple's roots after being taken out of the pot.
Prepare a new pot, fix the drainage mesh at the bottom of the pot with wire, and thread wire through to make it easy to secure the maple and the pot.
Use an iron hook to scrape away the outer layer of old soil.
The state of the roots after the old soil has been scraped away.
Clean and prune the tree roots, especially the roots labeled A, B, and C in the picture that grow protruding upward; be sure to cut them off, so that later the thick lower roots can be exposed above the soil.
The effect after the roots at A, B, and C have been cut off.
The effect after the surrounding roots have been pruned.
Also organize and prune the roots at the bottom in the same way; the principle of pruning is to remove the thick and keep the fine.
Spread a layer of slightly larger soil at the bottom of the pot to help water drain out and prevent waterlogging.
According to the tree's shape, place the maple in the pot; it does not have to be placed rigidly in the exact center of the pot. After placing it, use the wire threaded in beforehand to secure the tree.
Continue adding soil, and while adding soil, poke it firm with a small stick so that no gaps are left around the roots.
After filling with soil, the soil should be slightly lower than the rim of the pot, so that water does not easily overflow when watering.
Water thoroughly, and the repotting work is finished.