Illustrated Guide to Propagating Clivia by Dividing Offsets, Easy for Beginners to Learn
Once a clivia (Clivia miniata) reaches maturity, it can produce new offsets. These offsets are twisted off and grown into new plants; this is called asexual propagation of clivia. According to where they emerge, the offsets can be classified as stem-side offsets, stem-base offsets and leaf-gap offsets, all of which grow from the stem. When an offset has grown to 6 leaves, stem-base offsets and stem-side offsets can be divided off. The best time to divide them is in autumn, together with repotting and changing the soil. At this time of year the temperature is lower, so the wound from division is less likely to become infected or rot. Leaf-gap offsets, however, must wait until the leaf on the side where the offset emerges has naturally fallen off and the whole offset is exposed before they can be dealt with; by then the offset is usually fairly large.
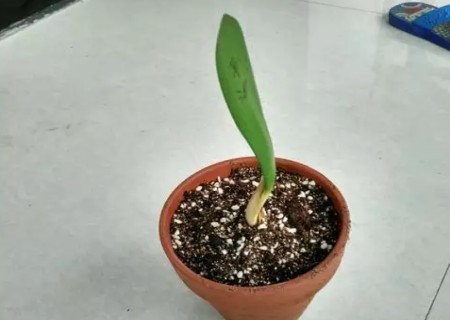
Rootless offsets are somewhat more complicated to care for than rooted ones. The specific steps are described in detail below:
1. Rootless offsets: before planting a rootless offset, you must first induce roots. You can induce roots by water culture, or with river sand, perlite or coconut coir.
1. Choose river sand of about rice-grain size and scald it with boiling water to disinfect it; if you do not have river sand, perlite or coconut coir will also do.
2. Bury the base of the clivia offset in the sand, taking care not to bury it too deep; just make sure the offset can stand upright.
3. Spray the sand with water every day to keep it slightly moist. In as little as 15 days, or at most about a month, the clivia will have rooted. You can also induce roots by water culture: place the clivia at the mouth of a water bottle with its base just touching the water surface.
4. Once the small offset has rooted, it can be transplanted into a pot. The potting soil can be mixed in the ratio leaf mould : pine needle soil : sand = 3:1:1. Just after transplanting, keep it in a bright, airy place with indirect light for 2-3 weeks. Do not water too much before it is established; keep the soil half dry.
2. Rooted offsets: rooted offsets are simpler, just plant them directly into the potting soil.
1. Mix the potting soil in the ratio leaf mould : pine needle soil : sand = 3:1:1, and plant the clivia in the pot.
2. For the first 2-3 weeks after planting, keep it in a cool place; it must not be exposed to sunlight. After one month, it can be moved outdoors in the morning or evening for 2-3 hours of sunlight as appropriate.
3. Do not water too much; keep the soil half dry, otherwise the roots will easily rot.