Illustrated guide to bonsai repotting methods, easy to learn with detailed steps
Everyone knows that the growing space for bonsai plants in a pot is limited after all. If they are not repotted for a long time, it may cause many growth problems, such as roots being unable to continue extending and showing signs of aging, the potting soil being unable to provide more nutrients, and pests and diseases invading the soil. Therefore, we need to repot them at the right time.
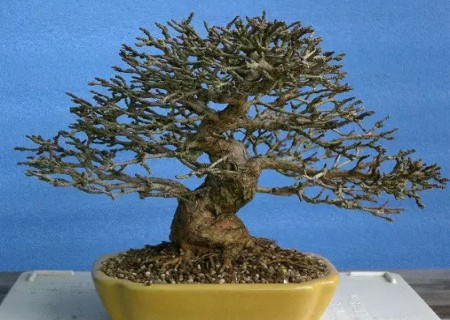
Repotting bonsai plants is a meticulous task. Not only must you choose the right timing for repotting, but during the repotting process you must also avoid injuring the plant as much as possible, so as not to affect its recovery to a normal growth state after repotting. So, how do you repot a bonsai? Below, the editor provides an illustrated guide.
1. Repotting time
The best season for repotting bonsai plants is spring, because spring is often a period of vigorous growth for plants. Repotting during this period makes it easier for the plant to survive and recover to a normal growth state.
2. Repotting process
Repotting bonsai plants is a technical task, relatively time-consuming and labor-intensive, but we cannot be too careless, otherwise it will lead to failure in repotting.
1. After taking the bonsai plant out of the original pot, we can see that the plant's root system has already filled the bottom of the pot, and the roots are intertwined and very messy.
2. After removing the bonsai plant from the soil pot, we should promptly remove the excess old soil for it. You can use a small wooden stick to gently knock off the excess soil from the roots.
3. After removing the excess old soil attached to the bonsai plant's root system, we also need to comb through and trim the roots so that they can move into their “new home” in a relatively neat state.
4. Lay insect-proof netting over the drainage hole at the bottom of the new pot, then use thick iron wire to secure it in place.
5. Next, from bottom to top, lay in three layers of new substrate of suitable thickness: large particles, medium particles, and small particles, then plant the bonsai plant into it.
6. After planting the bonsai plant in the new pot and new soil, use aluminum wire through the drainage hole to tie the plant's root system securely so as to hold it in place.
7. Use a small wooden stick to poke the potting soil tight, so that the potting soil and the plant's roots make as full contact as possible.
At this point, the repotting work for the bonsai plant is complete. Although this repotting process is relatively simple, and some details have not been introduced in detail for everyone, the repotting process for different plants is not entirely the same. The specific details still need to be carried out according to the growth habits of different plant varieties. This method is for reference only.