Detailed Guide to Making Miniature Camellia Bonsai
Placing a few pots of camellias in a room can make the environment more elegant and add interest to daily life. If potted camellias are shaped and planted in a suitable pot to make a bonsai, their ornamental value is even higher. When making camellia bonsai at home, the plants should not be too large; it is better to make miniature bonsai and small to medium-sized bonsai.
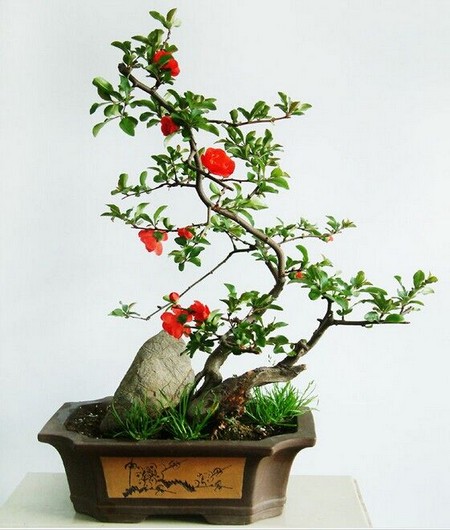
There are two ways to make miniature camellia bonsai:
1. Use small camellia seedlings to make miniature bonsai.
With 2- to 3-year-old small camellia seedlings, the trunk is thin and the branches are soft, so lead wire can be freely used to train them into miniature bonsai of various postures, such as a straight-trunk style if the trunk is not trained, a slanting-trunk style if the trunk is tilted, a cascade style if the trunk bends downward, and a curved-trunk style if the trunk is bent many times.
Using small camellia seedlings to make miniature bonsai is simple to do, with concise lines and extremely strong plasticity, but after all, small camellia seedlings have thin trunks and slender branches, so only simple shaping can be done and they must not be overly trained. The branches should not be too dense; simplicity and smoothness should dominate. Overly pursuing crooked and winding forms easily reveals traces of artificial work.
2. Use camellia roots as rootstock to make miniature bonsai.
First collect wild camellia seeds and sow them in miniature plastic bags filled with growing medium. After the seedlings emerge, turn the plastic bags upside down for 4 to 5 days, and the seedling root systems will begin to curve. After that, turn the plastic bags upside down for several days at a time from different directions at intervals, and the camellia seedling root systems will curve into different shapes. After 1 to 2 years of cultivation, their root systems can be used for grafting. Choose a small pot with a diameter about the size of a palm, plant the curved camellia roots in the pot at different angles, and graft by cleft grafting.
Before grafting, first dig out the seedlings, wash them clean, shorten the main root and keep a curved section, cut the seedlings short to a height of 37.5px from the roots, and carry out cleft grafting on the cut surface. After inserting the scion, cut a piece of thin aluminum sheet (toothpaste tube) 75px long and 25px wide for wrapping, then expose the curved root above and bury the root system in the soil. The pot should not be too shallow; it should be somewhat deeper. Cover the pot with a plastic film sleeve and manage it in a fully shaded place.