How to Plant Amaryllis in Pots? A Detailed Guide to Growing Methods
Amaryllis flowers are huge and brilliantly colored, and its bulb looks very similar to that of garlic, which is why it is also a perennial bulbous flower of the Amaryllidaceae family. Because its flowers are large and vividly colored, everyone likes to place amaryllis in their living rooms, studies and other spots to beautify their homes. So today Huahua will introduce the growing methods for amaryllis to everyone!
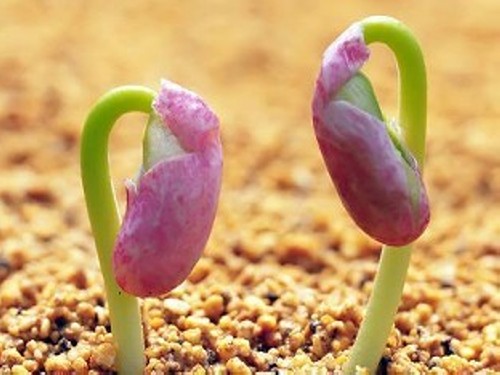
Amaryllis is easy to grow; in most cases it will flourish as soon as it is buried in soil, and even a bare bulb forgotten in a corner can stubbornly bloom. There are a great many amaryllis varieties, in no way inferior to tulips. Amaryllis prefers a warm, humid climate, and its suitable growing temperature is 18-25°C. It dislikes harsh sun exposure, so when growing it, be careful not to let sunlight shine on it directly. Below is a brief introduction to several key steps in growing amaryllis:
The suitable growing temperature for amaryllis is around 20-25°C, and the growing method is simple:
1. Clean the bulb
Cut off the roots of the bulb that have already rotted or dried up, and keep the remaining healthy roots. If the outside of the bulb has multiple layers of brown, dried skin, some of it can be peeled off to eliminate the hidden risk of rot as much as possible.
2. Rehydrate the bulb
If the bulb has lost a lot of water due to long storage, it is best to rehydrate it, that is, soak the middle and lower part of the bulb in clean water slightly warmer than the ambient temperature for 1 or 2 hours.
3. Disinfection
This is a key step in planting. Generally, common disinfectants such as carbendazim, chlorothalonil and thiophanate-methyl can be used according to the instructions. After planting is finished, the disinfectant solution can be used for watering to disinfect the soil.
4. Choosing the medium
With limited planting space, the choice of medium is very important. Amaryllis is best grown in a loose, well-drained, slightly acidic medium. The recommended medium is peat : vermiculite : perlite at 2:1:1, or peat : perlite at 1:1. If these are not convenient, ordinary humus soil can replace peat and river sand can replace perlite. It is best to mix in 10% base fertilizer such as bone meal or superphosphate.
5. Planting depth
When the bulb has just been planted, at least more than half of the bulb should be exposed, and the condition of the bulb should be checked frequently, because during this period the bulb is very prone to rotting. After it gets through this period and the roots and leaves of the bulb have grown out, cover it with soil up to 1/2 or 2/3 of the bulb.
6. Watering
After planting, water thoroughly once, then wait until the potting soil has basically dried out before watering again. Before the bulb produces leaves, do not apply any fertilizer other than the base fertilizer.
7. Placement environment
After planting, first place it in a cool spot at 10-15°C to encourage rooting, then after two weeks move it to a warmer spot at 20-25°C so the flower scape can emerge.
In short, what is done at this stage is mainly for two purposes: preventing rot and rooting successfully. If everything is normal, it is time to move on to the next stage.