A Detailed Guide to Growing Cockscomb on the Balcony
Cockscomb has thick, sturdy stems, large flower heads and brilliant blooms, giving it considerable ornamental value. Grown as a potted plant on the balcony, it often brings a distinctive touch of scenery and charm. Today, the editor will share with you how to grow cockscomb on the balcony.
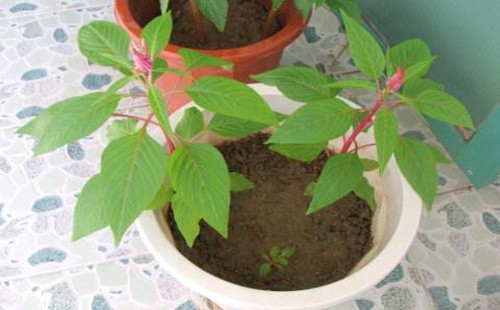
For potted growing, cockscomb is best planted in a pot in spring. When the cockscomb seedlings put out 2-3 leaves in spring, we can transplant them into pots. Cockscomb should be planted deeply, generally leaving only the leaves of the young seedlings above the potting soil.
Since we are growing cockscomb as a balcony potted plant, it is best to choose dwarf, heavily branching varieties, and after potting and planting, pinch out the growing tips in time to encourage the young potted cockscomb to produce more side branches. But if you want a larger potted plant with an upright main stem, you can skip pinching.
Once the cockscomb has settled into its pot, carry out light, temperature, water and fertiliser management in good time. During the growing period, provide the plant with plenty of light, at least 4 hours of light a day, and since cockscomb has poor cold tolerance, it grows best at temperatures between 18°C-28°C. In particular, avoid temperatures that are too low in the growing environment, otherwise the plant will grow rather slowly.
As for water and fertiliser, water moderately during the growing period, just enough to keep the potting soil slightly moist; if the potting soil is too wet, it easily causes delayed flowering or even failure to bloom. During the growing period, besides increasing light, adjusting temperature and watering appropriately, you also need to apply additional phosphorus fertiliser for growth, which helps the plant grow more robustly and the flower spikes grow larger and sturdier.
After the flower spikes have formed, we should repot the plant in good time. Since the initial potting generally uses a pot with a diameter of about 10 cm, at this point you should repot into a pot with a diameter of about 15 cm. Before repotting, water the potted plant thoroughly in advance, then repot. Of course, if you want more flowers and bigger blooms, a pot with a diameter of 20 cm is recommended.