How to plant potted freesia? Detailed planting method
Freesia not only has a nice name, but also has emerald green leaves, beautiful flowers, and a wafting floral fragrance. Keeping it as a potted plant indoors can both decorate the home environment and fill the room with a delicate fragrance. It is a very showy flowering plant. But freesia is a plant with a bulb like garlic, and it can also be propagated using bulbs.
However, when selecting bulbs, we must use robust and undamaged bulbs for planting. If growing as a potted plant, it is recommended to carry out sprouting treatment before sowing. If the bulbs become moldy, be sure to use carbendazim to sterilize and disinfect them, preventing the bulbs from rotting, to ensure the bulbs can successfully sprout and survive. Today the editor will share with you the planting method for potted freesia.
First, we choose a relatively deep gallon pot to plant freesia. For the growing medium, choose a loose, breathable, slightly acidic or neutral sandy soil. We can use nutrient soil and large-particle river sand mixed in equal halves and stir them evenly before use. After preparing the potting soil, plant directly into the pot.
First spread a layer of growing medium of appropriate thickness on the bottom of the pot, then evenly scatter a layer of compound fertilizer as base fertilizer. Note that too much fertilizer should not be used. Generally, scattering 10 or so compound fertilizer granules is enough, because if too much fertilizer is used, it may burn the freesia bulbs. After that, continue filling with soil to completely cover the compound fertilizer.
Next, place the freesia bulbs vertically on the soil layer with the heads facing up. If there are multiple bulbs, place them one by one and just control the spacing well. The bulbs can be sprouted in advance before potting, or planted directly. However, bulbs that have undergone sprouting treatment are easier to grow and survive after potting. Finally, cover with a layer of soil 2 cm thick. At this time, some space can be left for a second filling of soil.
In a previous article, the editor said that the original freesia branches and leaves often grow relatively soft, and especially when light is insufficient, they are more likely to become leggy and fall over. When the seedlings grow to a height of more than 10 cm, in addition to pinching or topping and increasing light to prevent leggy growth, we can also use chlormequat.
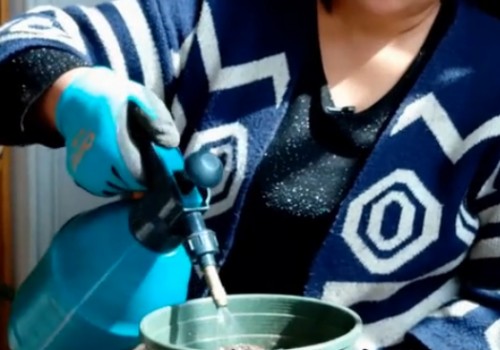
However, this time we can avoid the plants falling over by filling in soil a second time. Similarly, when the seedlings grow to a height of 10 cm, fill in soil once for them, and by building up the soil higher, avoid the weak branches and leaves falling over. Of course, after planting the bulbs, water promptly to maintain suitable moisture in the potting soil for the bulbs to grow.
If the bulbs become moldy, we can either soak them in a carbendazim solution in advance to sterilize and disinfect them, or after potting, use carbendazim solution instead of clean water to irrigate the soil until it is thoroughly watered. Note that the concentration of the carbendazim solution generally needs to be controlled at 0.1%.
After completing the above operations, move the flowerpot to a place with relatively sufficient light for care. During this period, pay attention to controlling temperature, humidity, light, and so on, keeping these conditions within suitable ranges, so that freesia can maintain vigorous growth. The temperature is generally controlled between 15°C-25°C. Water promptly, generally following “water when dry, stop when wet”. The light must not be too intense but must also be sufficient.