How to make a sago palm bonsai? Detailed method shared
The dark green pinnate fronds of the sago palm are excellent material for floral art, and using its small plants to create a bonsai gives even better ornamental results, making it deeply loved by bonsai enthusiasts. The sago palm can be propagated in three ways: by sowing seeds, by division of offsets, and by stem cutting, but for home pot cultivation, division of offsets is the most suitable, as the method is simple and the survival rate is high. Below, Huacao Le shares the specific steps for your reference.
Term explained: the so-called tiller bud, when discussing plant structure, refers both to the bud of a tiller and to the bud near the root crown that sprouts from a latent bud on the already-formed trunk of a tree. Among flowering plants, many species can be propagated using tiller buds, such as the chrysanthemum, but it is usually not called a tiller bud, but rather a basal shoot; a basal shoot is a tiller bud, and the same applies to others. The sago palm also produces tiller buds, namely the small branches growing from the trunk, usually called suckers.
Sago palm bonsai making method
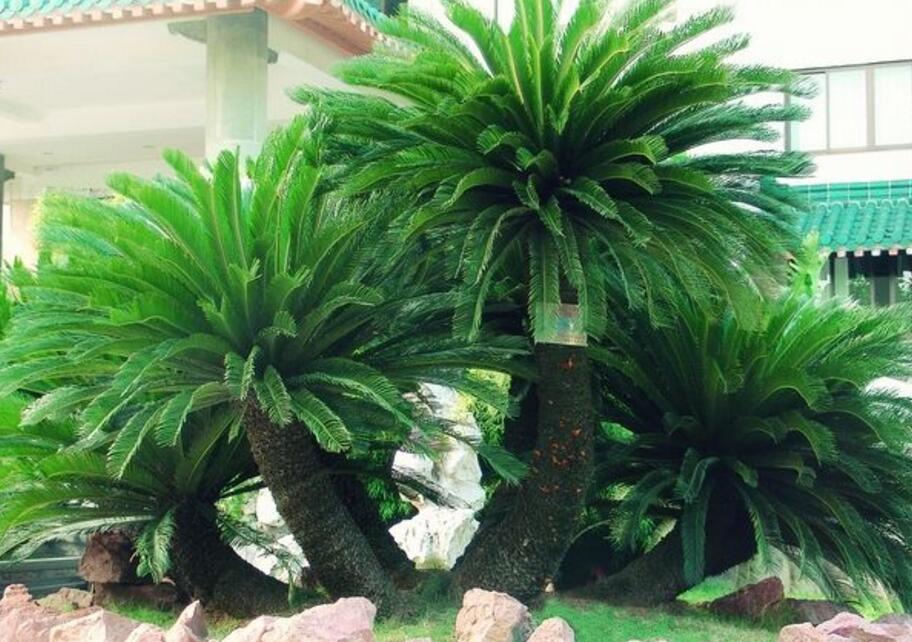
1. Division time: generally chosen in early May.
2. Potting soil preparation: the bottom layer of the flower pot needs a 5 cm thick layer of river sand, and the upper layer is filled with about 15 cm of a mixed soil of 1/3 river sand and 2/3 humus soil. After filling, drench thoroughly with 3‰ potassium permanganate solution, cover tightly with plastic film, and leave for 1—2 days before use.
3. Potting method, choose an overcast day for division
1. Cut off the leaves of the offset to be cut right at the base, so as to prevent excessive transpiration of water after the offset is separated from the mother plant.
2. Use a knife or saw to remove the offset from the mother plant; the cut should be as small as possible, and any aerial roots should be kept as much as possible, but aerial roots that are too long should be shortened.
3. Apply plant ash to the cut surface of the removed offset to prevent resin flow, then place it in a cool, ventilated place for 3—5 days.
4. Soak the base of the shade-dried offset in 3‰ potassium permanganate solution, bury the offset, for about 10 minutes, to fully disinfect and prevent mold. Then push aside the sandy loam and bury the offset, not too deep, but the cut must be covered.
4. Management after potting
After planting, no watering is needed, because the planting medium was disinfected not long ago. A plastic arched shed should be set up in time to prevent rain, otherwise the tender buds are prone to rot and will not produce leaves that year. After 1 month, the offset will produce 1 to several rounds of neat, emerald-green new leaves and begin to root. When the root system is relatively strong (after about 3 months), a light bran-cake water fertilizer can be applied, but not too many times. At this point, the shade shed can be removed and the plant allowed to grow naturally. Finally, place it in a suitable position and a sago palm bonsai is successfully made.