What to Do When Cymbidium Roots Rot? A Few Rescue Methods to Teach You
Cymbidium is a plant that stays evergreen all year round and is very well suited to indoor growing. Cymbidium is an orchid with axial growth, so when choosing a pot you need to pick a tall cylindrical one, the growing environment must have good ventilation, and charcoal and other drainage-friendly material should be added at the bottom of the pot. The main purpose of this is to prevent Cymbidium roots from rotting, because poor drainage or poor ventilation will cause the roots of Cymbidium to rot. If half of a Cymbidium's roots have rotted, then the Cymbidium can basically be considered done for. Below is a summary of what we should do if we run into Cymbidium root rot.
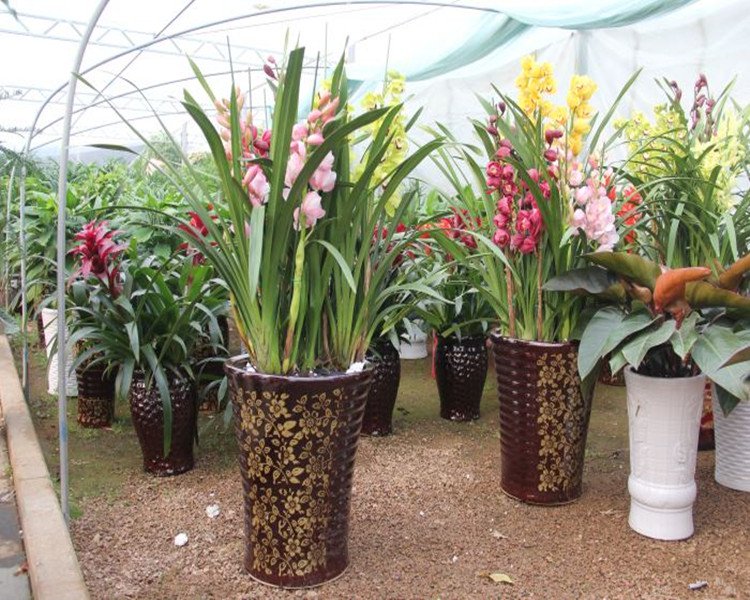
What to Do When Cymbidium Roots Rot
1. Cut off the rotted parts
Tip the Cymbidium out, place it in a cool, dry, well-ventilated spot for one or two days, cut away all the blackened rotted roots, and remove the potting medium that was touching the rotted roots so no hidden trouble remains. Be sure to water sparingly, and when watering with nutrient solution or rooting solution, water sparingly too! This is to avoid root rot happening again.
2. Strictly disinfect the orchid plant and the potting medium
Soak the orchid plant in 1‰ potassium permanganate solution for 2 hours, rinse with clean water; once clean, sun it in the sun for 2 hours. The new potting medium I used was: 50% catalpa bark, 20% crushed brick granules, 20% honeycomb coal cinders, 10% rotted pine needles. The first 3 ingredients were washed clean with water, then soaked in boiling water to disinfect. The pine needles were exposed to the sun and sprayed with 2% thiophanate solution to disinfect.
3. Switch to growing it in a clay pot
A Cymbidium with rotted roots needs a certain amount of humidity, but must not be too wet. This requires good air permeability. I chose two clay pots; to increase air circulation, I also enlarged the drainage holes at the bottom of the pots, and propped a few long wooden strips under the pot bottoms to increase air permeability. Plant the disinfected Cymbidium in the pot: at the very bottom spread a layer of bark 2-3 cm in diameter and crushed brick granules the size of walnuts, fill the middle with a medium-sized potting medium mix, and spread the smallest on top.
4. Routine care
After watering the Cymbidium thoroughly to settle the roots, keep it in weak light for more than 10 days, misting twice a day, and after half a month place it on a south-facing windowsill. After about 1 month the plant grew new roots, and after 3 months purplish-red new shoots grew on the pseudobulbs. Do not fertilize before the plant grows new roots; after new roots and new shoots appear, only apply a light fertilizer, watering with 1-2‰ compound fertilizer added to the water from a goldfish tank.
In summer, when temperatures are high, I placed a shallow plastic basin under the Cymbidium filled with water to increase humidity, misted around the flower pot morning, noon and evening every day, and opened the windows for ventilation at the same time, so it got through the summer smoothly. I sprayed carbendazim or thiophanate once every half month, and basically no pests or diseases occurred.
In November, two plump flower buds grew on the pseudobulbs of the new seedling closest to the windowsill. At this point I added a phosphorus fertilizer once every 10 days, spraying the leaves with 2‰ potassium dihydrogen phosphate, and removed all the newly grown leaf buds so that nutrients were concentrated on feeding the flower buds' growth.