How to grow spider plants in water? A super-detailed planting method is here
Follow Yanghua DaquanWeChatofficial account, and you will know how to grow any flower!
WeChatID: yanghua98 (long-press to copy)
Spider plants are a very popular indoor decorative plant, fresh and pleasant, bringing a touch of fresh green to the bedroom while also purifying indoor air. Nowadays, many families or companies grow spider plants in water indoors,which is both simpleand clean. Today, the editor will teach you the method of growing spider plants in water. It is really simple!
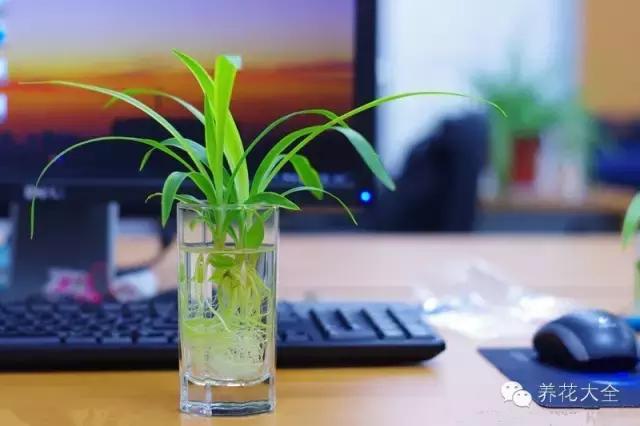
Tools/Materials1. Spider plant, small scissors2. Bottle, tray, or decorative pot3. Cold boiled water or treated tap waterStep 1: Use tap water after letting it sit

Find a transparent glass bottle and fill it with water. Remember: it cannot be ordinary tap water. Because tap water contains chemical substances such as bleaching powder, which are not good for the growth and development of spider plant roots. Cold boiled water is best, with no pests, diseases, algae spores, or other contaminants. Tap water from the faucet should be left open for 12 hours to remove the chlorine in the tap water, which is better for healthy plant growth. In particular, the roots can stay white and tender for a long time without turning green, improving the ornamental value.
Step 2: Place washed pebbles

Wash the pebbles. Many beginners trying water-grown spider plants for the first time simply think that as long as the spider plant is placed in water, it will be fine. In fact, if the entire plant is fully submerged in water, excessive anaerobic respiration will cause the spider plant roots to rot. Find some pebbles of suitable size and smooth appearance, wash them, and put them into the glass bottle, with a volume of about two-fifths of the whole bottle.
Step 3: Choose a plantlet on the stolon for planting
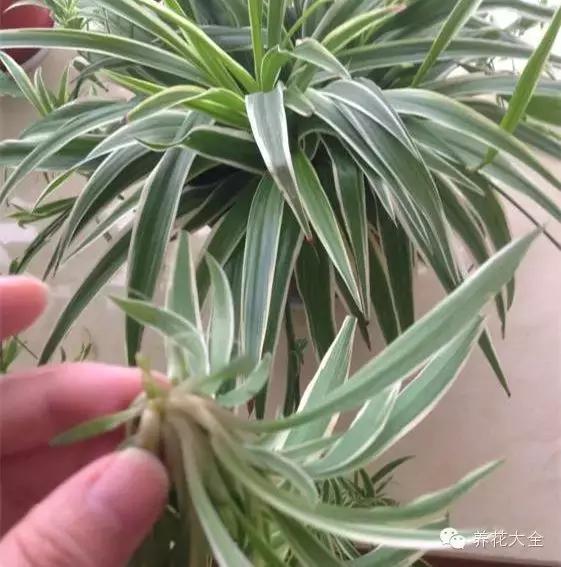
When choosing the variety, we can choose the aerial roots of the plantlets growing on the stolon for planting, because this kind of aerial root is very suitable for a water-growing environment, is relatively easy to manage, and generally will sprout roots after 5 days in water. Use small scissors to cut off the spider plant, remove the old leaves, cut off the old roots, keep only a few new leaves, and slowly place it into the bottle.
Too many old leaves and old roots will not only waste nutrients for nothing, but also delay the sprouting of new roots, so they must be removed.
Step 4: Roots will form after 3-5 days
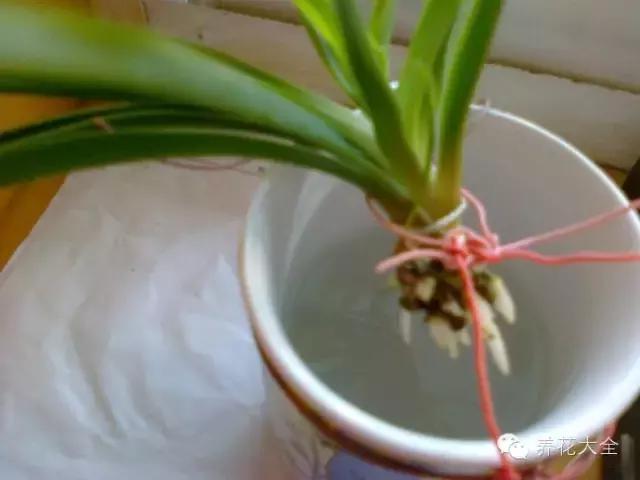
After about 3 to 5 days, a little bit of white fuzz begins to appear at the tip or side of the original green roots (aerial roots). Looking closely, you may exclaim in surprise: "New roots have grown!" As time goes on, the white new root hairs become more and more numerous and gradually fill the bottle.
Before roots have grown and just after they begin to grow, do not change the water frequently, because young roots are especially fragile when they first emerge, and the process of changing the water will damage the young roots and hinder their growth rate.
Step 5: Change the water frequently in later management
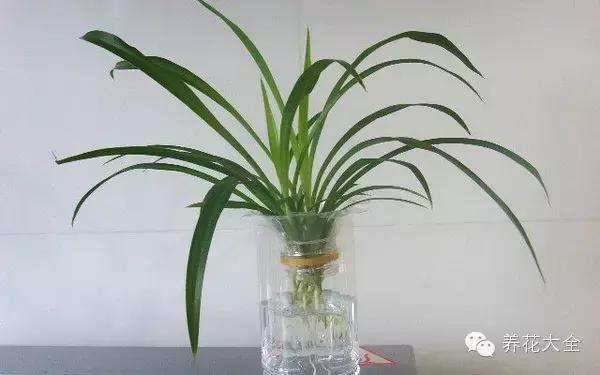
In the later management process, the most important thing is to change the water frequently. Especially in hot seasons, plant respiration increases, and in addition, during its own metabolism, the spider plant can also convert the carcinogenic formaldehyde in the air into substances such as sugars and amino acids and transport them to the roots or release them into the water. If the water is not changed in time, the clear water quality will turn gray, and a layer of dirt will float on the water surface. In severe cases, it will cause root rot, and when touched with your hand, it feels slippery and dirty.
Step 6: Regularly clean up aged and excess roots
When there are more and more new root hairs, you must also pay attention to two points: first, you can use small scissors to promptly cut off some of the earlier roots; second, do not let the entire root system be completely submerged in water. The root system needs several centimeters exposed to the air, so that even if the roots soaked in water cannot absorb oxygen, the roots exposed to the air can still supplement some oxygen.
Step 7: Add a small amount of nutrient solution on time
Spider plants do not like direct light, and generally placing them in a place with indirect scattered light is enough. Their requirements for water nutrients are also not high. About every half a month, you can add a little nitrogen fertilizer or granular compound fertilizer to the water, with a fertilizer-to-water ratio of 1:1500. There is also a folk custom of using rice washing water to grow flowers. However, the rice washing water must be left to sit for three to five days, fully fermented, then the clear liquid on top is taken and mixed into the bottle of water-grown spider plant at a ratio of 1:10. The concentration must not be too high.
Step 8: Add simple decoration to increase ornamental value
Congratulations! A brand-new water-grown spider plant has been successfully cultivated. To increase the ornamental value, you can place the glass bottle of the water-grown spider plant into another tray or decorative pot.
Follow Yanghua DaquanWeChatofficial account, and you will know how to grow any flower!
WeChatID: yanghua98 (long-press to copy)