Detailed Guide to Growing Yangxincai (Sedum kamtschaticum) in Pots
Yangxincai, also known as Jiuxincai, is a special vegetable that can boost immunity, relieve fatigue, and help prevent heart disease. So do you know how Yangxincai should be planted?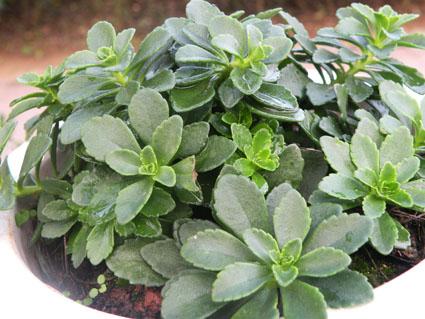
To grow Yangxincai, you first need to understand its propagation methods. Only after mastering the propagation methods can you quickly carry out large-scale planting. There are two propagation methods for Yangxincai: one is seed propagation, and the other is cuttings propagation. At present, the latter is mostly used.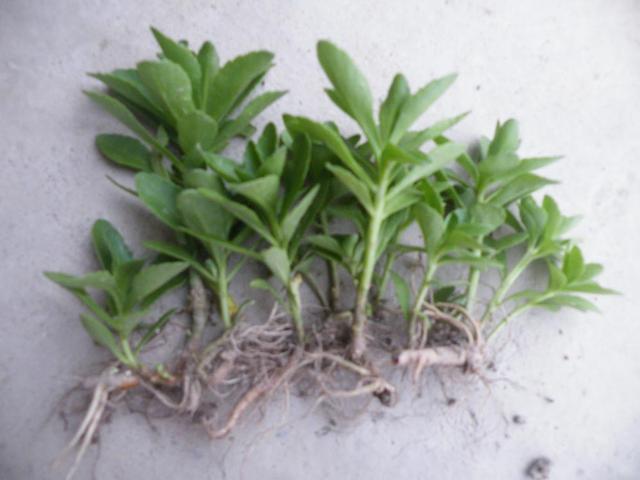
First comes the choice of soil. You can choose garden soil or peat soil containing humic acid, add fermented sheep manure and castor bean cake organic fertilizer to it, mix them together in a 2:1:1 ratio and stir evenly, then put the mixture into a flower pot. The flower pot can be a plastic pot or a ceramic pot, as long as it has holes in the bottom.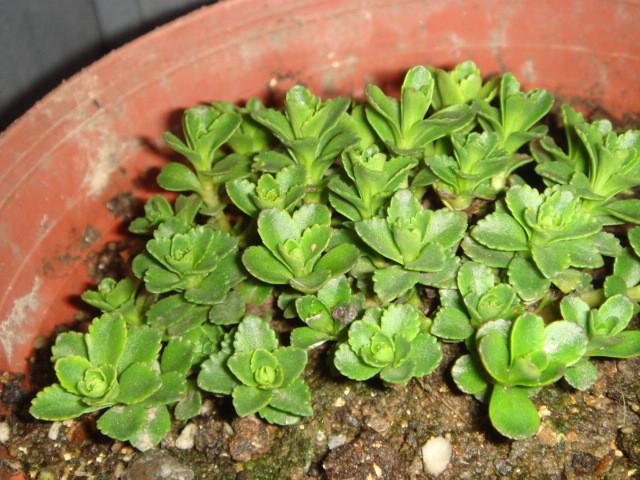
Next comes the cuttings of Yangxincai. If you have not prepared mother seedlings for cuttings in advance, you can go to the supermarket and buy harvested Yangxincai as a finished vegetable, then select the thick, strong stems and keep them for cuttings. Cut the stems of Yangxincai into small sections 4-5 cm long, keep 3-5 cotyledons on each section, then insert them into a flower pot already filled with soil in advance, with 5-7 plants per pot. After cutting, water with carbendazim diluted 1500 times, and it must be watered thoroughly.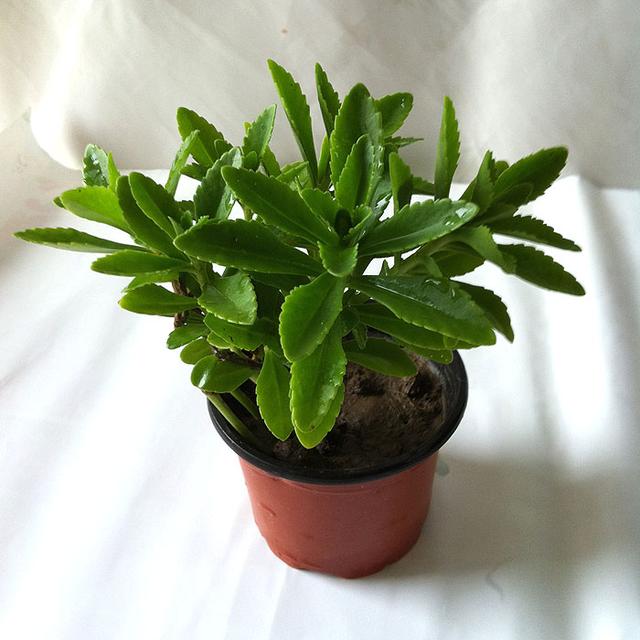
After about 10 days, the cuttings of Yangxincai begin to take root. After that, pay attention to replenishing water in time to promote the growth of Yangxincai. About 30 days after cutting, organic fertilizer can be added. After about 50 days, when Yangxincai has filled the flower pot, it can be harvested. It can be stir-fried plainly or made into soup, and the taste is very delicious.