Illustrated Guide to Planting Amaryllis: Even Beginners Can Easily Learn
Amaryllis flowers are huge and brightly colored, and its roots look very similar to garlic, so it is also a perennial bulbous flower of the Amaryllidaceae family. Because its flowers are large and brightly colored, everyone likes to place amaryllis in their living room, study, and other places to beautify their home. So today Huahua will introduce the cultivation methods of amaryllis to everyone!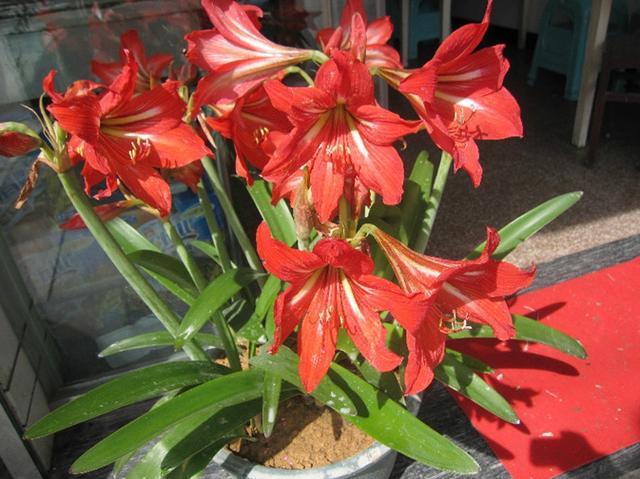
Step 1
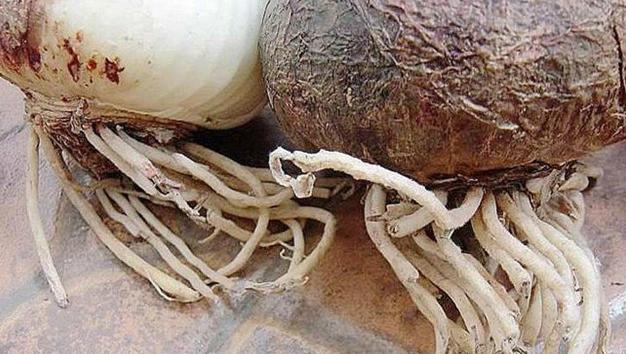
Clean the bulb. Cut off the root tendrils that have already rotted or dried out on the bulb, and keep the remaining healthy roots. If there are multiple layers of brown dried outer skin on the outside of the bulb, some can be peeled off to maximize the elimination of hidden risks that could cause rot.
Step 2
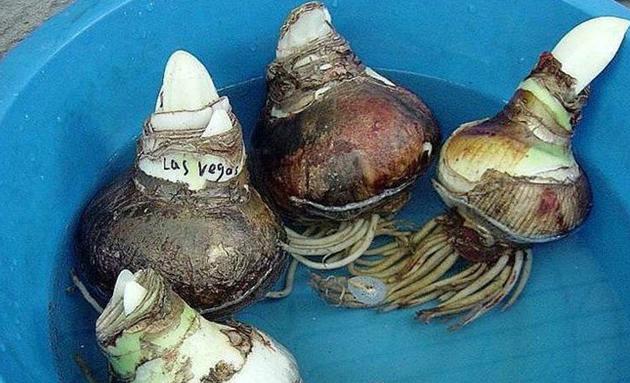 Rehydrate the bulb. If the bulb has lost a lot of water due to a long storage period, it is best to rehydrate it, that is, soak the middle and lower part of the bulb in clean water slightly warmer than the ambient temperature for 1 or 2 hours. Those with experience can add some plant hormones such as gibberellin to the water, which helps rooting and later bulb enlargement, but attention should be paid to the concentration and soaking time, otherwise it will backfire.
Step 3
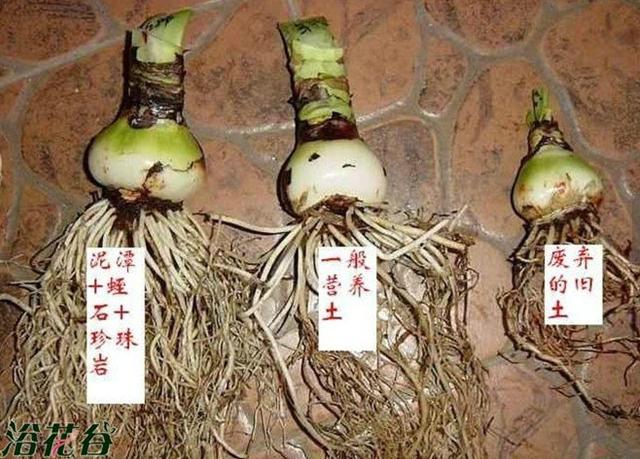 Disinfection. This is a key step in planting. Generally, common disinfectants such as carbendazim, chlorothalonil, and thiophanate-methyl can be used according to the instructions. After finishing, the disinfectant water can be used for watering after planting to achieve the purpose of disinfecting the soil.
Step 4
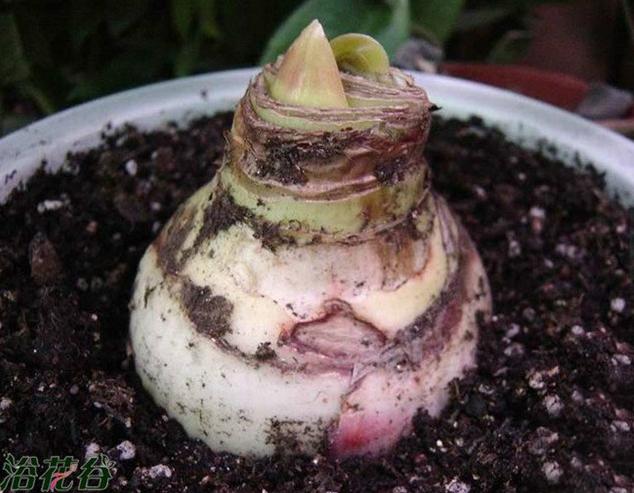
Medium selection. Under limited planting space, the choice of medium is very important. Amaryllis is suitable for planting in a loose, well-drained, slightly acidic medium. The recommended medium is peat : vermiculite : perlite = 2:1:1 or peat : perlite = 1:1. If inconvenient, ordinary humus soil can be used instead of peat, and river sand instead of perlite. It is best to mix 10% base fertilizer such as bone meal or superphosphate into the medium.
Step 5
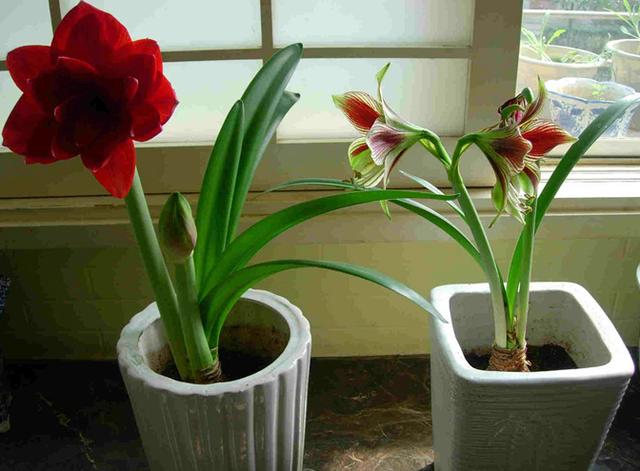 Planting depth. When the bulb is first planted, at least more than half of the bulb should be exposed, and the condition of the bulb should be checked frequently, because during this period the bulb is very prone to rot. After passing this period, once the roots and leaves of the bulb have grown out, cover with soil up to 1/2 or 2/3 of the bulb.
Step 6
Watering. Water thoroughly once after planting, then water again after the potting soil has basically dried out. Before the bulb produces leaves, do not apply additional fertilizer other than the base fertilizer.
Step 7
Placement environment. After planting, first place it in a cool place at 10-15°C to encourage rooting, and after two weeks move it to a place with a higher temperature of 20-25°C so that the flower scape can emerge.
This article is originally created by the WeChat account Learn Flower Growing with Me
Author | Xiaonizi
Sina Weibo | @Learn Flower Growing with Me