A Detailed Guide to the Correct and Scientific Propagation Methods for the Flame Vine
The flame vine (Pyrostegia venusta) is propagated mainly by cuttings, generally after flowering in spring and summer, and under greenhouse conditions it can be done year-round. For spring cuttings, roots usually begin to form about 3 weeks after insertion. If spring cuttings are planted promptly and given careful tending, they can bloom in the same year.
For the cuttings, choose robust, pest-free and disease-free branches, preferably about 10 cm long; each cutting needs 3~4 nodes and 2 buds, and should be cut 0.5 cm below a node to encourage rooting.
The cut surface should be smooth and shaped like a horse's ear. For the rooting medium, use clean fine river sand, or a mixed medium of vermiculite and perlite (1:1).
When rooting cuttings in a greenhouse, they can generally be inserted directly into a cutting bed; for home gardening, the medium is usually placed in a shallow pot or wooden box, and in both cases broken tiles should be used as a bottom layer to ensure smooth drainage. The insertion depth is generally one third of the cutting's length, with a plant spacing of about 3 cm and a slightly wider row spacing.
After inserting, press the base of the cutting lightly with your fingers so that the base fits closely with the medium, then water thoroughly with a fine watering can; afterwards, spray water on the leaves once every 1~2 days to keep them moist. After 3 weeks, if the stems and leaves have not shriveled and remain tender green, it means the cut surface has healed well and roots have formed; after about another 10 days, they can be transplanted into pots. Newly potted seedlings need thorough watering and should be kept in a semi-shaded place for care.
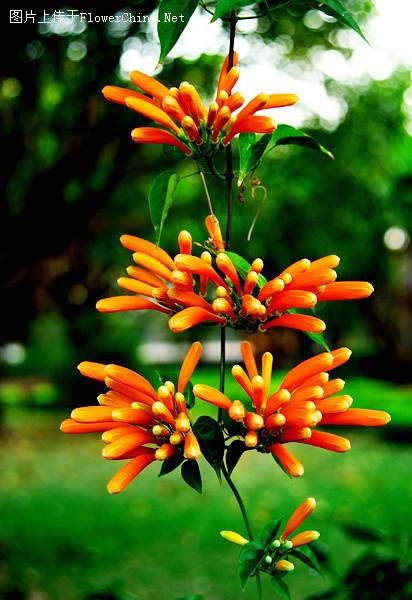
The flame vine (Pyrostegia venusta) is propagated mainly by cuttings, generally after flowering in spring and summer, and under greenhouse conditions it can be done year-round. For spring cuttings, roots usually begin to form about 3 weeks after insertion. If spring cuttings are planted promptly and given careful tending, they can bloom in the same year.
For the cuttings, choose robust, pest-free and disease-free branches, preferably about 10 cm long; each cutting needs 3~4 nodes and 2 buds, and should be cut 0.5 cm below a node to encourage rooting.
The cut surface should be smooth and shaped like a horse's ear. For the rooting medium, use clean fine river sand, or a mixed medium of vermiculite and perlite (1:1).
When rooting cuttings in a greenhouse, they can generally be inserted directly into a cutting bed; for home gardening, the medium is usually placed in a shallow pot or wooden box, and in both cases broken tiles should be used as a bottom layer to ensure smooth drainage. The insertion depth is generally one third of the cutting's length, with a plant spacing of about 3 cm and a slightly wider row spacing.
After inserting, press the base of the cutting lightly with your fingers so that the base fits closely with the medium, then water thoroughly with a fine watering can; afterwards, spray water on the leaves once every 1~2 days to keep them moist. After 3 weeks, if the stems and leaves have not shriveled and remain tender green, it means the cut surface has healed well and roots have formed; after about another 10 days, they can be transplanted into pots. Newly potted seedlings need thorough watering and should be kept in a semi-shaded place for care.