What are the propagation methods for the gaura?
Sowing propagation
Gaura is suitable for sowing in autumn, at a suitable temperature of 15-20°C, and the seeds will germinate and take root. It grows vigorously and is very suitable for group planting. However, if you want to grow gaura well, be sure to pay attention to managing temperature, soil, light and ventilation. And be sure to remember that gaura loves a dry environment, so do not water it excessively in normal care, to avoid too much soil moisture causing oxygen deprivation at the roots, but keep the soil consistently moist before germination. We can also loosen and drain the soil frequently.
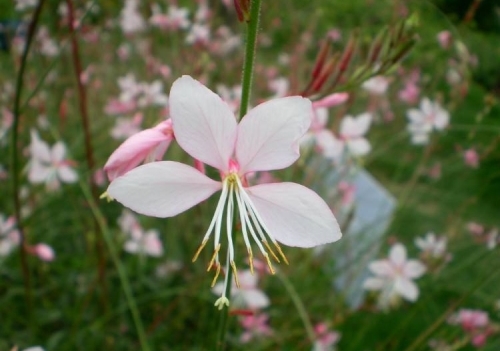
Have you all learned the growing methods for gaura? Be sure to remember to keep the gaura's soil dry during the growing process!
Growing methods for gaura
Soil
Gaura is suitable for growing in dry soil. When choosing soil, we can select a sandy soil with good drainage and fairly fertile texture. Absolutely avoid overwatering during cultivation, to prevent the roots from drowning and rotting. But also fertilize regularly to keep the soil fertile and deliver nutrients to the flowers in time.
Temperature
The suitable temperature for gaura seeds to germinate is 13°C to 16°C, and the suitable growing temperature is 5°C to 25°C. Because it originates from the United States and the temperature there is lower, gaura is very cold-hardy and can tolerate low temperatures of minus 35°C, making it a very easy-to-grow plant variety.
Light
Gaura is suitable for growing in a dry environment. It needs plenty of light, so in normal care we can place it in a ventilated spot on a balcony to receive light. Although gaura tolerates partial shade, it cannot be placed in complete shade, as that is not good for its growth.
Ventilation
To prevent the gaura's roots from rotting, we should place it in a cool, well-ventilated spot during normal care. When keeping it indoors, open the windows often for ventilation to keep fresh indoor air moving, which is good for the healthy growth of the gaura.
Now that you understand the growing methods for gaura, do you know how gaura should be propagated?
Propagation methods for gaura
Sowing propagation of gaura
The season for sowing propagation
Sowing propagation of gaura is usually carried out in spring and autumn.
The temperature for sowing propagation
The optimum germination temperature for gaura sowing propagation is 15-20°C, the germination period is 12 to 20 days, and the growing temperature is around 15°C to 25°C. When gaura is generally sown in autumn, it can bloom in spring and summer of the following year. Gaura grows vigorously and is suitable for group planting.
Division propagation of gaura
Gaura can also be propagated by division. Simply insert the already divided gaura into a flower pot or plant it out in the field. As long as you pay attention to the relevant points and care for it carefully, division cultivation of gaura is relatively easy. Below let us look at the points to note for division propagation.
Points to note for division propagation
Gaura is not strict about soil quality; for division propagation, a loose, fertile, well-drained sandy loam is best. Gaura is best grown in a spot with plenty of sunlight. Gaura does not tolerate transplanting, so when propagating the gaura plant by division it must be transplanted with soil. Gaura likes cool, moist conditions and is fairly cold-hardy and tolerant of low temperatures. Please maintain a cool, moist growing environment for the gaura and pay attention to keeping it ventilated.
That is all there is on the propagation methods for gaura. Fellow flower lovers, please get moving as soon as you have learned them! Please do not forget the points to note during propagation mentioned above by the editor. The beautiful gaura is worth our careful care!