How to cultivate taro for high yield? Low-cost, high-benefit growing techniques
Taro combines vegetable, staple food and medicinal dietary uses in one, has recently become very popular in the domestic market, and is exported in large quantities to Japan, South Korea and Southeast Asia; it is a highly favored nourishing health food. Taro is a perennial herbaceous leguminous plant, with leaves like lotus leaves, small tubers that are flat-bottomed and round, and taro suffers few diseases, pests and weeds, requires very little fertilizer, pesticide and labor, making it a relatively easy-to-grow, low-input, high-income project.
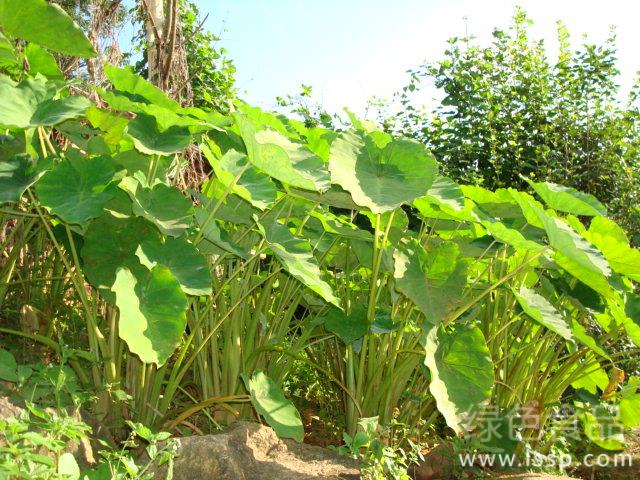
Taro
1. Sowing at the right time.The temperature suitable for taro growth is between 15-35°C. Taro should be raised as seedlings when the temperature is below 15°C, and transplanted and established when the temperature is stable above 15°C. In the Dabie Mountains of southwestern Anhui, the establishment period for taro is mid-April, and the tillering stage and tuber-setting and swelling stage fall from mid-June to late September, when light and heat are abundant.
2. Reasonable close planting.For planting taro, choose a field with ample sunlight, good ventilation, high organic matter content, convenient drainage and irrigation, and no surrounding shade. Deep-plow once before the new year to let the soil fully freeze and weather, then make beds 2 m wide. Dig the taro planting holes on both sides and in the middle of the bed, 3 rows per bed, with holes 20 cm deep and plant spacing 50-60 cm; before sowing, apply a little compound fertilizer and decomposed organic fertilizer at the bottom of each planting hole as base fertilizer, cover with a thin layer of soil as a fertilizer layer to separate it from the seed, and then sow, planting 1 taro seedling per hole.
3. Field management.(1) Fertilization: taro needs little fertilizer. Apply topdressing 1-2 times during the tillering stage; during the swelling stage, open a small hole between two taro plants, apply 25 g of compound fertilizer and 15 g of urea, cover with soil and water. (2) Water control: taro likes moisture and fears drought. During the tillering stage, taro should not have standing water in the holes; at this time there is relatively more rain, so ditches should be opened for drainage as early as possible. During the tuber-setting stage, growth is vigorous and water demand is high, and as this coincides with high temperature and drought, you can irrigate by day and drain by night. During the maturity stage, keep the soil mainly moist. (3) Hilling: an important measure for increasing taro yield is also hilling. In May-June, taro grows vigorously and begins to set young tubers, so trench soil should be shoveled up or soil added to cover the crowns in good time. (4) Weed and pest control: after sowing and before emergence, spray taro once with acetochlor or metolachlor herbicide, and hoe weeds once before the stems and leaves close the rows; after that, the stems and leaves cover the ground and weeds cannot survive. Taro has very few insect pests; in May-June when the leaves are tender, if there are cabbage caterpillars, dimethoate can be used for control.
4. Harvesting and storage.In mid-October, its stems and leaves naturally wither, and it can then be harvested for market; for seed-production fields, it is best to dig up the taro a few days before the first frost in early November. After digging, if the quantity of taro is small, it can be put in bags and stored indoors among rice husks; if the quantity is large, choose a sunny, wind-sheltered high spot and dig a pit, placing 1 layer of dry straw and 1 layer of taro in turn; after storing, seal the pit, cover with soil in a convex shape, and cover with grass to prevent water.