How to repot a Peperomia obtusifolia? Detailed repotting method
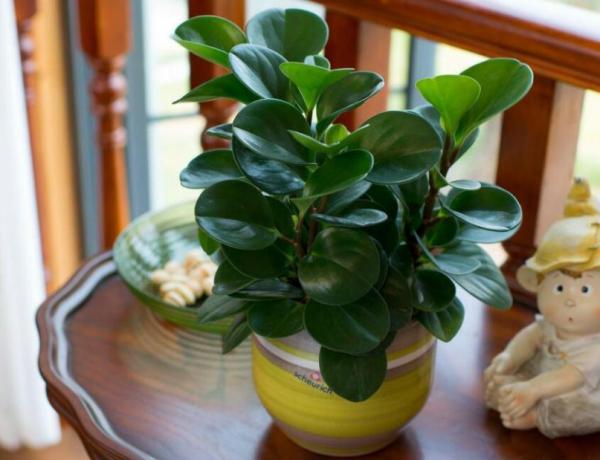
Peperomia obtusifolia should be repotted in spring or autumn. First, we need to find a new pot for it, then place a few pieces of broken pot over the drainage hole, after that take the plant out of the original pot together with its root ball, clear away the excess soil and rotted roots, then rinse and let it dry, and plant it in the new pot, and finally water it thoroughly once, watering until water flows out of the drainage hole.
1. When is the best time to repot a Peperomia obtusifolia?
For this plant, we had best repot it in the two periods of spring and autumn. Because in summer, the temperature is relatively high, and the plant will easily suffer root rot. If it is in winter, the temperature is very low, which is even less suitable.
2. The specific steps for repotting a Peperomia obtusifolia:
1. Padding the pot: First, we can choose a new pot for the plant. Then, place a few pieces of broken pot over the drainage hole at the bottom of the pot. Keep the concave side of the pieces facing down. The number of pieces does not need to be too many, three or four is fine. Then, add some coarse-grained substrate.
2. Turning out the pot: This step refers to turning the plant out of its original pot. However, note that you should not water it beforehand, and should keep it in a relatively dry state. In this way, the root ball will come out more easily and intact when you turn it out. Tip the flower pot over, support it with one hand, and tap the edge of the pot with the other hand, so that the plant and the root ball come out smoothly.
3. Cleaning up: Remove the excess soil from the root ball. In addition, the relatively old roots and the roots affected by disease also need to be removed. If some new white roots have grown, then they can be transferred intact into the new flower pot. After dealing with these, we need to rinse it, then put it in a cool, shady place. After it has completely dried, carry out the next operation.
4. Potting up: Hold the plant with your hand and place it in the central position of the new flower pot. Control the depth well, then slowly add substrate inward. Until the pot is full, shake the flower pot a bit, and at the same time press the substrate firm with your fingers, so that it is one to two centimeters from the edge of the flower pot.
5. Care: After all the above steps are completed, we need to give it a sufficient amount of water. Water until it flows out from the bottom of the hole. In addition, shading is also a necessary measure.