How do you repot a Phalaenopsis orchid correctly after it finishes blooming?
Phalaenopsis orchids are very beautiful when in bloom, and their normal blooming season is spring and summer, but with proper care and management they can also bloom in all four seasons. To encourage a potted Phalaenopsis to bloom again, we can repot it once after the flowers fade in summer. So, how do you do it?
Phalaenopsis orchids prefer a warm growing environment, but they are also not tolerant of heat or high temperatures. During the hot summer period, when the temperature is above 32°C, the plant easily enters a semi-dormant state. Therefore, when the Phalaenopsis is in this semi-dormant state after its blooming period ends, we can repot it once.
1. Prepare the potting medium
The roots of Phalaenopsis are fleshy and also produce quite a few aerial roots, and the plant likes a fertile, loose potting medium that drains and breathes well. So we can use a pre-mixed substrate prepared by a flower shop for sale, which is very suitable for growing Phalaenopsis. If mixing your own, you can use peat soil, chopped wood shavings, coconut coir and sphagnum moss as the substrate.
2. Prepare the pot
It is recommended to prepare a clay pot and a cachepot, and then prepare some small gravel. Phalaenopsis likes a growing environment with strong drainage and breathability, and a clay pot fits these characteristics perfectly. The cachepot is mainly used to sit outside the clay pot so it can hold water. The gravel can be placed in the bottom of the clay pot to improve aeration inside the pot and prevent waterlogging caused by overwatering.
3. Pruning and removing from the pot
After the Phalaenopsis blooming period ends in summer, promptly cut off the spent flowering stems to avoid them needlessly consuming nutrients. Then take the pot out of the original cachepot. Next, remove the plant from the pot, clean off the old substrate, and trim the roots appropriately. The main task is to cut off rotten roots, hollow roots, dead roots and other unhealthy roots, and spread the roots out well.
4. Build the environment
Spread a layer of small gravel in the bottom of the new clay pot, then pour in a layer of new substrate. Then place the prepared Phalaenopsis into the pot to compare the planting height, and add or remove substrate as needed until the planting depth is just right. Generally, the crown should be about 3 cm below the rim of the pot.
5. Potting process
Next, place the plant into the new pot, then slowly add new substrate starting from the sides. When the filled substrate is nearly level with the pot rim, lift the pot and shake it left and right to make sure the substrate settles down into the gaps, thereby reducing air pockets in the pot. Then add a little more new substrate according to how far the substrate has settled.
6. Cachepot treatment
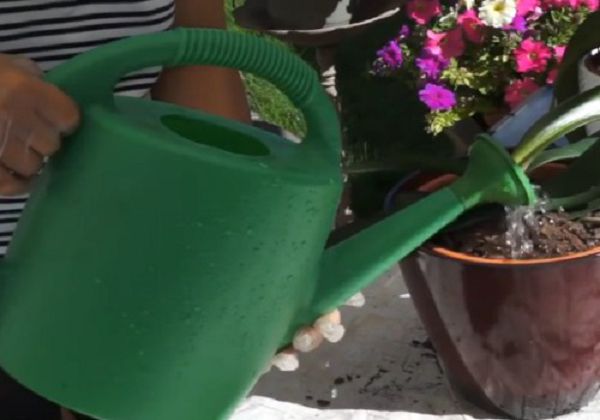
After sprinkling a layer of small gravel into the cachepot, place the newly potted Phalaenopsis into the cachepot, then water thoroughly. At the same time, let the potted Phalaenopsis sit in the cachepot for 2-3 hours to ensure the substrate in the pot is fully saturated with water. This not only prevents the roots in the Phalaenopsis pot from soaking in water, but also allows them to absorb water from the cachepot.