How to rescue a Clivia with root rot? Detailed guide to converting from soil to water culture
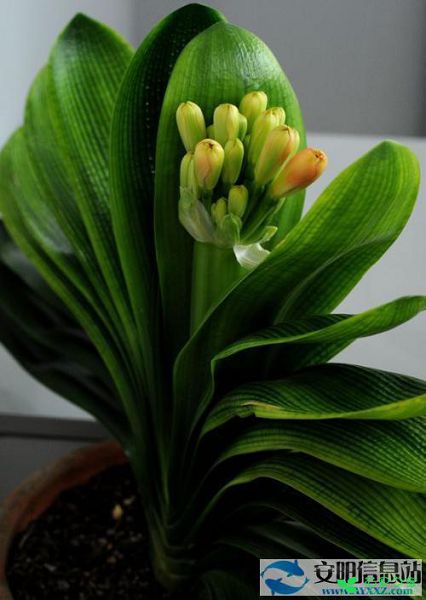
How to rescue a Clivia with root rot?
1. Reduce watering
Cause: If you water the Clivia with too much water at once or water it too frequently, water will accumulate in the soil. This waterlogging lowers the oxygen content in the soil, and once the oxygen content drops, the root cells of the Clivia shift from aerobic respiration to anaerobic respiration, producing ethanol. If the ethanol cannot be discharged in time, it will cause root rot in the Clivia.
Solution: Raise the flower pot up and place it in a well-ventilated spot, wait for the water in the soil to evaporate, then reduce the amount and frequency of watering. If the situation is severe, you can dig out the plant, cut off the rotten roots, replace half of the soil and replant it.
2. Replace the soil
Cause: Clivias need highly breathable soil to grow well. If the soil used has insufficient airflow, it will also make the oxygen concentration in the soil very low, leading to root rot.
Solution: Take the plant out of the soil, then plant it in new, well-aerated soil and care for it gradually.
3. Scientific fertilizing
Cause: If you give the Clivia fertilizer that has not been fully decomposed, the fertilizer will be broken down by microorganisms in the soil. This process releases a large amount of heat, and if this heat cannot dissipate, it will affect the plant's root system.
Solution: Flush the fertilizer away by watering the Clivia with plenty of cool water, or simply replace it with new soil, then fertilize and care for it scientifically.
How to grow Clivia
1. Soil: The Clivia's native habitat is under the large trees of high-altitude forests in southern Africa, with its roots anchored in layers of leaf litter that have accumulated over many years. Clivias should be grown in loose, fertile neutral or slightly acidic humus soil. The growing medium can be mixed from 65% humus soil, 20% clean sand and 15% fine stove ash. The relative humidity of the soil should be around 40%. If the soil becomes compacted and drains poorly, it will cause root rot. When repotting in spring, it is best to buy special Clivia soil for planting. Special Clivia soil is leaf mold soil, which is extremely suitable for Clivia growth.
2. Fertilizing: For Clivias, apply a solid fertilizer once in winter, with less nitrogen fertilizer and more phosphorus and potassium fertilizer. Eggshell powder and decomposed fish waste water are good phosphorus fertilizers, while bran ash and tobacco ash are easily obtained potassium fertilizers. You can also apply a nitrogen, phosphorus and potassium compound fertilizer to encourage more new shoots and leaves to emerge. Fertilizing must be done in the right amount, and never apply concentrated fertilizer or raw fertilizer that has not been fermented and decomposed, otherwise it can easily cause the leaf tips to scorch or rot. In winter, if spots appear on new leaves and the root system turns yellow, it means too much fertilizer has been applied, while new leaves that are narrow, thin and especially pale indicate a lack of fertilizer.
3. Watering: The soil should not be too dry or too wet. Each watering must soak through, and after buds form, water a little more. About every 20 days, combine watering with an application of fermented soybean cake water, diluted fish waste water or water from boiled water chestnuts, combining watering and fertilizing. When room temperature is low, watering should be controlled to prevent the potting soil from becoming too wet, as overly wet potting soil can cause the plant to rot at the roots and die, but the potting soil should not be allowed to become too dry either.
4. Keeping warm: The suitable growing temperature for Clivia in winter is 15-20°C, and it is best not to go below 10°C. After the flower scape emerges, the temperature should be kept at around 18°C, and the day-night temperature difference is best kept at around 10°C, otherwise the flower scape will bloom before it reaches the proper height, easily resulting in "stuck scape". When the outdoor temperature at night drops below 10°C, the Clivia should be moved indoors. When the indoor temperature is below 10°C, besides covering the surface of the potting soil with a 1 cm thick layer of charcoal powder for insulation, the flower pot should also be placed in a sunny, warm spot indoors. When the indoor temperature is especially low, you can cover the flower pot with plastic film to raise the temperature, but the temperature inside the cover must not exceed 25°C; if it does, ventilate and cool it down in time.
5. Light: Clivias bloom easily under short-day conditions. Harsh sun and direct summer sunlight will cause sunscald and inhibit growth. From May to September each year, they should be grown under a shade shed or in a semi-shaded environment without direct sunlight. But in winter, the longer the sunlight exposure, the better. When blooming, weak light can extend the flowering period. It likes warmth and coolness, and dislikes severe cold and intense heat; it generally grows best at 18-20°C and stops growing below 5°C. After the Clivia is brought indoors, light is limited, so the flower pot needs to be moved manually for adjustment. Under normal circumstances, during the day the flower pot should be placed in a sunny spot indoors so that sunlight can reach the plant. Before blooming, at night the flower pot should also be placed under a fluorescent lamp to supplement light. Since the two rows of leaves of the Clivia are opposite each other, if the light stays in one position for a long time, the leaves will grow unevenly and affect the ornamental effect. Therefore, when adjusting the light, pay attention to the direction of the leaves, and rotate the side facing the sun about every 10 days. There are two ways to place the flower pot indoors: one is to set the leaves parallel to the sunny window, and the other is to set the leaves perpendicular to the sunny window. The latter works better than the former.
6. Extending the flowering period: The flowering period of the Clivia is mostly from December to March of the following year. The way to extend the flowering period is to place it in a dark spot when the flowers are about to open, control watering appropriately, and keep the temperature at 8-12°C. In this way, the flowering period can be extended by 10-20 days.
How to convert a soil-grown Clivia to water culture
1. Steps
First, what we need to do is wash the rotten roots clean, then disinfect them with potassium permanganate, then air-dry them, then cut the plant to a suitable height and put it into a cut-off mineral water bottle. The requirement is to let two-thirds of the plant be exposed outside the bottle, then add one or two cm of clean water. In about half a month, new roots will grow. Before new roots appear, change the water once a week; if there are white buds, you can change it once every 15 days. When the plant's roots grow to three to five cm, you can move it into the growing medium. To do water culture, you should give it water culture when its roots have grown one or two cm, and when they reach five cm, switch entirely to nutrient solution. The advantage of nutrient solution is that the leaves will grow very vigorously and will not become deformed.
2. Container
To do water culture, you first need to choose a suitable vessel. It is best to use one made of clear glass. For seedlings, a glass jar is enough; if the plant is relatively large or there are many, you can use a water culture box or a goldfish tank.
3. Nutrient solution
The nutrient solution it needs can be of two kinds, one organic and one inorganic. Both can be made yourself. The former has richer ingredients but lower content, while the latter has fewer ingredients but a stronger fertilizing effect. The two can be used together, so that they complement each other. If used alone, the former is applied once every five days, and the latter once a week.
4. Water
Do not use tap water directly. The water needs to be left in the sun for two or three days first, so that the bleaching powder and other substances in it settle out. The sediment inside will change from strips into clumps, and it is best if the color is green. When putting the water in, it can cover the roots, but must not cover the pseudobulb. If the water is too shallow, the plant itself will get very little water, but if it is too deep, it is very likely to cause its roots to rot. If the water quality changes and there is neither oxygen nor fertilizer, you need to change the water, otherwise the roots will turn black and yellow.