How to propagate Aglaia odorata by cuttings? Master the method and turn one pot into many pots
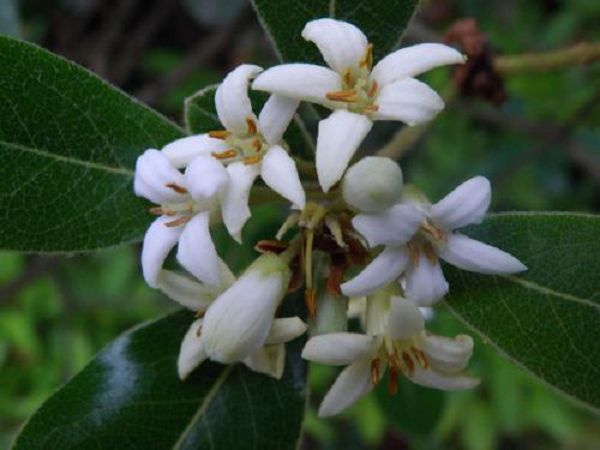
Aglaia odorata is a rather delicate flowering branch, and it is precisely because Aglaia odorata is delicate and lovely that many people like it, and when it blooms, it is also accompanied by a rich, overflowing fresh fragrance. So if you want your own Aglaia odorata to grow more flowering branches, what measures should be used? To make your own Aglaia odorata grow better, one propagation method we can use is cuttings. If we propagate Aglaia odorata by cuttings, first we can use the hard wood of the Aglaia odorata itself for cuttings, or use its relatively tender branches and leaves, and both of these are options available to us.
If using hard branches, we should choose one that is one to two years old Aglaia odorata, and select the relatively old branches as the cutting material, which we call cuttings. Cut these cuttings into several sections first, and it is best to keep each section about 8cm long, and the time should be chosen at the turn of spring and summer. If choosing tender branches, we should choose semi-lignified branches grown in the current year, and the cutting should be about 10cm long.
For the cutting medium, you can choose plain sand, perlite, and so on. Next, let me explain in detail the cutting steps and method for Aglaia odorata.
First, we should insert the selected branch into the soil we have already chosen in advance, and immediately water it after inserting, remembering to water it thoroughly.
For the second step, we can first choose a plastic basin, and the plastic basin chosen should be larger than the flower pot. Then we can place the flower pot into the plastic basin, put a brick at the bottom of the basin, and also add a small amount of water below. Then take a glass cover and cover the plastic basin, leave it for 3 to 5 days, after which you can lift the cover and let it ventilate. After completing the cuttings, we only need to carry out ordinary care. After the cuttings are done, since Aglaia odorata is suited to staying between 15°C and 25°C, when it is below 5°C, Aglaia odorata is very prone to frost injury, and in winter we also need to keep the overall temperature of Aglaia odorata at around 10°C, so that it can safely pass the winter.
Although the optimal temperature for Aglaia odorata is between 15 and 25, in winter we should try to keep it below 15°C, otherwise it will easily promote Aglaia odorata to grow new leaves, and when it is placed outdoors in the next spring, Aglaia odorata may very likely drop its leaves.
Aglaia odorata likes to bask in the sun, but in summer, because the light is very intense, at this time we should appropriately shade Aglaia odorata, and also avoid the leaves being sunburned; in winter, it is best to place Aglaia odorata indoors in a sunny spot, as this practice is beneficial to the growth of Aglaia odorata. When there is no sunlight all day, we also need to buy some lighting lamps, etc., to provide light for Aglaia odorata. Appropriately repot Aglaia odorata, aerate the soil, and promote root growth.
If you want your own Aglaia odorata to go from one pot to ten pots, carrying out the above methods is completely enough. Of course, if you still encounter any problems during the cutting process, flower friends are welcome to comment in the comment section below, and the Huaguo editor will arrange answers for everyone as soon as possible.