What to do when a clivia has root rot? Soak it in potassium permanganate, then bury it in sand
With temperatures high now and the weather hot, those who grow potted flowers at home are extra careful, because the slightest lapse of attention can leave a whole pot with root rot. And sure enough, a flower grower had a clivia that suffered root rot from watering during high temperatures. When a clivia gets root rot in the hot summer, here is how we can handle it.
After digging out the plant, washing it, trimming the rotten roots, disinfecting it, and then replanting it, let's look at the detailed steps below.
How to handle clivia root rot: 1. Preparation
First, prepare scissors or a utility knife for trimming the rotten roots, potassium permanganate, plus a flower pot and coarse sand. These are essential, and should be prepared in advance.
2. Removing the plant from its pot
Once the tools you need are ready, you need to take the plant out of its pot, and do this in a cool, shaded place. First dig the clivia plant out of the flower pot; generally, first remove part of the soil, then loosen the soil at the bottom layer, and pat around the sides of the pot to make the soil loose.
Next, tip the flower pot onto its side, hold the plant with one hand, and pull it outward, and the plant can be taken out of the pot.
3. Cleaning up the rotten roots
After taking the clivia with rotten roots out of the flower pot, first peel off the soil around the plant's roots, then rinse with clean water until the soil on the roots is washed clean.
Next, observe the rotten parts of the roots, then use scissors to cut off the rotten parts, and be sure to cut them away completely.
4. Soaking and disinfecting
After the clivia's rotten roots have been cut off, prepare a basin or bucket, add an appropriate amount of potassium permanganate to the water, and stir it evenly at the same time. Then put the clivia's roots into the potassium permanganate solution and soak for 5 minutes.
After soaking, take it out, then dab a small amount of plant ash or carbendazim on the rotten roots; either is fine. Next, put it in a ventilated, shaded place and wait until the roots are dry, in about 2 days.
5. Preparing the coarse sand
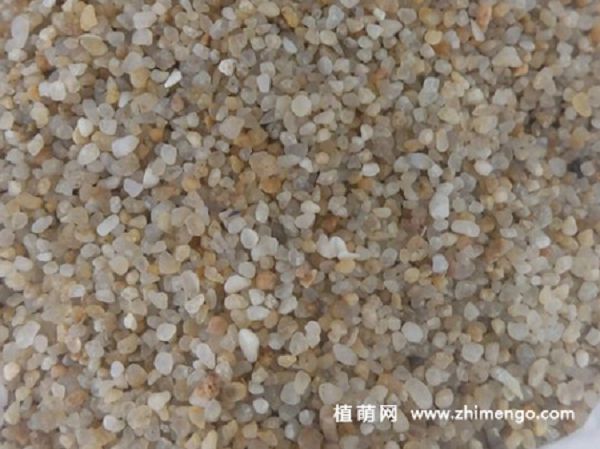
Next, prepare some coarse sand; you can use the coarse sand used for building houses or for interior decoration. Before use, the coarse sand must be washed clean, and also dried, then watered to keep the coarse sand slightly moist.
6. Re-potting
Once the coarse sand is ready, you can put it into the flower pot; here a half-cut mineral water bottle is used. Spread a layer of coarse sand in the mineral water bottle, then place the dried clivia onto the bottom layer of coarse sand, and steady it firmly.
Then fill coarse sand around the plant, and press it firm. After re-potting, put it in a shaded place and patiently wait for it to root. Generally, as long as the leaves do not wilt for 1 month, it means it has survived.
7. Care after potting
After re-potting the clivia with rotten roots, you must control watering: do not water unless it is dry, because watering too much can easily cause root rot again.
In addition, keep it in a ventilated, shaded place, avoid placing it under direct light, and make sure the surrounding air circulates freely. Generally, rooting takes quite a long time; some take several months, and some take half a year, so the flower grower needs to wait patiently.
The above is the story of a clivia with rotten roots that, after trimming, disinfecting, and re-potting, finally showed new roots after more than half a year of care.